An oven can bake unevenly because heat is not distributed identically across its cavity, pans obstruct airflow, racks are poorly positioned, or the actual temperature differs from the setting. Some unevenness is normal; a new or severe pattern can indicate an equipment problem. Start with the pattern and the setup before changing every recipe.
One dark corner on a tray is different from a whole cake that takes far too long. A consistent left-to-right difference suggests location, while a general timing mismatch suggests temperature, mode or pan choice. Those distinctions guide the next check.
Is the food uneven, or is the oven temperature wrong?
Describe what “uneven” means
Record the pan's orientation and rack position. Which edge browned first? Did the top darken while the bottom remained pale? Did two trays differ, or did one tray differ across its own surface? A short note and photograph can make a repeating pattern obvious.
Also check the food itself. Uneven cookie portions, a cake pan not filled level, or dough shaped thicker on one side can create uneven results without an oven fault. Compare the raw arrangement before blaming the heat.
| Pattern | First checks |
|---|---|
| One side of every tray is darker | Hot spots, pan orientation and airflow |
| Top browns before center sets | Rack height, mode, pan depth and temperature |
| Bottom is consistently too dark | Rack position, dark bakeware and strong lower heat |
| Everything takes much longer | Preheat, temperature accuracy and selected mode |
| Two shelves produce different results | Multi-rack guidance, crowding and permitted rotation |
A setting is not a constant temperature
Most ovens cycle their heating elements to maintain temperature around the selected setting. A thermometer may show rises and falls rather than one steady number. That cycling is not automatically a defect.
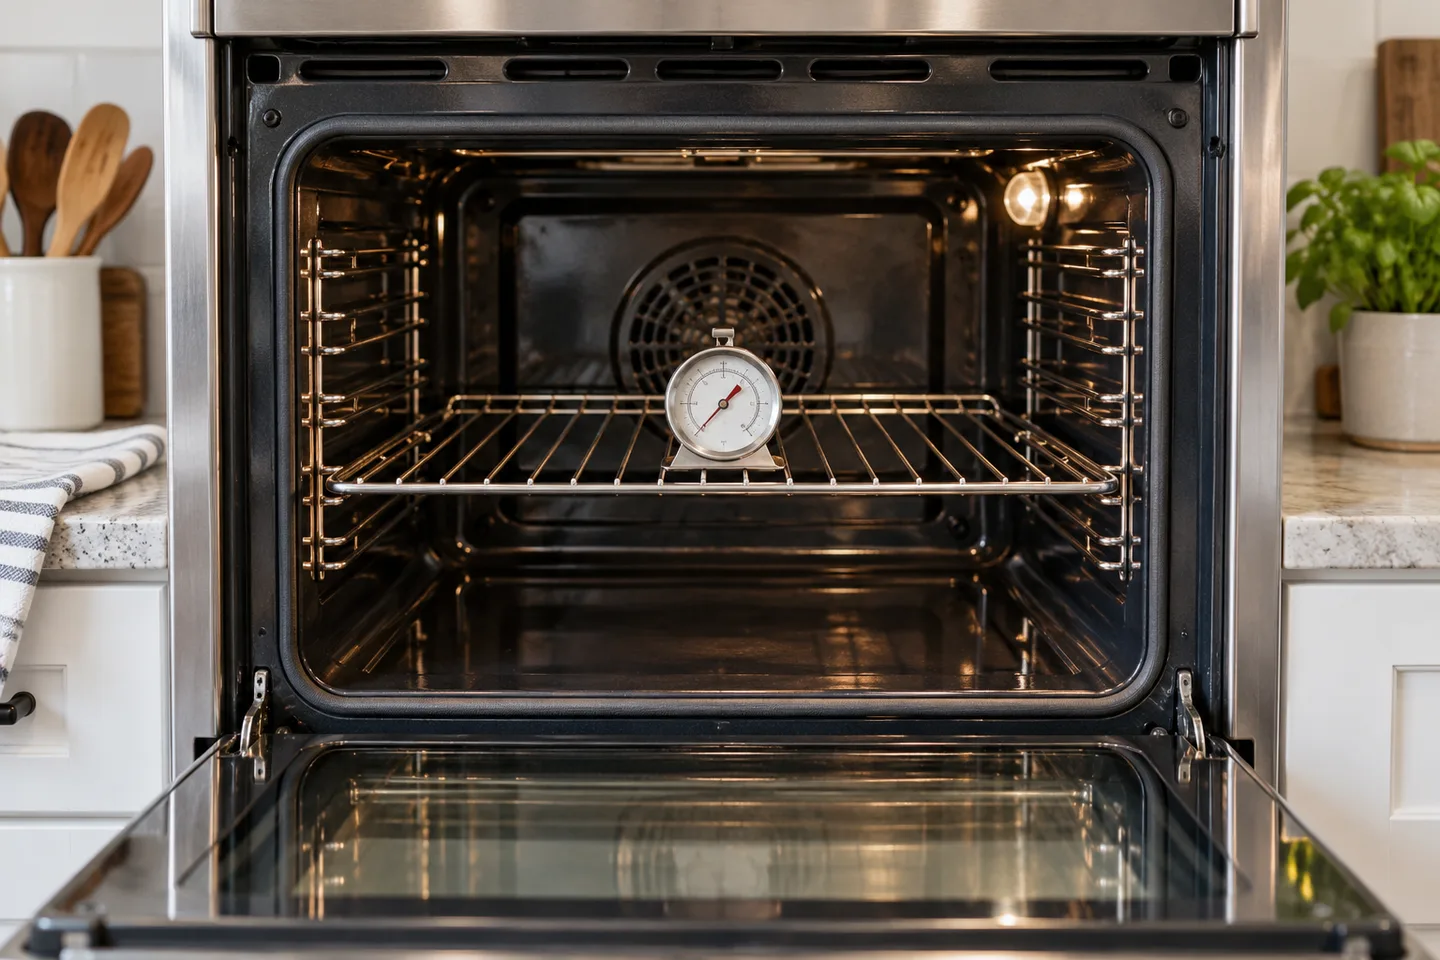
An independent oven thermometer helps you understand a pattern, but place and read it consistently. One reading immediately after opening the door mostly tells you about that moment. Use the oven manufacturer's guidance for checking accuracy or calibration.
Preheat properly. A signal may indicate that the oven reached a target at one sensor while the whole cavity and racks are still stabilizing. Follow the appliance and recipe instructions rather than assuming any short warm-up is adequate.
Do not make a large calibration change from one reading
If the oven appears inaccurate, observe several cycles under a repeatable setup. Confirm that the thermometer itself is appropriate for oven use and positioned away from direct element contact. Then use the documented calibration process if the appliance supports one.
Do not remove panels or work on electrical or gas components. Persistent severe problems, failure to heat correctly, smoke from an unexplained source or signs of damage belong with qualified service. A baking adjustment is not a repair method.
Make thermometer observations meaningful
Use a thermometer designed for oven temperatures and position it consistently as directed. Let the oven complete an appropriate preheat and observe its normal cycle without repeatedly opening the door. Record the mode and set temperature with the readings.
Some thermometers respond more slowly than the air changes. That can make a rapid snapshot difficult to interpret. The appliance's own calibration guidance should determine how you assess accuracy, not a single number captured while moving the pan.
Temperature accuracy and distribution are separate questions
An oven can average near the intended temperature while still browning one corner faster. Conversely, it can distribute heat fairly evenly but run generally too hot. A center thermometer and a qualitative browning map provide different information.
Use the information that matches the complaint. A cake that consistently takes much longer needs a temperature and mode check. A tray with one dark corner needs attention to location, airflow and pan behavior. Do not assume one observation answers both.
Are position and airflow changing the result?
Rack position changes exposure
The center rack is a common starting point because it places many bakes farther from direct top or bottom heat. It is not the correct position for every recipe. A pie needing bottom browning may have a different instruction from a delicate cake.
Use the recipe's recommended position initially. If top browning is too strong, a lower position may help in some cases, but it can also increase exposure to lower heat. Change deliberately and observe the result.
A pan pushed to the back or touching a side wall experiences a different environment from one centered on the rack. Leave the space required by the oven manual, and avoid leaning bakeware against the cavity.
Give hot air somewhere to go
Large pans and closely packed trays can obstruct airflow. Two pans that nearly fill a shelf may not bake like one centered pan. The oven's multi-rack instructions are especially important when using a fan.
Do not line the oven floor or block vents with foil to catch spills unless the manufacturer explicitly permits the arrangement. It can alter heat distribution and conflict with safe operation. Use the recommended spill-management method instead.
A pizza stone, baking steel or unused tray left in the oven also changes the thermal environment. It may be useful for one style of baking, but leaving it in place for every cake can introduce a variable the recipe does not expect.
Convection is not just a faster conventional oven
A fan moves air, which can improve circulation but also change browning and moisture loss. Some ovens automatically adjust temperature when a convection mode is selected; others do not. Check your manual before applying a second conversion.
Use recipes with clear conventional or fan instructions, and confirm which mode is active. “Bake,” “fan bake,” “roast” and “broil” can use different heat patterns. A mistaken mode can look like uneven equipment.
Compare a single-pan bake with a crowded oven
If a recipe works with one centered pan but becomes uneven when you add a second tray, the extra load is a useful starting point. Pans can shield one another and alter circulation. The oven's recommended shelf arrangement matters more than fitting everything into the cavity at once.
Try the recipe's original single-pan setup again before changing ingredient amounts. If it returns to the expected result, use the oven's multi-rack guidance for future batches or bake in sequence. A longer production schedule can be more predictable than a crowded bake.
Do not compare unlike pans as though they were one variable
A dark thin tray on one shelf and a light heavy tray on another can brown differently for reasons beyond shelf position. To investigate the shelves, use comparable equipment and portions where possible. Otherwise, record that the comparison contains several changes.
The same applies to batter depth. Two cake pans with equal batter weight may have different depth if their dimensions differ. A darker top in the deeper pan does not prove that its shelf is hotter.
What can the tray and browning pattern tell you?
The pan may be doing part of the uneven baking
Dark bakeware can brown food differently from light-colored metal. Glass and ceramic heat and retain heat differently too. A thin or warped sheet can create inconsistent contact or sit unevenly on the rack.
Check the pan's condition and confirm that it is the size the recipe expects. A deeper cake in a smaller pan can have a browned exterior and unfinished center even in a sound oven. That is a heat-path issue, not proof of a hot spot.
Read glass versus metal baking pans and choosing cake pan size before making several equipment changes together.
Use a simple qualitative hot-spot check
A tray of evenly arranged plain bread slices can show relative browning across the oven. Use the same slice thickness and a suitable tray, follow ordinary oven safety, and monitor carefully so the bread does not burn. Record the tray orientation and rack.
King Arthur's hot-spot guide describes this kind of browning check. It is a qualitative map, not a precise measurement of temperatures at every location.
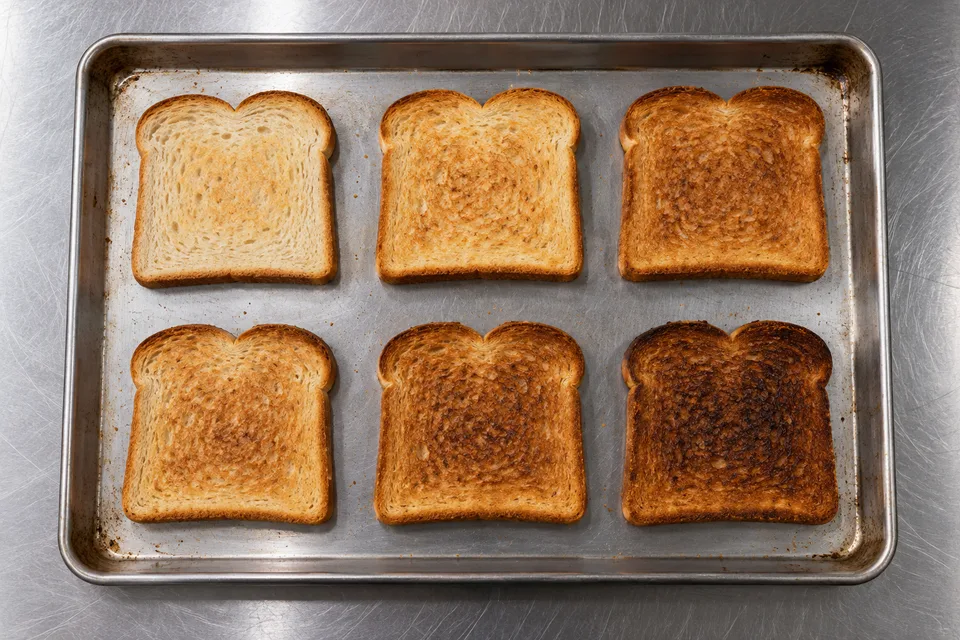
The photograph illustrates different browning; it is not a test conducted by this journal. In your oven, a dark slice may reflect tray material or slice differences as well as local heat. Repeating a careful check can make the pattern more informative.
Use the result to position food thoughtfully
If one back corner consistently browns faster, center the pan where possible and consider a recipe-appropriate rotation. A hot spot can sometimes be useful for food that needs extra browning, but do not use it to compensate for unsafe or malfunctioning equipment.
Do not draw a permanent map from one tray baked under a different mode. A fan setting and a conventional setting may behave differently. Label your notes with the mode, rack and temperature.
Rotate at a useful stage, not every few minutes
For some cookies and sturdy tray bakes, a mid-bake rotation can balance browning. Follow the recipe and appliance guidance, and work quickly with suitable oven mitts. Avoid creating a cycle of constant door opening and heat loss.
A cake whose structure is still fragile may not benefit from an early disturbance. Wait until the method allows movement. If the oven is so uneven that every delicate cake requires constant intervention, investigate the equipment rather than treating rotation as a complete solution.
With two trays, switching shelves as well as turning orientation may be appropriate only if the recipe and oven support it. Two full trays can take a different time from one, so check doneness rather than assuming the original single-tray schedule.
Can a consistent setup solve it—or does it need service?
Create a baseline for familiar recipes
Once a setup works, record the rack, mode, pan and approximate observation window. Keep removable stones, steels and spare trays in the same configuration for repeats, or note when they change. The thermal environment includes more than the temperature dial.
For a new oven, begin with a familiar recipe you can assess easily. That gives you a useful reference for timing and browning. A new recipe, new pan and new appliance together make it harder to understand any disappointment.
Know when to stop experimenting
A severe new hot spot, damaged door closure or abnormal heating behavior should not become an increasingly elaborate rotation routine. Stop and use qualified service when the problem suggests equipment failure. Recipe adjustments cannot establish that an appliance is safe.
Keep the observations for the service technician: what changed, which mode was used, and whether the problem occurs with different pans. Clear symptoms help more than a claim that the oven “always ruins baking.”
Check simple maintenance items safely
Look at the door seal and whether the door closes normally. Clean spills according to the manual, and remove objects that interfere with the closure. Do not use a damaged seal, broken glass or a visibly compromised heating component as a cue to invent a baking workaround.
Keep vents unobstructed and use only accessories approved for the oven. If a heating element does not appear to operate normally, or a gas oven shows abnormal behavior, stop and arrange qualified help. Do not diagnose gas leaks by continuing to bake.
Some manufacturer troubleshooting can be performed without disassembly, such as confirming mode or calibration settings. Keep those checks within the documented user instructions. Repair and electrical testing are separate tasks.
A repeatable troubleshooting sequence
- Confirm food portions and batter depth are even.
- Match the recipe's mode, rack and pan.
- Preheat as instructed and leave appropriate airflow space.
- Observe the temperature cycle with a suitable thermometer.
- Map relative browning if useful, recording orientation.
- Try one positioning or recipe-appropriate rotation adjustment.
- Seek service for severe, new or safety-related problems.
If cookies are uneven as well as unusually flat, cookie-spread troubleshooting can help separate dough and tray factors from the oven. If a cake's center falls, the cake-sinking guide adds the structure and doneness checks.