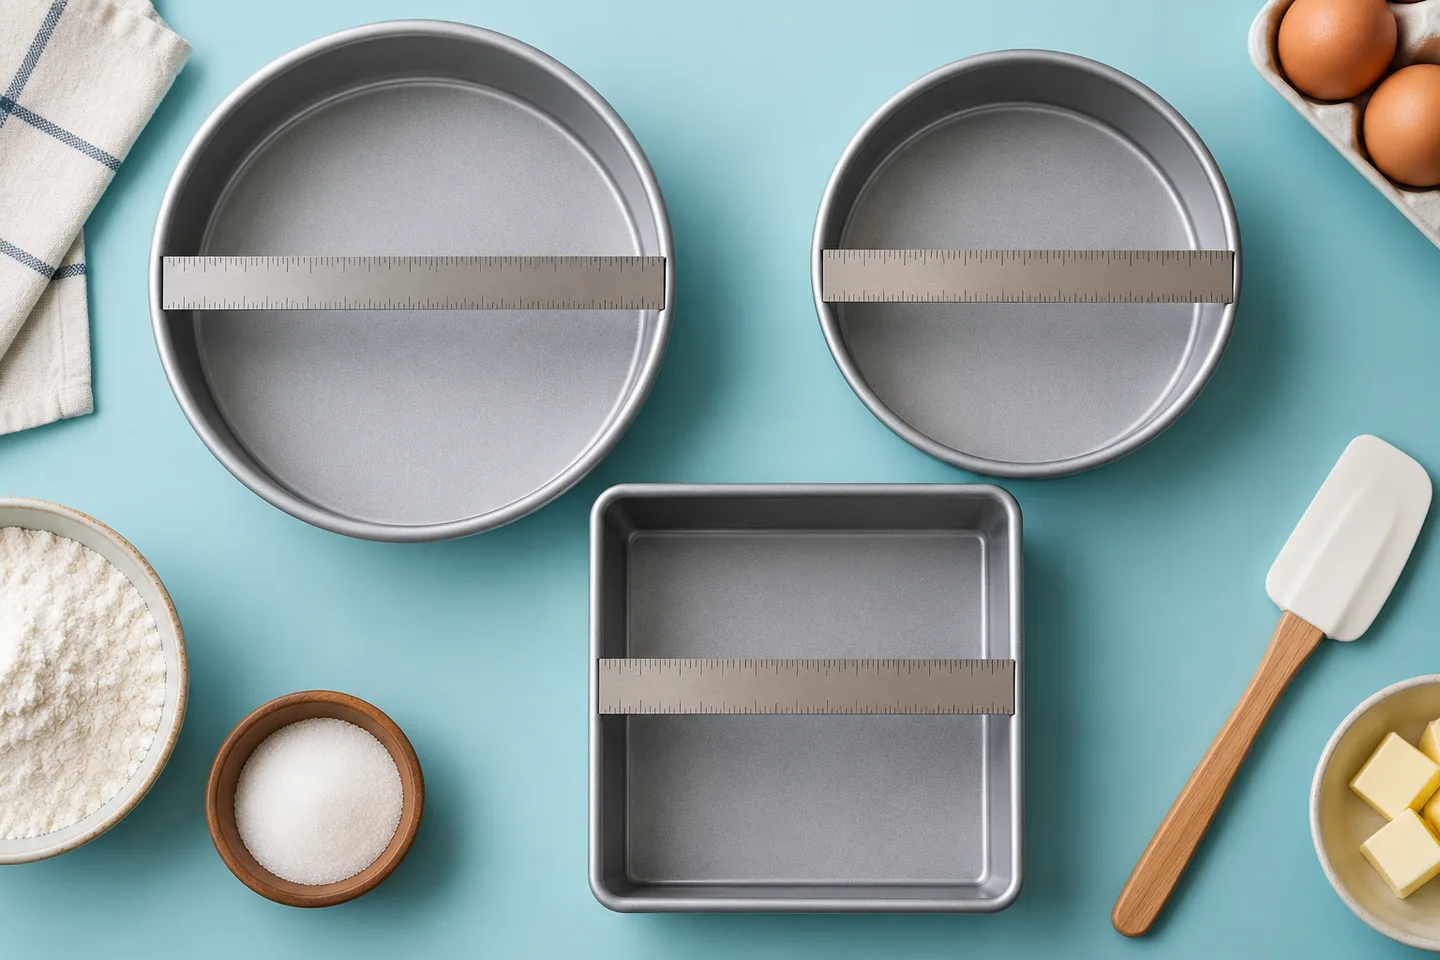
The right cake pan is the one that matches the recipe's shape, inside dimensions, depth and material. Diameter alone is not enough. If you substitute a pan, preserve a sensible batter depth and expect the baking time to change; do not fill a smaller tin with the entire batch simply because it fits before rising.
For a first bake, matching the recipe is the most reliable choice. Once you understand the original result, geometry can help with controlled changes, but it cannot predict every cake's rise or finish time.
Start with the pan you have and the shape you need
Measure the inside, not the outer rim
Use the interior dimensions where the batter sits. Handles, rolled rims and thick walls can make an outer measurement misleading. Measure depth as well as width or diameter, especially when a pan is shallow or has sloped sides.
A round springform pan, a solid round pan and a decorative tube pan can have different usable capacities even when their labels show the same diameter. A center tube removes batter volume and changes the heat path. Shape matters.
Check that the pan fits your oven with the space the appliance requires. A correct recipe size is not useful if the handles touch the walls or the pan cannot sit level. Measure storage and oven fit before buying.
Know when geometry is not enough
Angel food, chiffon, cheesecake and flourless cakes can have structural and release requirements tied to a particular pan. A springform may be important for a fragile cheesecake; an ungreased tube pan may support a foam cake.
A removable-base pan can leak a thin batter, and a water bath introduces additional requirements. Do not improvise a conversion that changes both the cake's support and the way it is heated.
For these cases, use a recipe explicitly adapted to the pan you have. Geometry is a useful planning tool, not permission to discard the method's physical requirements.
Work through the geometry with two examples
Use base area for comparable simple shapes
For straight-sided pans holding batter to the same depth, base area helps compare the amount needed. A rectangle's area is length multiplied by width. A circle's area is π multiplied by radius squared.
| Pan base | Approximate area | Comparison |
|---|---|---|
| 8-inch round | 50.3 square inches | Smaller than an 8-inch square |
| 9-inch round | 63.6 square inches | Close in area to an 8-inch square |
| 8-inch square | 64 square inches | About 27% more area than an 8-inch round |
| 9-inch square | 81 square inches | About 27% more area than an 8-inch square |
| 9 × 13-inch rectangle | 117 square inches | A substantially larger footprint |
These are geometric calculations, not tested recipe conversions. Similar area can support a similar starting depth, but corners, material and shape still affect baking. An 8-inch square and a 9-inch round are close in area, not identical in every practical respect.
Diameter changes are larger than they look
Moving from an 8-inch round to a 9-inch round increases base area by about 27%. The diameter increases only one inch, but area depends on its square. The same batter becomes noticeably shallower in the larger pan.
That helps explain why a layer may finish earlier or look shorter after a seemingly small substitution. It also explains why squeezing a 9-inch-round batch into an 8-inch round can create a deeper center that needs more time.
Two worked area comparisons
Suppose a recipe uses two 8-inch round pans. Their combined base area is about 100.5 square inches. A 9 × 13-inch rectangle has 117 square inches, so its area is about 1.16 times the original total. At a similar depth, that suggests roughly 16% more batter as a geometric starting point, not a guaranteed recipe conversion.
If you instead put the original batter into that larger rectangle without scaling, it will begin shallower. The bake time and finished height can change. Confirm that the cake style suits a sheet format before trying the substitution.
Three smaller rounds are another calculation
Three 6-inch round pans have a combined area of about 84.8 square inches. Compared with two 8-inch rounds, their area ratio is 27/32, or about 0.844. A corresponding smaller batch may preserve a similar starting depth if the pans and cake method are otherwise suitable.
Again, the calculation does not predict time. Smaller diameters, pan depth and the number of pans in the oven affect the bake. You must still use an appropriate method and check completion.
Calculate a starting scaling factor
For comparable simple pans, divide the new base area by the original base area. An 8-inch-round recipe moved to a 9-inch round has a factor of about 1.27 if you want a similar batter depth. Multiply the ingredients by that factor as a planning starting point.
This approach assumes the same number of layers and similar pan depth. If the original recipe uses two 8-inch rounds, compare the total original area, not just one pan. One 9-inch round cannot hold the intended depth of a two-pan batch.
- List the original pan count, shape and inside dimensions.
- Calculate total base area for the original setup.
- Calculate total base area for the new setup.
- Divide new area by original area.
- Check depth, fill guidance and recipe suitability before scaling.
- Expect to judge baking completion by cues, not multiplied minutes.
Scale all ingredients, including eggs and leaveners
A partial egg can be handled by beating it evenly and weighing the portion when the recipe supports that approach. Do not round several small ingredients casually while keeping the main flour calculation precise. Small leavener errors can matter.
Scaling can change mixing practicalities too. A very small batch may not reach a stand mixer's tools well, while a large batch may exceed capacity. A mathematically correct formula still needs equipment that can mix it properly.
Translate the calculation into batter depth and bake time
Batter depth is the essential reality check
A pan's to-the-rim volume is not its safe baking capacity. Cake batter needs space to expand, and different cakes rise differently. Follow the recipe and pan maker's fill instructions rather than using one “two-thirds full” rule for every cake.
Deep batter takes a different heat path from shallow batter. The outside can brown while the center remains unfinished. Increasing depth is not solved by increasing time in direct proportion to batter weight.
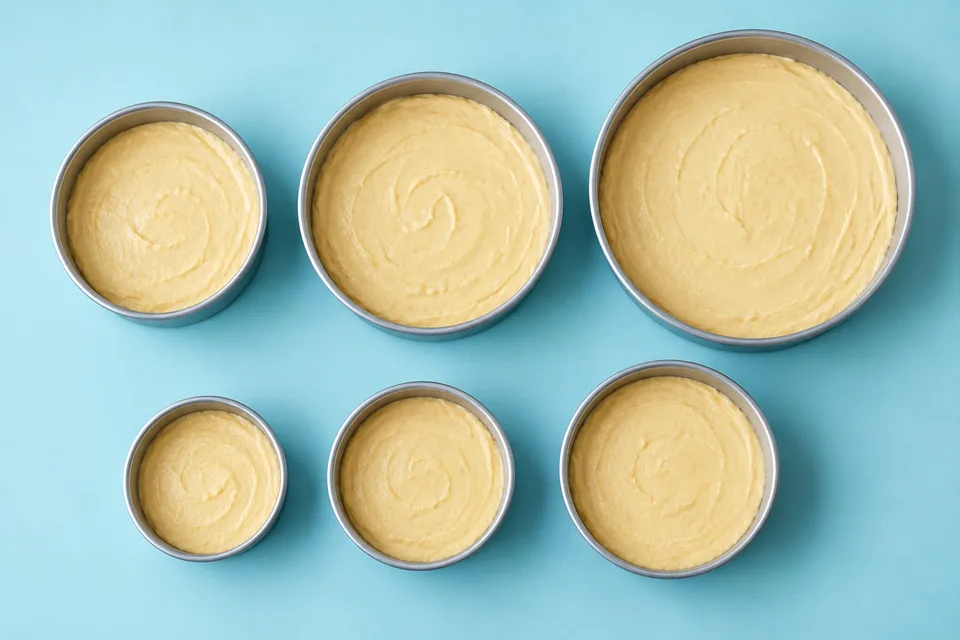
The image illustrates similar batter depth across pans; it is not a test proving equal baking performance. Use your recipe's actual depth and rise as the reference. If excess batter remains, bake it separately using a suitable method rather than overfilling.
Water capacity can help with irregular pans
For a decorative mold, measuring water capacity can help compare nominal volume, but distinguish total volume from recommended batter capacity. Dry the pan thoroughly afterward, and consult its instructions for the fill level.
A Bundt pan's shape, center tube and detailed surface change heat transfer and release. A solid round pan with the same water volume does not necessarily produce the same cake. Use a recipe designed for the intended shape where possible.
Divide batter consistently between matching pans
Weigh the empty pans if you need to account for their mass, then divide the batter according to the recipe. Equal batter weights in matching pans support similar depth. Place them as the oven and recipe recommend, with space for circulation.
If the pans differ, equal weights may produce unequal depth. Calculate or observe the starting level and monitor each pan separately. Do not expect a thin layer and a thick layer to finish together just because the kitchen scale shows equal amounts.
Have a plan for excess before filling
Set aside extra batter only with a suitable recipe-supported baking plan. A small cupcake portion can have different finish cues from a full layer. Do not leave chemically leavened batter waiting indefinitely while the first pan bakes.
Overfilling is not a useful way to avoid waste. Batter needs room to expand, and overflow can create a mess or interfere with safe oven operation. A correctly sized batch or a separate appropriate pan is a better solution.
Why baking time cannot be scaled by arithmetic alone
Changing area, depth and shape changes how heat reaches the middle. A larger but equally shallow layer may not need proportionally more time. A deeper cake may need longer even when its base is smaller.
Begin with guidance from a recipe designed for the new pan if available. Otherwise, make a cautious small adaptation and start observing at an appropriate point. Use the cake's combined doneness signs rather than assuming the old timer still applies.
Do not repeatedly open the oven early to check a fragile cake. Plan the likely observation window, then assess the center, surface and edges as the method directs. If the top colors before the center sets, depth and temperature deserve attention.
Read why cakes sink in the middle if a pan change creates a browned exterior and collapsed center. The problem may be incomplete setting rather than insufficient leavener.
Material and finish are another variable
Light metal, dark coated metal, glass and ceramic can brown and retain heat differently. If you change size and material together, you are making more than one change. Check recipe-specific adjustment guidance and the manufacturer's use limits.
King Arthur's pan guide explains why shape and material belong in the choice. Read our glass-versus-metal comparison for the thermal and safety trade-offs.
A nonstick finish does not eliminate pan preparation. For release, see preventing cakes from sticking. Foam cakes may need a different surface treatment from ordinary butter cakes.
Plan the layers, record the conversion and choose the pan
Planning layers and portions
Decide whether you want one thick cake, multiple layers or a sheet cake. Those are different baking and serving plans. Two shallow layers can be easier to bake predictably than one unusually deep layer, provided the recipe supports the setup.
Serving counts depend on slice size, cake height and the occasion. A wedding-style portion chart is not the same as a generous dessert slice at home. Do not buy a pan solely from a serving number without understanding the cutting plan.
For a repeated celebration cake, matching pans can simplify even layers. If the tins differ in material or depth, divide batter by weight and monitor each one separately. Equal batter weight does not guarantee equal baking time in unequal pans.
Document an adapted recipe clearly
Record the actual interior dimensions, material, batter weight per pan, oven mode and finish cues. That information makes a successful adaptation repeatable. “Used a bigger tin” does not.
When sharing the result, label the calculations as planning tools and the bake as your own observation. A close area match does not prove identical performance for every recipe. The boundaries are part of the advice.
Choose a dedicated recipe when the change is large
A move from shallow layers to a tall sculpted mold changes too much for area alone to guide it. Use a recipe developed for the destination pan. The same applies when a foam cake's support or a cheesecake's release method would change.
Geometry is most useful when it helps you make a modest, understandable adaptation. It is least useful when it gives false confidence about a fundamentally different cake shape.
A practical purchase checklist
- Inside dimensions match a recipe you actually use.
- Depth and recommended fill suit the cake style.
- Material and finish are clear, with accessible care instructions.
- The pan fits the oven and has suitable handling space.
- The base and seams suit the batter and release method.
- You have room to cool and store it.
A versatile pan you use repeatedly can be more valuable than a large set of unfamiliar sizes. Choose for the recipes you want to learn, then expand when a different task genuinely needs it.