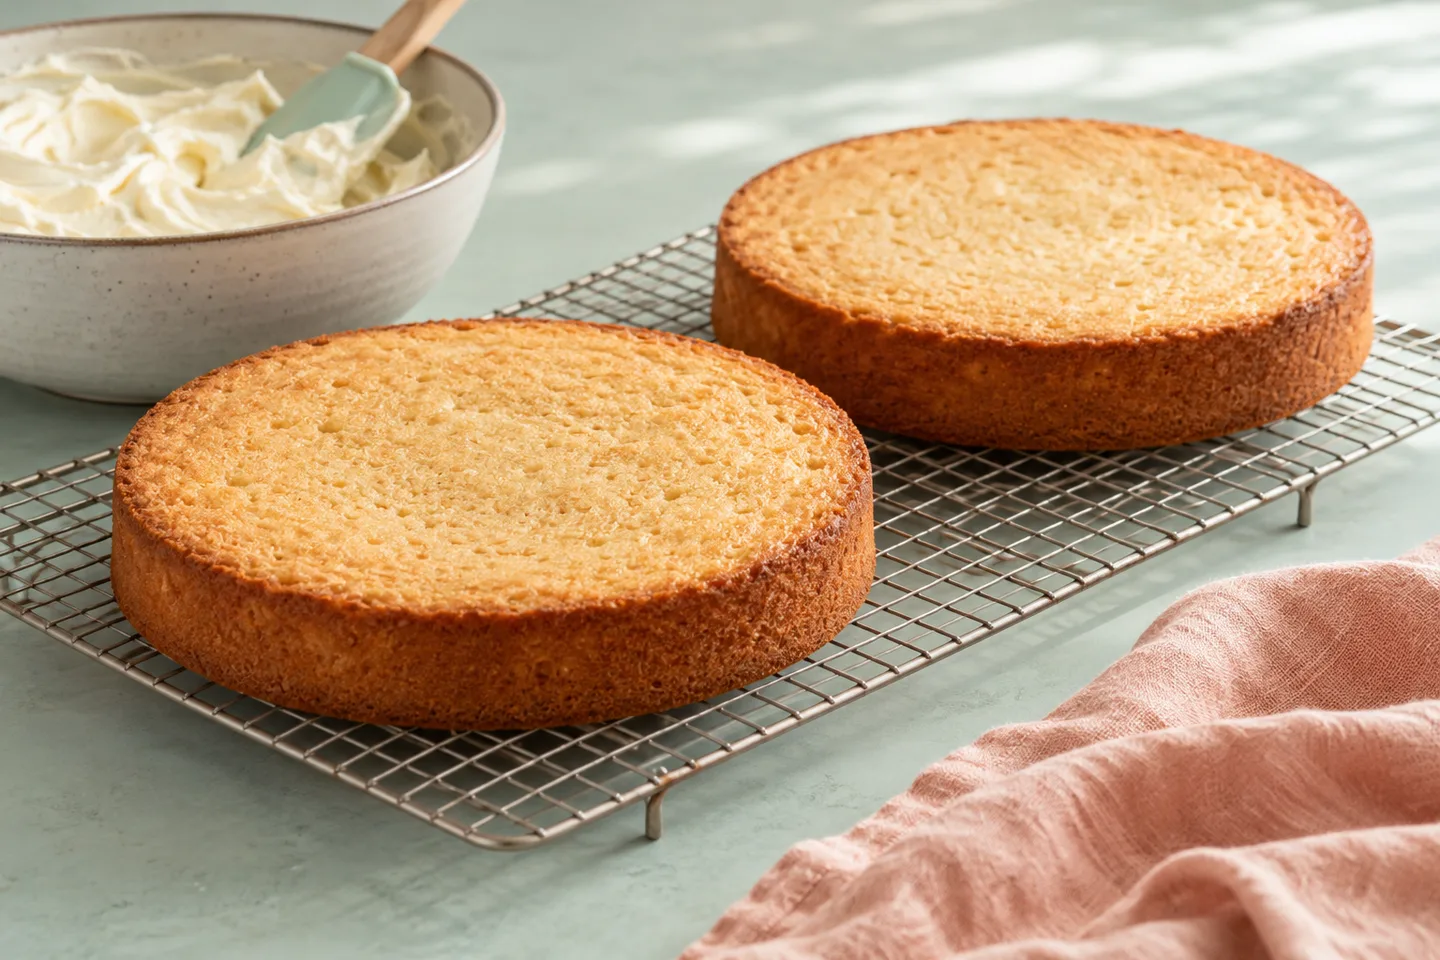
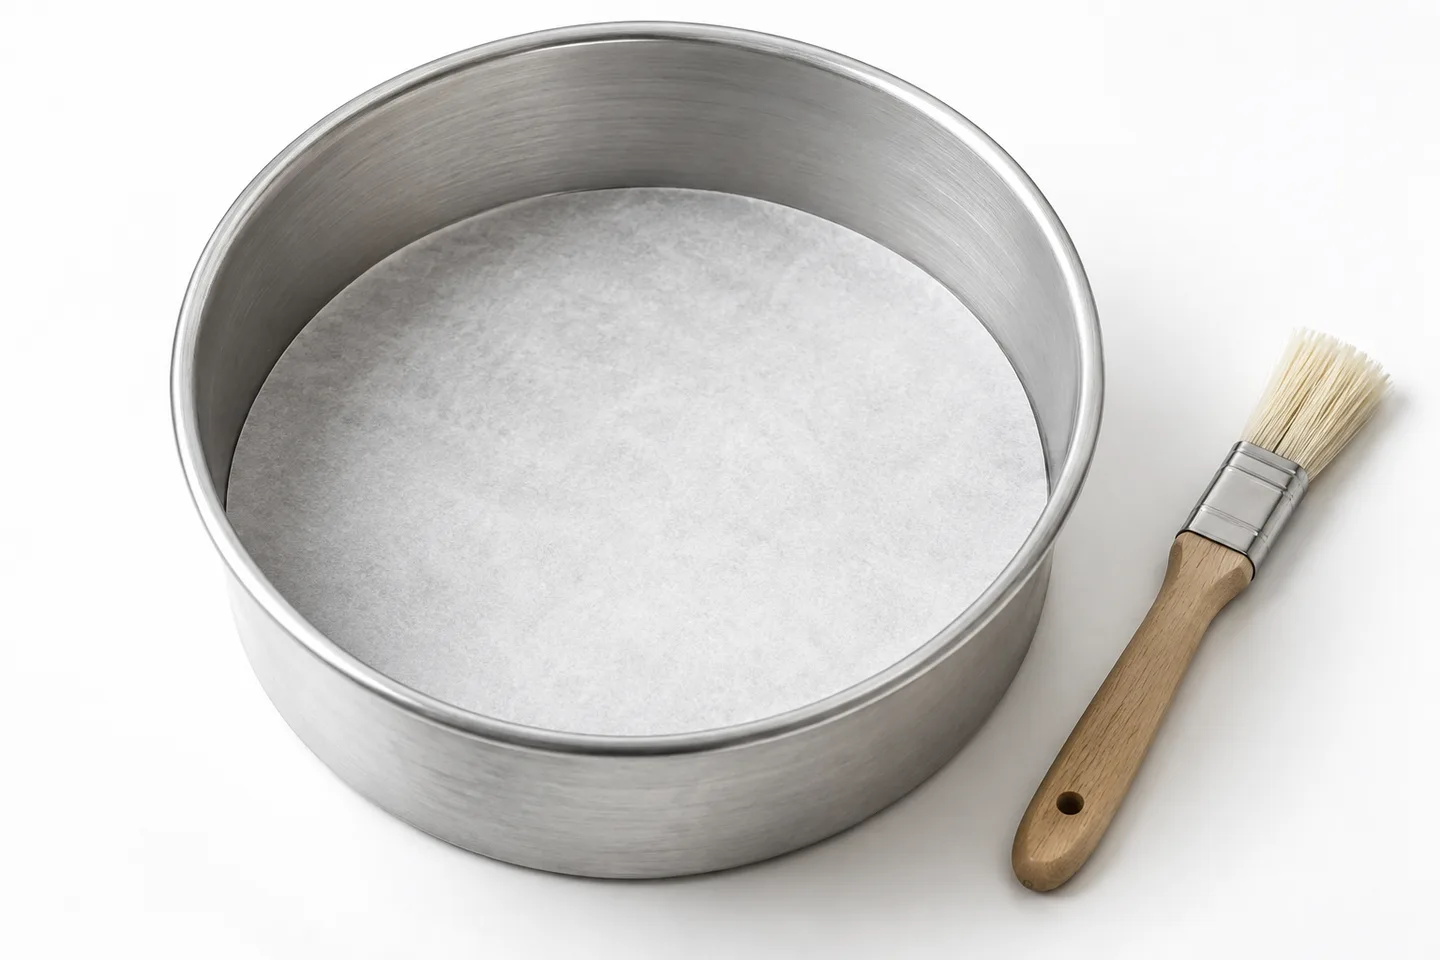
For most ordinary butter cakes, a fitted parchment circle on the base plus the recipe's recommended treatment for the sides provides reliable protection against sticking. Clean pan surfaces, complete baking and the correct release timing matter too. A nonstick label alone does not guarantee that a fragile cake will come out intact.
There are important exceptions. Angel food and some other foam cakes rely on ungreased surfaces for support. Decorative Bundt pans need a different preparation approach from a flat round pan. Begin with the cake's method, not a universal habit of greasing everything.
Choose the preparation method for this cake
Match preparation to the cake
| Cake and pan | Typical approach | Important exception |
|---|---|---|
| Ordinary butter cake in a round pan | Fitted parchment base and recipe-directed side preparation | Do not assume every foam cake uses this method |
| Bars or sheet cake | Parchment lining or sling where the recipe allows it | Keep overhang away from heating elements |
| Bundt cake | Careful coating of the mold's details as directed | A flat parchment circle cannot line the whole shape |
| Angel food or specified foam cake | Often an ungreased appropriate pan | Grease can interfere with the intended support |
If a recipe gives unusually specific pan instructions, there is often a structural reason. Follow them before substituting your usual spray or lining method. When uncertain, choose a recipe written for the pan you own.
Prepare the release workflow before mixing batter
Cut and fit the parchment, choose the appropriate coating, set out a cooling rack and clear a place for the hot pan before mixing. A batter that needs prompt baking should not wait while you search for scissors or discover that the rack is still under another cake.
Check the receiving surface too. A fragile layer needs support across its whole diameter. A plate that is too small can break the edge during release even when the pan preparation worked perfectly.
Use the sticking pattern as feedback
If a round cake releases at the sides but leaves a central patch behind, review the base lining and whether the cake was fully set. If one sidewall tears, check that area's coating, loosening and pan condition. If a decorative ridge remains in the mold, review how well the coating reached the recess.
The pattern suggests a place to investigate; it does not prove a cause. A weak, underbaked cake can break across an adequately prepared surface. Combine the sticking pattern with the crumb and doneness notes.
Keep release and cooling methods connected
A recipe's initial rest gives a cake time to become handleable, while its later cooling step supports the intended structure. Do not choose release timing solely from another cake's method. A dense Bundt, a thin butter-cake layer and an inverted foam cake are different cases.
If you are baking several layers, plan the sequence so each can cool and release as directed. Having only one receiving rack may tempt you to leave the last layer in its pan much longer than intended. Borrowing or buying a suitable extra rack can be more useful than changing the coating.
A clean pan helps the next batch too
Once the pan can be handled safely, clean it according to the maker's instructions. Sticky spray residue left through repeated bakes can make release harder to predict. Dry the pan fully before applying the next coating.
For two consecutive bakes, do not assume a warm pan is interchangeable with the cool pan the recipe expects. The batter can begin responding as soon as it touches warm metal. Allow the equipment to reach the intended starting state.
Before the next attempt, change the most plausible factor and keep the rest consistent. A fitted parchment base, a corrected side coating or complete center baking can each answer a different question. Applying every possible release trick at once may produce a cake, but it will not show you which part was missing.
When sharing your method, specify the cake type and pan. “Always grease everything” is less useful than “for this butter cake in this round pan, line the base and prepare the sides as directed.” The context makes the instruction transferable without making it universal.
Line and coat the pan deliberately
A practical method for a round butter-cake pan
- Check that the pan is clean, dry and in sound condition.
- Trace the base on baking parchment and cut a circle that fits without riding up the sides.
- Apply the recipe's recommended grease or baking spray where needed, including any step used to hold the paper in place.
- Lay the parchment flat and prepare the sides as the recipe directs.
- Add the batter without dislodging the paper, then bake in the specified oven position.
The paper creates a barrier where sticking is most frustrating: the center of the base. It cannot compensate for an unprepared sidewall when that cake requires side preparation. Check the rim and corners rather than coating only the easy middle.
King Arthur's pan-preparation comparison supports parchment and appropriate pan coating for ordinary cakes. Its result belongs to the tested cake and methods; it is not a guarantee for every recipe or pan.
Parchment is not wax paper
Use baking parchment rated for the intended oven temperature and application. Wax paper is a different product and should not replace parchment in exposed oven use. Follow the packaging, especially where paper could contact a hot element or be used near a broiler.
Trim excessive overhang. A sling should give you handles without creating a sheet that can blow into a heating element in a fan oven. Never use paper or clips in a way that conflicts with the pan, paper or oven instructions.
Choose the coating deliberately
Butter, shortening, oil and commercial baking sprays behave differently. A recipe may specify one because it has been developed with that preparation. Ordinary cooking spray is not necessarily the same as a baking spray containing flour.
Apply a thin, even layer rather than puddles. Excess coating can collect in corners or create a residue on the cake. Too little in a decorative recess can leave one stubborn patch that tears an otherwise clean release.
When flour is part of the method
If the recipe calls for greasing and flouring, distribute the flour across the prepared surface and tap out the excess. A heavy white layer is not useful insurance; it can create a dusty coating on the cake.
For chocolate cake, cocoa is sometimes used instead of flour to avoid a pale surface, but it should suit the recipe and coating. Do not add sugar as a replacement without a tested method. Dissolved sugar can become sticky rather than forming a clean release barrier.
Bundt pans need attention to the details
A sculpted mold has grooves, curves and a center tube that a flat pan lacks. Coat all those surfaces carefully according to the recipe and the pan manufacturer. A pastry brush can help you see and reach recesses where a quick spray may miss.
Prepare the pan at the point the recipe recommends so the coating remains in the right place. Some methods favor preparing it close to filling, especially if a coating might slide down the sides. Avoid pooling in the bottom of the pattern.
Sticky inclusions can complicate release. Fruit, melted chocolate or caramelized sugar may create localized sticking. A sound, adequately prepared mold matters more than relying on the word “nonstick.”
King Arthur's Bundt guide discusses the distinct demands of the shape. Use a recipe and cooling sequence intended for that pan rather than copying a flat-layer-cake routine.
Bake fully and release with support
Sticking may be a baking problem too
An underbaked cake can cling and break because its structure is not set. A very dry overbaked cake may also fracture during handling. Check the recipe's combined doneness cues, especially in the center, before assuming pan coating was the only issue.
A pan-size substitution can alter batter depth and baking time. If a layer was much deeper than intended, the base and edges may look finished while the center remains fragile. Read how to choose cake pan size before converting a recipe.
If a released cake has a gummy center or a deep dip, review why cakes sink in the middle. Fixing that structure is more important than increasing the amount of spray.
Release timing is a balance
A very hot cake can be too fragile to turn out. A cake left too long in some pans may set sticky areas against the surface. The best interval depends on the cake and mold, so use the recipe's timing rather than one universal ten-minute rule.
Set the pan on a rack for the prescribed initial rest. Have the receiving rack or plate ready before turning it over. A hurried search for a plate while holding a warm pan adds unnecessary risk to a delicate step.
Where appropriate, loosen the side gently with a thin, pan-safe tool. Avoid a sharp metal knife against a coated surface. Run the tool close to the wall rather than cutting into the cake, and do not scrape a decorative pattern aggressively.
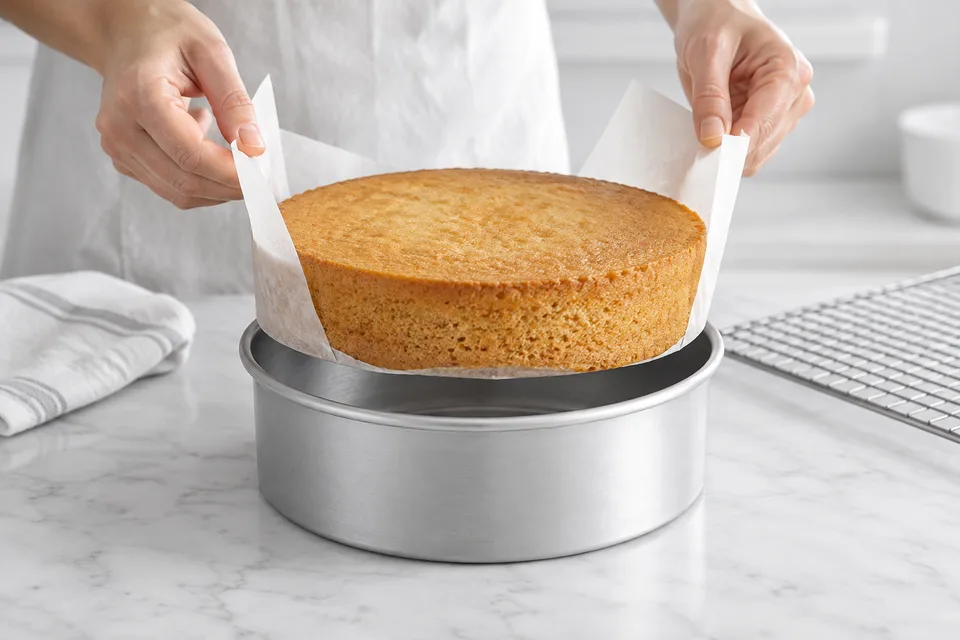
Support the cake through the turn
Use a rack or plate large enough for the whole cake. Hold it securely against the pan and turn in one controlled movement, using suitable heat protection where needed. A cake hanging partly off a small plate can break even if it released cleanly.
For parchment-lined layers, remove the paper gently at the stage the recipe recommends. Pulling hard against an unsupported warm cake can tear its surface. Support the layer as you peel rather than letting the paper carry its weight.
Deal with sticking and care for the pan
If the cake is already stuck
Pause rather than repeatedly slamming the pan. Check whether the recipe's release time has arrived and whether the sides have been loosened appropriately. A gentle tap may help, but force can break the cake or damage the pan.
Do not scrape a coated pan with a sharp knife or expose it to an improvised direct heat source. Some rescue methods are specific to particular cakes and pans; a general internet trick can conflict with the equipment's instructions.
If a fully baked cake comes out in pieces, it may still be usable as slices or in a dessert made from sound cake pieces. That is a presentation change, not a reason to hide raw batter or ignore spoilage. Photograph the sticking pattern so you can improve the next preparation.
Inspect and care for the pan
Old residue can make a coating less predictable. Clean the pan as its maker directs, dry it thoroughly, and check for dents, corrosion or damaged nonstick surfaces. A deep scratch or peeling coating deserves attention; do not simply cover it with more grease.
Use utensils suited to the finish. An uncoated metal pan and a delicate nonstick mold can tolerate different cleaning tools. Abrasive scrubbing that makes one pan look shiny may damage another.
See our guide to cleaning baking sheets for the principle of identifying the material first. For cake molds, the manufacturer's specific care instructions remain the final guide.