Cool an ordinary cake layer completely before applying buttercream or another frosting that needs a cool surface. Begin with the recipe's initial rest in the pan, release the cake when directed, and let it finish cooling with appropriate support and airflow. There is no dependable one-hour rule for every cake: thickness, recipe and room conditions change the timetable.
Cooling and frosting are separate decisions. A cake can be firm enough to leave its pan while still too warm to decorate. A chilled cake can be easier to handle, but refrigeration is not an excuse to skip safe handling or wrap a steaming layer.
Prepare the cooling space and allow the initial rest
Plan the cooling space before the cake goes into the oven
Clear a dry, heat-safe landing place for the hot pan. Set out a stable cooling rack, a suitable board or plate for release, and the tools the recipe requires. A cake should not wait in a warm tin while you search through cupboards for somewhere to put it.
Check that the rack supports the whole layer. A large cake balanced over a narrow rack can bend or break even if it releases cleanly. Several layers need enough space to cool separately, not a stack that traps warmth between them.
Read the cooling instructions before mixing. A butter cake, a Bundt and an angel-food cake may have different release and support requirements. A familiar habit from one style can be wrong for another.
Make the decorating schedule realistic
If you need a finished cake at a particular time, work backward through baking, cooling, any chilling, filling and frosting. Include time for the frosting's preparation and the crumb coat's setting. A cake leaving the oven immediately before guests arrive is not ready for a stable layer-cake assembly.
For a high-pressure occasion, a recipe-supported make-ahead plan can be more dependable than trying to accelerate every stage. Plain layers that freeze well can be prepared ahead and handled according to the recipe.
Give the cake its intended initial pan rest
Freshly baked cake can be fragile. The recipe's initial rest allows it to become easier to handle, while the pan still supports the shape. Removing it too soon can tear the layer even when the base was lined correctly.
Leaving it in the pan much longer than intended can also change the result. Moisture may soften the sides, and some cakes become harder to release as sticky areas settle against the surface. Follow the particular recipe rather than imposing a universal ten-minute rule.
Use appropriate heat protection and place the pan on a stable surface. Do not set a hot glass dish on a wet or cold support. The bakeware's instructions remain important during cooling, not just during baking.
Foam cakes are a distinct case
Some foam cakes rely on an ungreased pan and inverted cooling to support their structure. Do not release them using the method for an ordinary butter-cake layer. Their recipe specifies how the cake should remain supported as it cools.
If you are unsure which method applies, identify the cake style and use a recipe written for the actual pan. Cooling instructions are part of the cake's structural method, not an optional finishing preference.
Release with support and cool the layers separately
Release the layer with enough support
Loosen the sides only when the recipe calls for it, using a tool compatible with the pan's finish. Avoid scraping a coated surface with a sharp knife. Keep the receiving rack or plate aligned with the pan before turning it.
Turn in a controlled movement and support the layer across its width. Peel any parchment at the stage the recipe recommends. Pulling paper against an unsupported warm layer can remove more than the lining.
If part of the cake sticks, pause rather than repeatedly striking the pan. Review the release timing and preparation. Our guide to preventing cakes from sticking explains the relevant checks.
Handle a repaired layer gently
A small break in a fully baked, sound layer may be manageable during assembly. Do not treat frosting as a repair for an unfinished or raw center. If the cake is gummy or has collapsed deeply, investigate the bake before decorating it.
Use the cake-sinking guide to separate cosmetic damage from a structure or doneness problem. A frosting deadline should not override that assessment.
Let airflow reach the plain layers
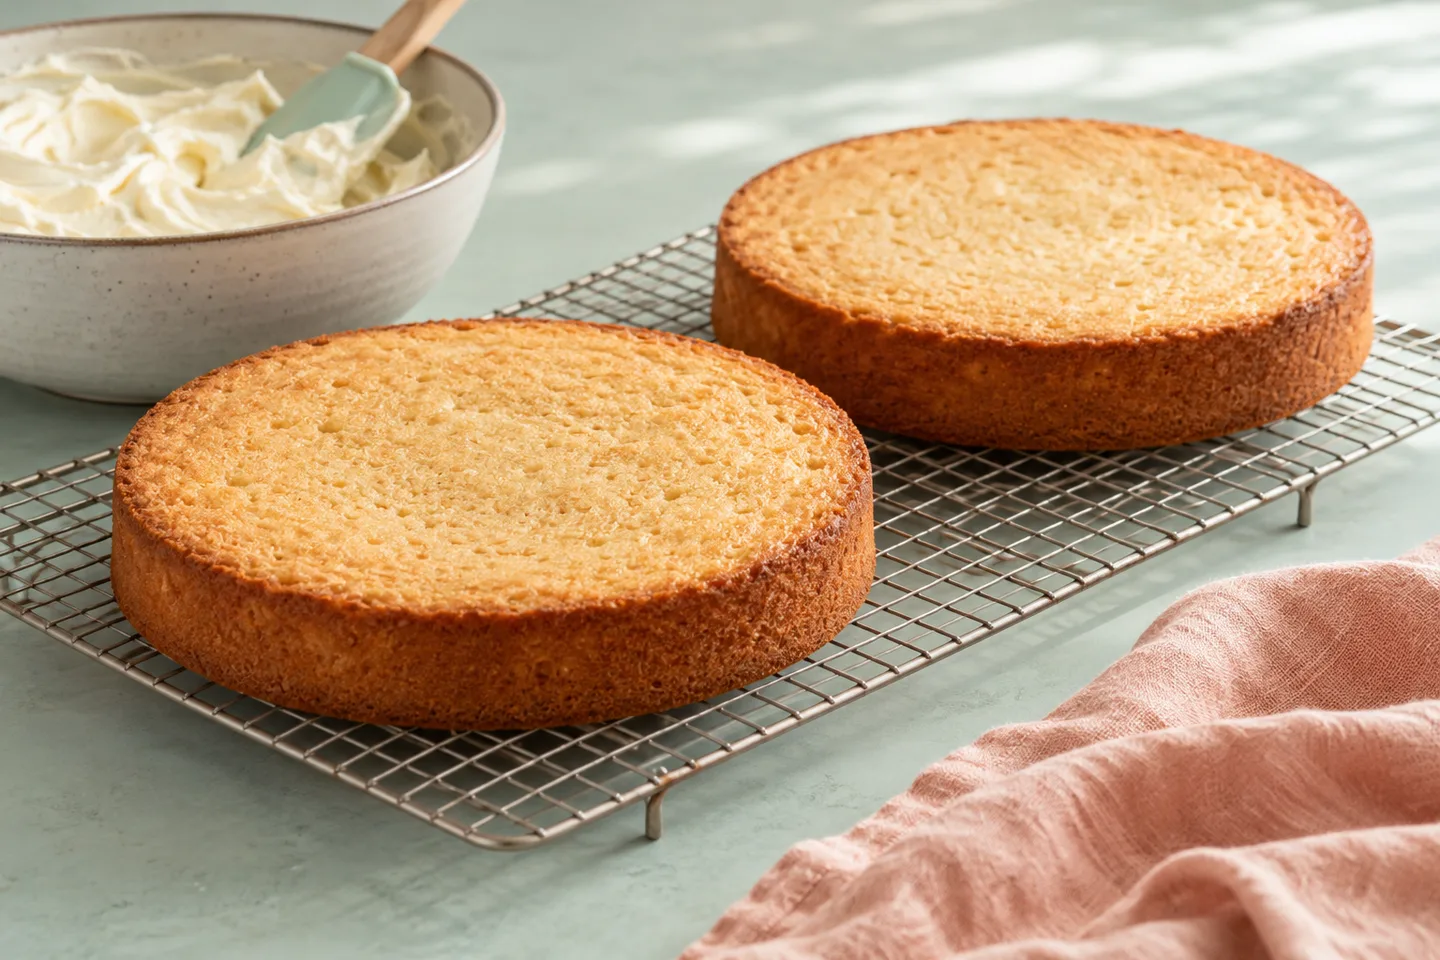
Place ordinary released layers separately on the appropriate rack. Leave space between them and avoid enclosing a warm cake under a tight cover. Trapped steam can create a damp surface and delay a clear assessment of its temperature.
A thicker layer takes longer to cool through than a thin one. The center can remain warm after the edge feels comfortable. Room temperature and airflow matter too, so a timetable from another kitchen is only a starting estimate.
Keep the cake protected from contamination while allowing suitable cooling. Choose a clean area away from raw-food preparation, pets and direct heat. Cooling on the counter does not mean leaving it exposed in an uncontrolled place.
Do not stack layers while they are warm
Stacking slows heat loss and can compress a fragile cake. It may also leave the contact surfaces damp. Keep layers separate until they reach the state required for wrapping or assembly.
Do not press heavily on the cake to decide whether it is cool. A light touch can tell you about the surface, but the layer's thickness and cooling history still matter. The goal is a cool, stable layer, not a dented one.
Confirm frosting readiness before applying the crumb coat
Check readiness for the frosting you are using
For buttercream, a warm cake can soften or melt the frosting, making layers slide and the finish difficult to control. Wait until the cake is cool throughout. A little patience here is usually more effective than adding extra sugar to a frosting that is melting against warm cake.
Some glazes are deliberately poured over a warm cake, and some frostings have their own application temperatures. Those are recipe-specific methods. Do not transfer a warm-glaze instruction to a layer cake filled with buttercream.
King Arthur's layer-cake assembly guide supports working with cooled or appropriately chilled layers and letting the crumb coat become firm. Use those stages to organize the process, not to invent a single cooling time for every recipe.
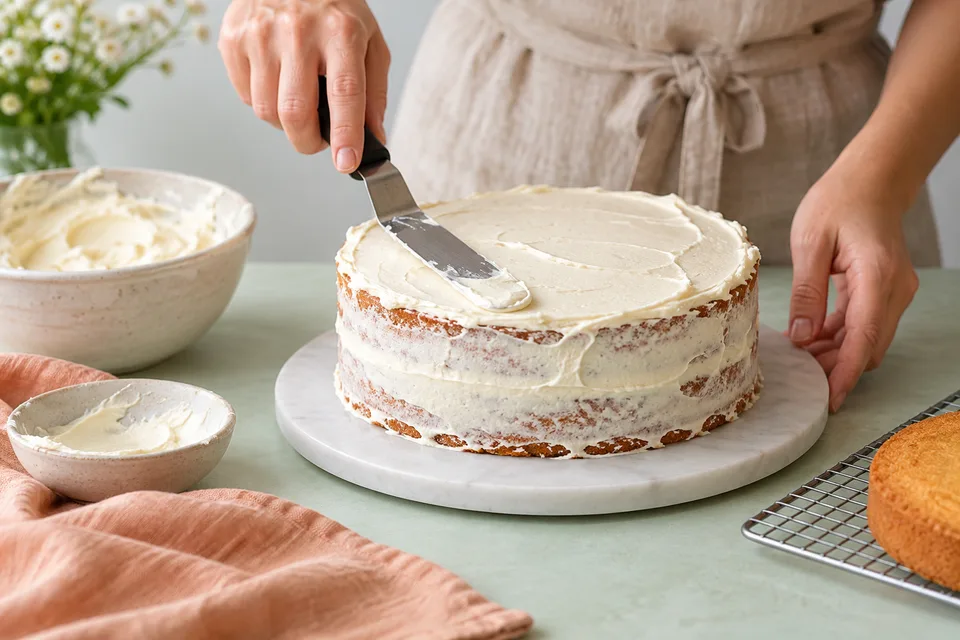
Apply a crumb coat when the method calls for it
A thin initial coat can hold loose crumbs in place before the final finish. The cake and frosting both need suitable consistency. If the layer is still warm, the crumb coat may smear or slide instead of becoming useful support.
Let the coat set according to the frosting and recipe before adding the finish. Chilling can be helpful, but a short spell in a refrigerator does not make an unsuitable filling safe for unrestricted room-temperature display.
Speed up the workflow without creating a new problem
The simplest improvement is to start earlier and provide adequate rack space. A thin layer cools differently from a deep cake, so choosing an appropriate layer-cake recipe can make timing easier than trying to chill a very thick cake rapidly.
A recipe may support a brief refrigerator or freezer step for plain layers after appropriate initial cooling. Use that method rather than wrapping a steaming cake tightly and assuming it will emerge with the intended texture.
Keep warm bakeware and the appliance's capacity in mind. Follow manufacturer and recipe instructions, and avoid crowding a refrigerator with hot equipment that affects other food. Never use a wet, icy surface as a shortcut for cooling hot glass.
What about cutting the cake while it is warm?
Cutting can release heat, but it also changes the structure and exposes crumb. It is not a general cooling shortcut for a layer that needs to remain intact. Level or divide the cake at the stage the method recommends.
If a recipe intentionally uses warm cake pieces in another dessert, follow that method. That is a different use from preparing a stable whole layer for frosting.
Plan chilled components and make-ahead transitions
Perishable fillings and toppings need a cold-storage plan
A plain cake layer and a finished cake containing custard, cream cheese or whipped cream can have different storage requirements. Plan the cooling and assembly around the ingredients actually used. Protecting the finish does not justify a prolonged warm hold of a perishable component.
The FDA's safe-handling guidance calls for refrigerating perishables within two hours, or one hour when conditions exceed 90°F (32°C), and maintaining a refrigerator at 40°F (4°C) or below. Count handling and display time together; returning a cake to the refrigerator does not erase earlier exposure.
Do not assume every frosting is shelf-stable because it contains sugar. Use the actual recipe's storage guidance. If the finished cake needs chilling, plan its transport and display as well as its overnight storage.
Chill the filling while the layers cool
Keep temperature-sensitive fillings protected in appropriate refrigeration until the layers are ready. Bring out only what you need for assembly. A large bowl left beside the cooling cake can accumulate unnecessary warm time.
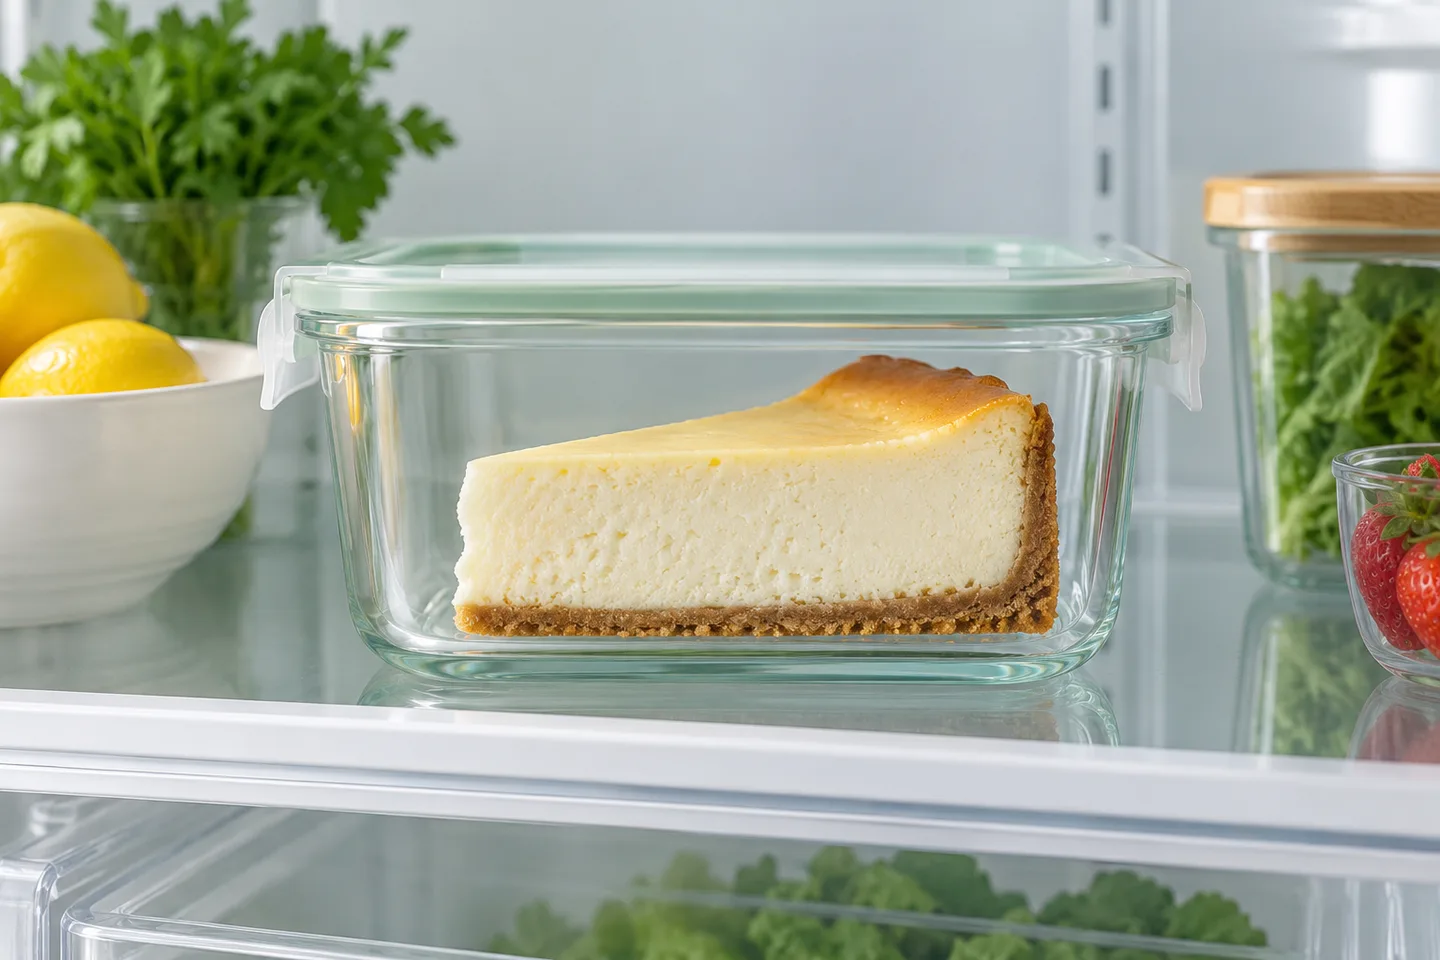
For a dairy-rich dessert comparison, see cheesecake storage. Its cold-chain considerations should not be replaced by ordinary plain-cake cooling advice.
Choose a make-ahead plan instead of a last-minute shortcut
When the recipe permits it, cool plain layers fully and package them for the intended short-term or frozen storage. Label the recipe and date, and keep layers supported so wrapping does not distort them.
Thaw according to the cake's ingredients and the recipe's method. A cake that needs refrigerated handling should not be left on the counter overnight. Keep frosting and filling instructions separate from the plain layer's storage plan.
Our guide to freezing cake batter explains why freezing suitable baked layers is often the more predictable make-ahead route. The cake's structure has already set, so you avoid asking raw batter to retain its original mixing and leavening behavior.
A simple decorating-day sequence
Prepare a stable board and working space. Confirm the layers are cool and suitable to use. Prepare or retrieve the filling safely, assemble with even support, add a crumb coat where appropriate, and complete the finish after the coat has set.
Keep the completed cake under the storage conditions its most sensitive component requires. A beautiful finish is the last visual stage, not the end of food handling.
Move chilled layers into the decorating space thoughtfully
A cold cake entering a warm, humid room can develop surface moisture. Consider the recipe's thawing and wrapping instructions, and let the layer reach the appropriate handling state before judging whether the surface is ready for frosting. Chilling is a useful step, but it does not guarantee a dry exterior in every room.
Avoid wiping a delicate cake aggressively or dusting it with extra flour to hide moisture. Those actions can disturb the crumb or change the finish. Allow the method's intended transition, and keep sensitive fillings refrigerated while waiting.
Check the board as well as the cake. A damp or unstable base makes assembly harder even when the layer itself is sound. Work on a clean, level support, and choose a frosting consistency suited to the cake's actual temperature rather than repeatedly adjusting it to compensate for a rushed cooling step.