Cookies spread too much when the dough flows faster than its structure sets. Warm butter, a hot tray, too little flour, a changed recipe or an unsuitable baking surface can all contribute. Start by cooling the tray and checking the dough and measurements before adding extra flour to the entire batch.
Some cookies are supposed to be thin. Compare your result with the recipe's intended size and texture. A crisp lace cookie is not a failed thick chocolate chip cookie; they are different formulas.
Read the tray pattern before changing the dough
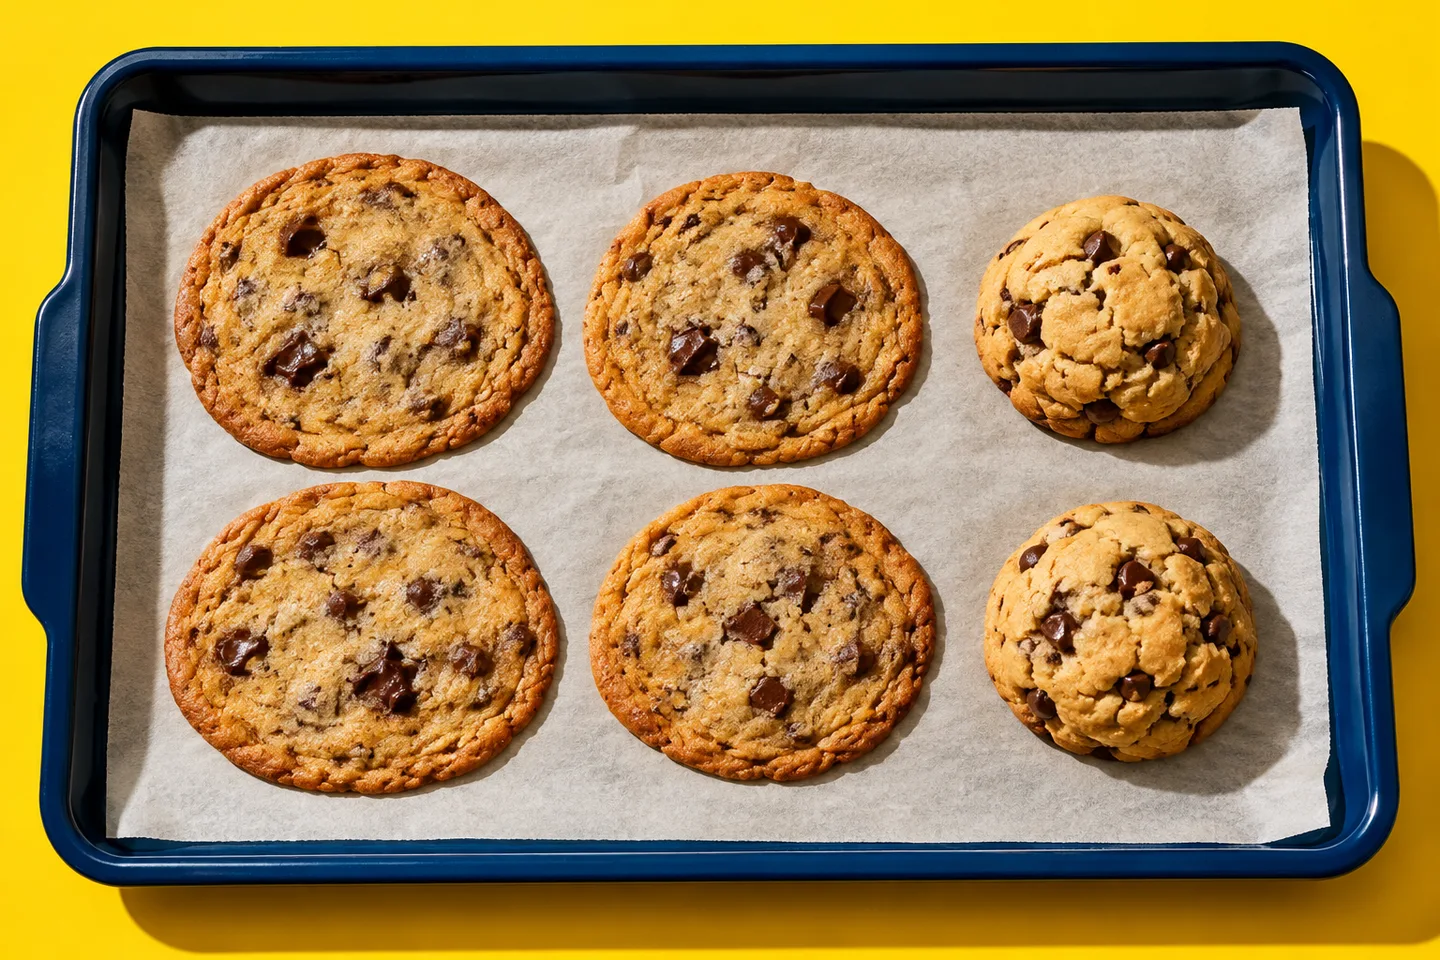
Read the pattern on the tray
If the first tray is good and the second spreads, a reused hot tray or dough warming between batches is a useful suspect. If every tray spreads evenly, review the formula and dough temperature. If one side spreads or browns more, oven conditions may be involved.
Look at the raw portions too. Were they already flattening on the counter? Did they go onto a greasy surface? Were some much larger than others? Those clues often explain more than the color of the finished cookies.
Photograph one batch and write down the tray, lining and dough temperature. These are ordinary troubleshooting notes, not a controlled test. They help you avoid changing several variables at once.
Recognize an intentional thin cookie
Some cookies are designed to spread into a broad, crisp shape. Their dough may look unusually soft, and their finish cues differ from a thick drop cookie. Read the intended result before trying to stop all movement.
If you want thick cookies, choose a recipe that aims for them. Adding flour to a thin-cookie formula until it stops spreading may create an unbalanced, dry cookie rather than a successful version of another style.
Look at the expected diameter relative to portion size. A small dough ball can still make a large thin cookie by design. Spacing on the tray must accommodate that intended spread, so touching cookies are not always evidence that the dough behaved incorrectly.
Make changes measurable
If you deliberately adjust a dough after identifying an error, weigh the addition and record the new total. A note such as “added 10g flour to correct an omitted amount” is repeatable. “Added flour until it looked better” is not.
Do not describe a single corrected batch as a universal solution. Keep the original recipe and the changed version clearly separated. That way, a future batch can reproduce either one without accumulating accidental changes.
The most reliable routine combines consistent ingredients with consistent tray turnover. You can control both without buying specialized equipment: a clear portioning method, a cool baking surface and a record of the waiting dough's state go a long way.
Find the point where the dough started flowing
Butter temperature is not just “cold or warm”
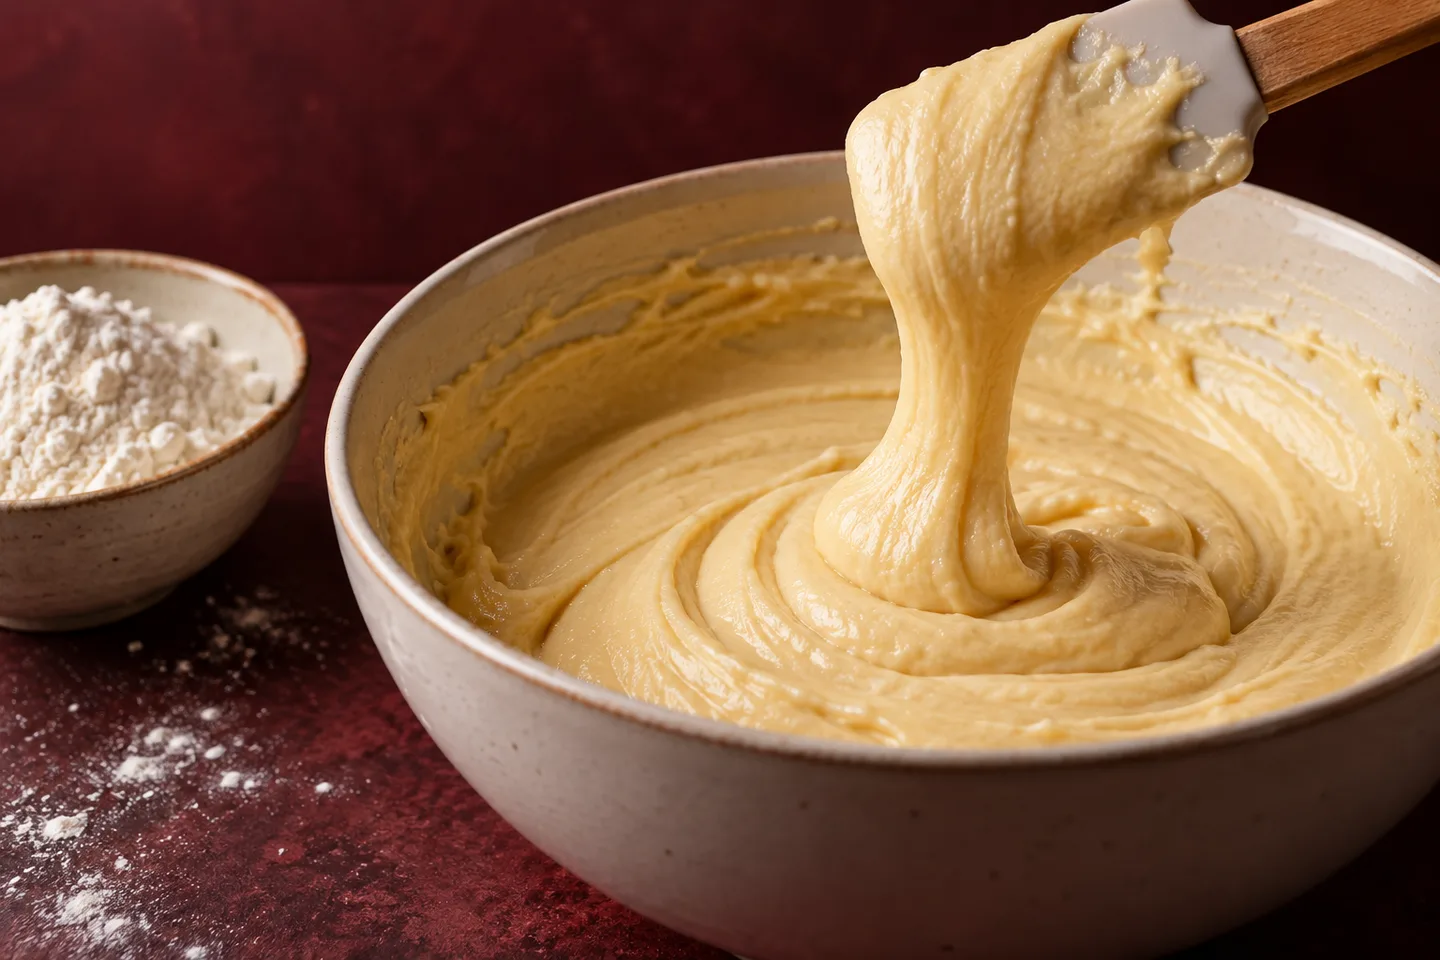
A recipe calling for softened butter usually expects a workable texture, not a pool of partly melted fat. Butter that is overly warm may not behave as intended during creaming. The resulting dough can spread before it sets in the oven.
A recipe designed around melted butter is different. Its mixing sequence and chilling needs account for that starting point. Do not treat melted butter as an interchangeable shortcut in a softened-butter recipe.
King Arthur's cookie-spread troubleshooting identifies overly warm butter as one common factor. That does not mean every spreading batch needs refrigeration; first determine what the recipe intended.
Chill according to the recipe
Chilling can firm dough and change how it behaves, but the length and method depend on the formula. A dough chilled in one large bowl takes a different time to cool than individually portioned balls. Keep it covered so it does not dry on the surface.
If the dough is unusually soft because of a measuring mistake, chilling may only delay the problem. It cannot restore flour that was omitted or correct a major fat substitution. Make the recipe make sense before relying on the refrigerator.
Never start the next batch on a hot tray
A tray just removed from the oven can begin melting the fat in a new dough portion before baking starts. The cookie then enters the oven with a head start on spreading. Let the sheet cool or alternate between trays.
Do not rapidly quench a hot tray in cold water to save time. That can warp some bakeware and creates an unnecessary handling hazard. Use a rack or protected surface and let the equipment cool as its maker recommends.
Choose a tray that fits the oven with space for air circulation. A very large sheet pressed against the oven walls changes the environment. Place it on the rack the recipe specifies.
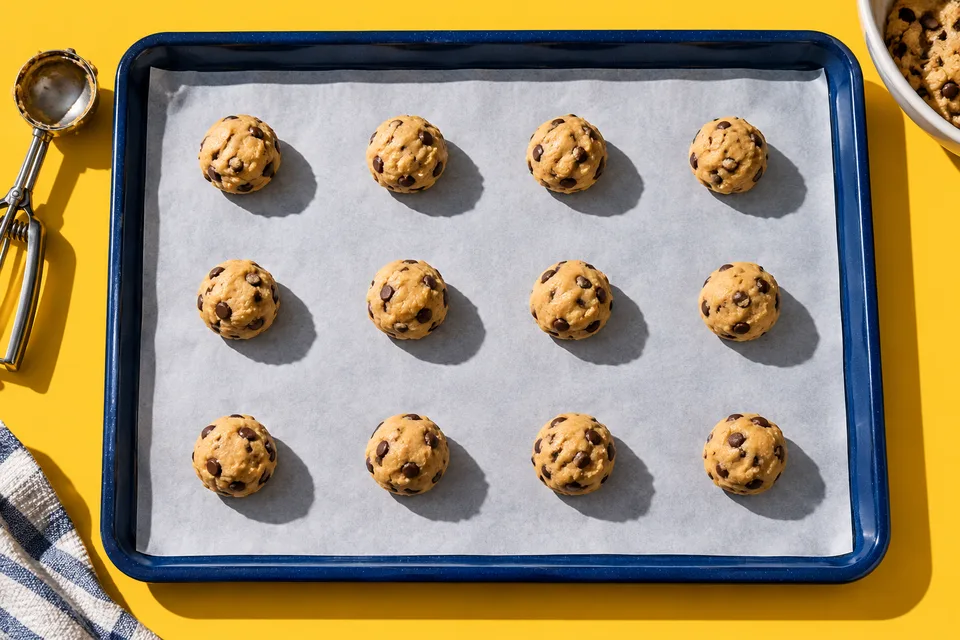
Grease and lining are part of the formula
A greased pan can encourage a dough to flow differently from parchment or an ungreased surface. Silicone mats can also produce a different result from paper for some cookies. Use the lining the recipe describes before substituting it.
King Arthur's pan-lining comparison shows that baking surfaces can affect spread in a particular cookie formula. Treat it as evidence that the surface matters, not a universal verdict that one lining always wins.
Check the ingredient balance
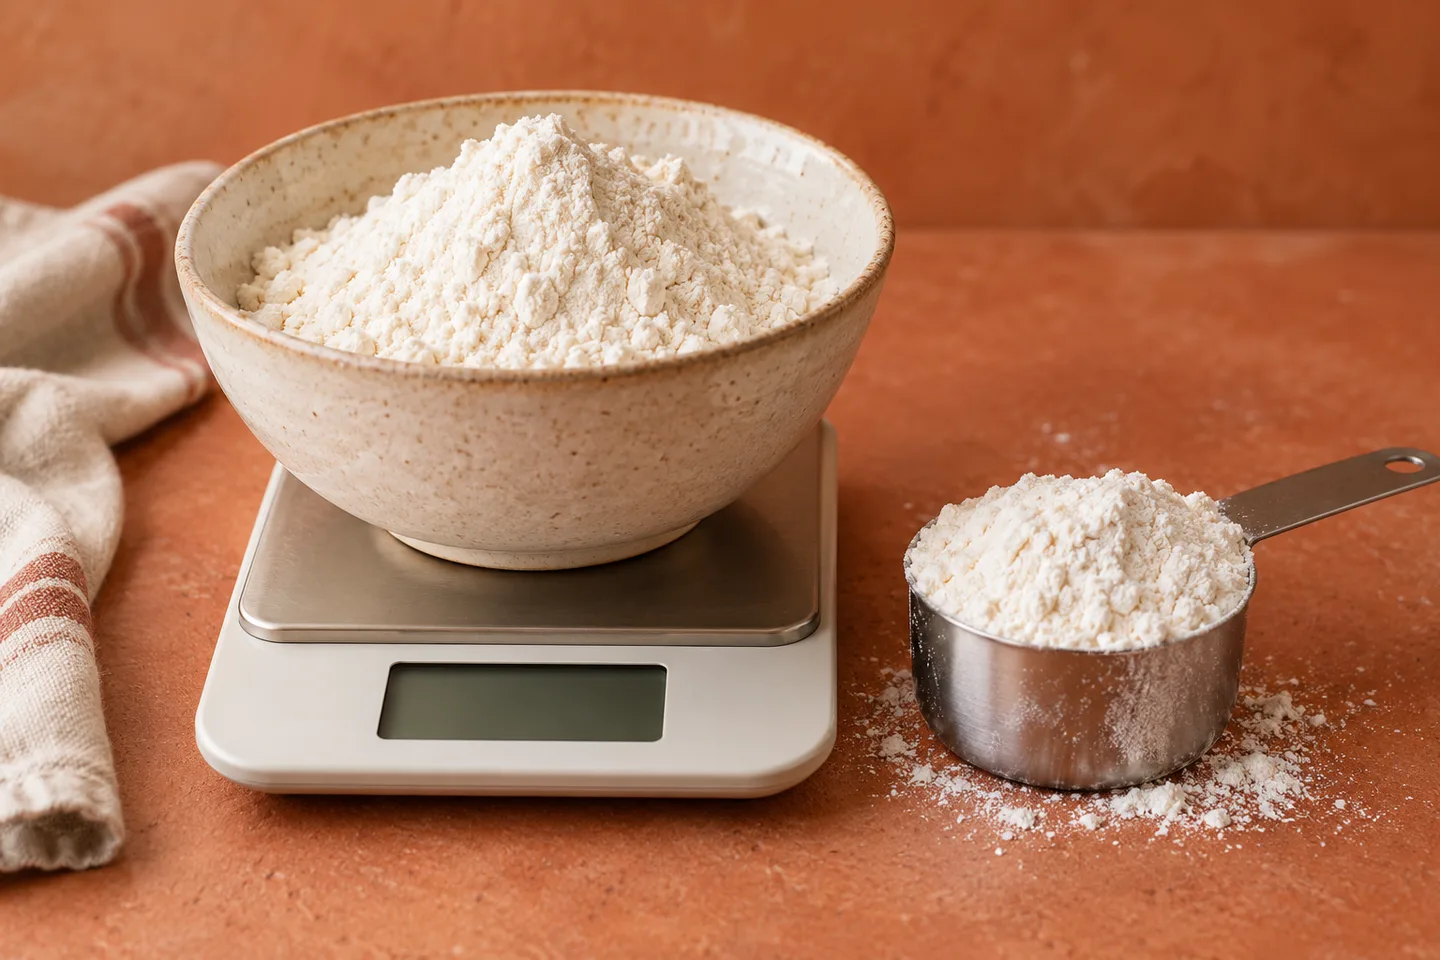
Flour supplies part of the structure that limits spread. Too little can make a cookie flow more than intended, while too much can make it dry and thick. Weigh flour when possible and use the author's conversion if measuring by volume.
Fat substitutions matter. A spread sold as a butter substitute may contain a different amount of water or fat. Replacing butter with oil changes the starting structure. Low-fat spreads are not automatically suitable for a cookie written for standard butter.
Sugar type and amount also affect the result. Replacing all the brown sugar, reducing sugar substantially or adding extra syrup changes more than sweetness. A recipe is a system; the ingredients do not work independently.
Read how to measure flour correctly if dough texture is consistently unpredictable. For leavener confusion, see baking soda versus baking powder rather than increasing one to “make cookies puff.”
Remember egg size and additions
A large egg and an extra-large egg are not identical. In a small recipe, the difference can matter more than you expect. Adding extra liquid flavoring, very wet fruit or a large quantity of chopped ingredients can also alter the dough.
Use the original formulation for troubleshooting. Once it behaves predictably, make a deliberate adaptation and record it. Otherwise, a series of small changes can become a large, unrecognized recipe change.
Confirm the oven rather than guessing a new temperature
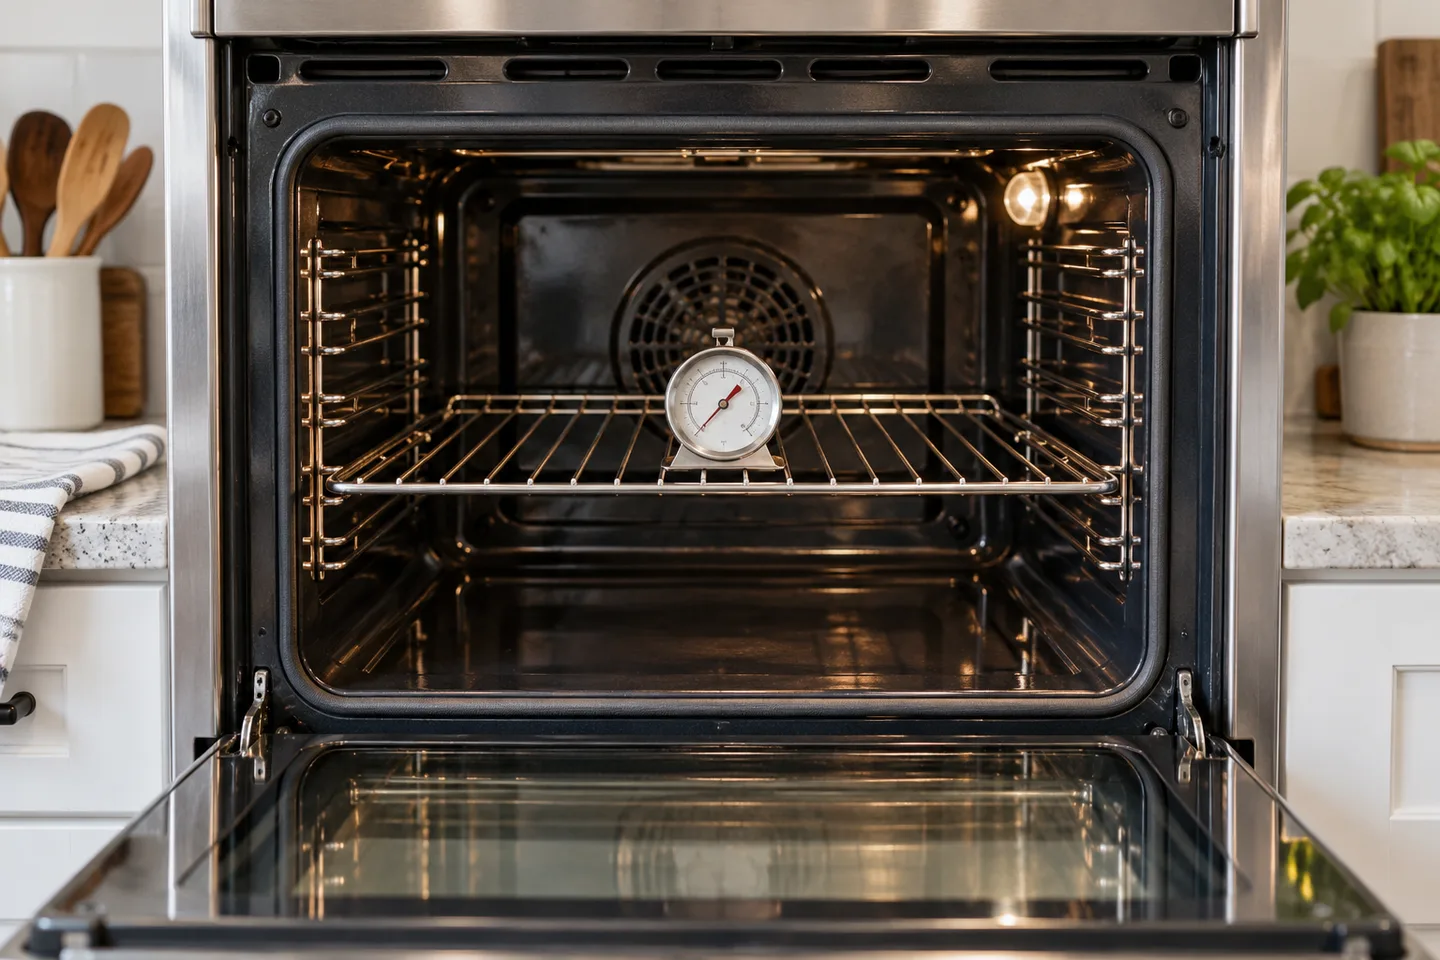
A poorly preheated oven may allow cookies to flow differently before their structure sets. An oven that runs hotter or cooler than expected can change both spread and browning. Begin with the specified temperature and mode, then investigate repeated mismatches.
Use an independent thermometer for a broader picture of the oven's cycle. Do not interpret one brief reading after an open door as the true baking temperature. Follow the oven's manual if calibration is needed.
There is no universal instruction to turn the temperature up or down for every spreading cookie. Different formulations respond differently. Our article on uneven oven baking explains how to separate a hot spot from a general temperature issue.
Make the next tray a controlled check
Portion size and spacing affect the tray
Use a consistent scoop or weigh portions if the recipe specifies a size. Larger portions can have a different balance between spreading and setting, and their centers need longer. Changing portion size while keeping the original bake time can produce misleading results.
Leave the space the recipe recommends. Even correctly spreading cookies can touch if they start too close together. Crowding is not necessarily excessive spread; it may simply be insufficient spacing.
If a recipe asks you to flatten the dough, do so to the intended thickness. If it asks you to leave portions as mounds, do not press them flat merely because another cookie recipe does. Shape is part of the method.
Use a small check before committing the whole batch
Bake two or three properly spaced portions on the intended cool tray. Let them cool enough to evaluate. If they behave correctly, continue. If they spread too far, review the raw dough and setup before using the rest.
This is a practical kitchen check, not a scientific claim. Keep the conditions consistent: same portion size, same rack, same lining and the same temperature. A check made on a tiny dark pan will not necessarily predict a large light-colored tray.
- Confirm the tray is fully cool.
- Check whether the dough has warmed beyond the recipe's intended state.
- Verify flour, butter, sugar and egg measurements.
- Confirm oven mode, preheat and pan lining.
- Change one likely cause, then try another small set.
Why not add flour immediately?
Extra flour can reduce spread, but it can also make the cookies dry or tough. If the original problem was a hot tray, you have now changed a sound dough to compensate for equipment handling. Diagnose the easier variables first.
If an ingredient was genuinely omitted or badly mismeasured, repair may require a carefully calculated remix or a new batch. A vague handful is not a repeatable correction. Keep any changed batch separate from the original recipe in your notes.
Troubleshoot the sequence between batches
A recipe can work at the start of an afternoon and become less predictable later. The dough warms, the oven cycles, the tray remains hot, and the lining may be reused. Track those changes before assuming the ingredient list is wrong.
Keep the waiting dough covered and at the state the recipe specifies. Portion consistently. If the method calls for chilled dough, bring out only what you need for the next tray rather than leaving the entire bowl beside the oven throughout several batches.
The first-tray comparison
If the first tray is thick and the second is flat, use a fully cooled second sheet and check whether the waiting dough has softened. Keep the portion size, rack and lining the same. This directly addresses two plausible changes without altering flour or sugar.
If both trays spread equally, return to the measurements and starting butter state. A repeated result across cool trays suggests you need to inspect the formula or oven setup rather than the turnover routine alone.
The one-sided comparison
If one edge of the tray spreads and browns differently, note its orientation. Uneven portions and localized heat can both contribute. A recipe-appropriate rotation may help, but first make sure the raw dough balls are actually comparable.
A sheet with a warped surface or heavy uneven residue can also introduce a variable. Clean and inspect it as directed. Do not change to a new dark pan and call the result a fair test of rotation; you have changed the heat behavior too.
Assess the finished cookies and keep the useful lesson
What to do with the cookies you already baked
If the cookies are fully baked and otherwise sound, thinner cookies can still be enjoyable. Let them cool before lifting so their structure can settle. Breaking a hot cookie while trying to move it does not tell you how it will behave when cool.
For future texture, see keeping homemade cookies soft. A storage box can protect a chewy result, but it cannot turn a thin, crisp formula into a thick cookie.