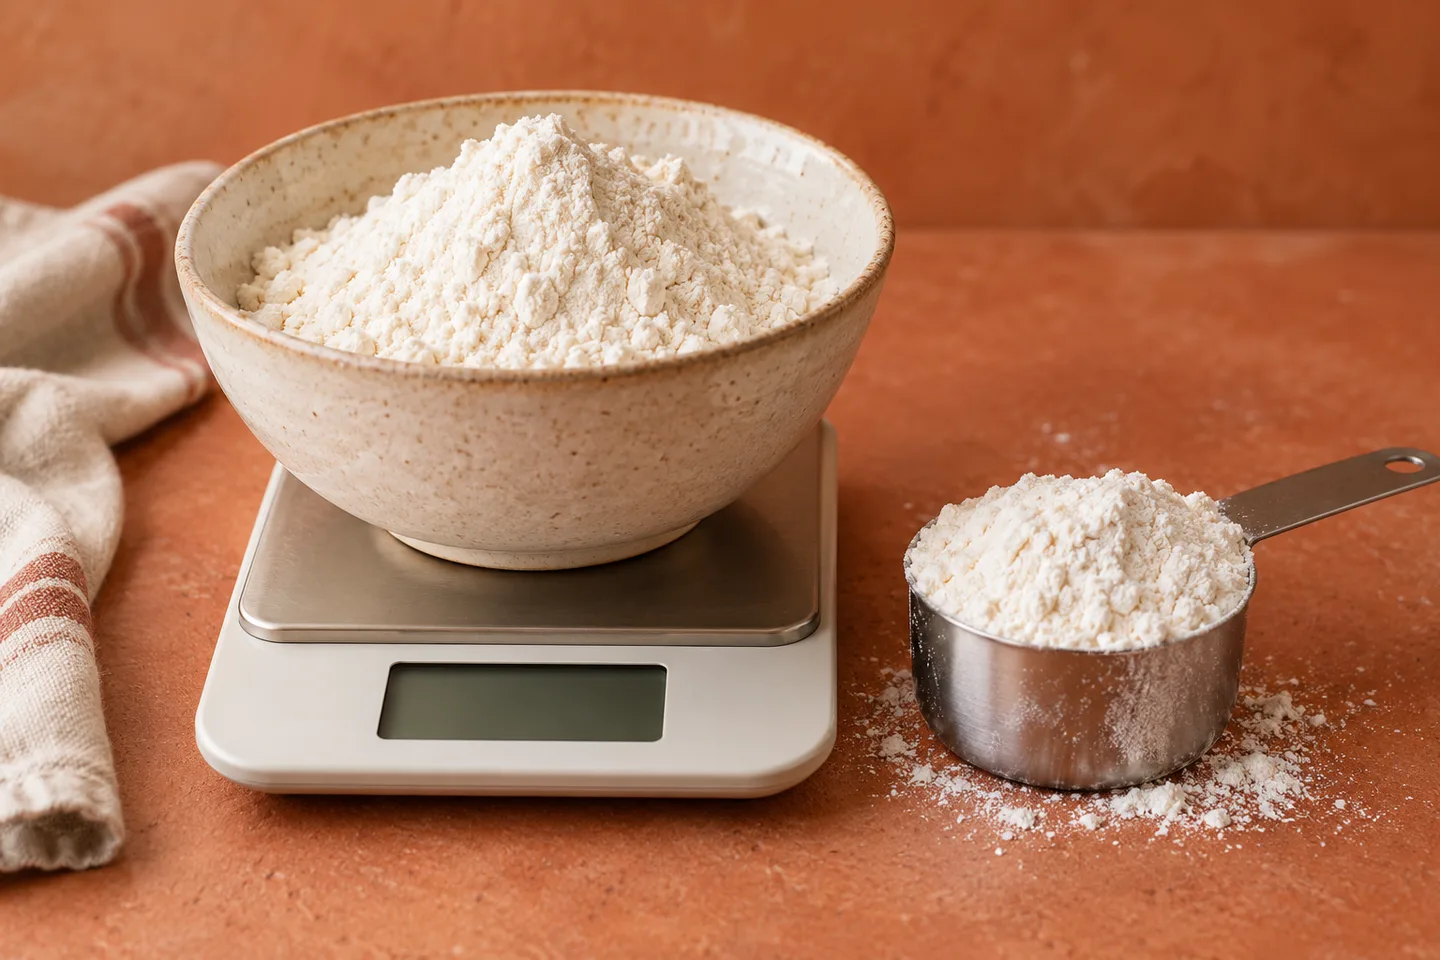
The most consistent way to measure flour is to use the gram weight given by the recipe. Put a bowl on a kitchen scale, tare it, and add flour to the specified weight. If you must use cups, follow the recipe author's measuring method; for many recipes, that means loosening the flour, spooning it into a dry cup and leveling without packing.
There is no universal weight for “one cup of flour.” Flour type, cup size and measuring technique change the result. A conversion that is correct for one author's recipe can be wrong for another.
Resolve the recipe’s units and flour amount
Keep mass and volume units distinct
Grams and ounces measure mass. Cups and milliliters measure volume. A scale reading in milliliters may assume the density of water; it does not turn every ingredient into an accurately measured liquid volume. Use grams for the recipe's flour weight.
A US cup and a commonly used metric cup are different volume conventions. Even when the difference seems small, combining it with a different packing technique can move the flour amount noticeably. A recipe's printed gram weight avoids both ambiguities.
Do not convert the same ingredient twice
If a recipe gives 250g flour alongside its cup measure, use 250g. Do not convert the cups through another chart and substitute a different number. The author's grams represent the formula you are trying to reproduce.
If you are scaling that recipe, multiply its stated grams by the scaling factor directly. Converting to cups, multiplying, then converting back introduces unnecessary rounding and assumptions about density.
Use the recipe's conversion first
King Arthur's recipe guidance uses 120g for one cup of its all-purpose flour. That is an author-specific reference, not a rule that every recipe's cup must weigh 120g.
Another recipe may state a different weight because its method or flour differs. If grams are printed alongside cups, use those grams. Do not replace them with an online conversion and then wonder why the dough changed.
For a recipe without weights, find out how its author fills a cup. If that information is unavailable, choose one consistent method and record it. You can weigh your measured cups to document the amount you used, but that does not prove it was the author's intended amount.
Ingredient type changes the conversion
A cup of all-purpose flour is not the same weight as a cup of cocoa, sugar or whole-wheat flour. A reliable ingredient weight chart can help with planning, provided you recognize its measurement conventions.
Do not use one “cup equals grams” setting for all dry ingredients. A scale measures mass, while a cup measures volume. Density is what connects them, and that changes from ingredient to ingredient.
Why the same cup can hold different amounts
Flour contains spaces between particles. Shaking, tapping or pressing a cup changes how tightly those particles pack. A cup plunged into a bag can collect a denser measure than a cup filled lightly with a spoon.
That difference changes the recipe's balance. A cake can become firmer, a cookie dough stiffer, or a bread dough harder to develop. You may then add liquid to compensate without realizing the original flour amount was wrong.
Humidity and flour characteristics can influence baking behavior, but inconsistent measuring is an easier variable to control. Begin there before blaming the weather for every batch.
Measure with a scale—or a consistent cup method
A reliable scale method
- Set the scale on a stable, level surface and select grams.
- Place the mixing bowl on it and press tare so the display returns to zero.
- Add flour gradually, slowing as you approach the target.
- Remove any excess before adding another ingredient.
- Tare again for the next ingredient only after confirming the flour weight.
Read the display while the bowl is fully supported. A bowl touching a wall or resting partly on the counter can interfere with a scale reading. Do not hold its rim while measuring.
Check the scale's capacity and resolution. A general kitchen scale is useful for flour, but very small quantities such as a fraction of a gram of yeast may need a more sensitive tool or the recipe's spoon measure. A scale is not equally precise at every quantity.
Do not tare away an unknown amount
If you lose track after adding several ingredients, pressing tare does not reveal what already went in. Keep a simple sequence and confirm each amount before resetting. A recipe checklist helps when you are interrupted.
For a large batch, record the scaled weights in advance. Calculating while pouring creates avoidable mistakes. If doubling 250g flour, write 500g before you begin rather than relying on memory midway through mixing.
How to use a cup without packing flour
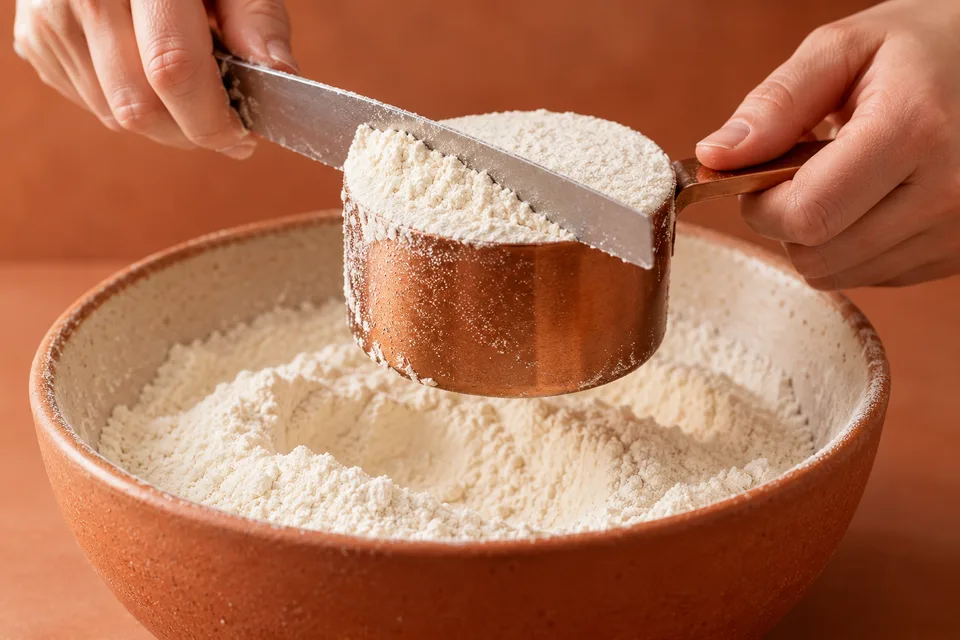
Use a dry measuring cup with a rim that can be leveled. A liquid jug's graduation line is not as convenient for a level dry measure. Confirm the cup system used by the recipe, especially when following a recipe from another region.
- Stir or fluff the flour in its container so you are not measuring a compacted surface.
- Spoon it lightly into the cup until it is slightly overfilled.
- Do not press, shake or bang the cup on the counter.
- Draw a straight edge across the rim to remove the excess.
- Repeat the same method for every cup.
If the author explicitly uses a different method, follow that method or its stated weight. The aim is to reproduce the amount the recipe expects, not to declare one cup technique correct for every existing recipe.
Choose a weighing workflow you can follow
One-bowl weighing can reduce washing, but it works best when each amount is confirmed before the next goes in. If you tend to overshoot or become interrupted, weigh ingredients separately. The extra small bowl can save a whole batch.
For flour, add most of the target quickly and the last portion slowly. If you overshoot while it is still the only ingredient, remove the excess. Once several ingredients are mixed together, you cannot remove only flour with a spoon.
Account for the bowl and the scale's limits
A heavy bowl plus a large batch may exceed the scale's capacity even when the flour amount alone seems reasonable. Check the stated limit. An overload warning is not a cue to estimate the remainder while the display behaves unpredictably.
Keep the display visible and the bowl centered. If a large bowl hides the numbers, use a suitable support only if it is stable and does not interfere with weighing, or choose another bowl. The measurement should be easy to read without lifting or touching it.
Handle sifting, bench flour and substitutions
“Sifted flour” and “flour, sifted” can mean different sequences
In traditional recipe wording, “one cup sifted flour” can mean sift before measuring, while “one cup flour, sifted” can mean measure first and sift afterward. The order can change a volume measure because sifting loosens the flour.
Modern authors are not always consistent in that wording, so check their method notes. When a gram weight is provided, it removes much of the ambiguity: weigh the stated amount and sift at the indicated stage.
Sifting can serve other purposes, including breaking up lumps or combining fine dry ingredients. It is not always a step to skip just because you used a scale. Weight solves quantity; it does not necessarily replace the mixing function.
Count the flour you add while handling dough
Bench flour enters the recipe if it is worked into the dough. Keeping the original bowl perfectly measured and then kneading in several unmeasured handfuls can undo that accuracy. Use only the dusting the method needs.
Keep a small weighed bowl of bench flour separate if you want to understand how much you used. A scraper, a rest or lightly damp hands can sometimes help more than another handful, depending on the dough method.
A dough with 500g flour and 325g water begins at 65% hydration. Adding 50g flour without water lowers it to roughly 59%. This calculation illustrates how handling changes the formula; it is not a recommended hydration for every bread.
Read why homemade bread becomes dense if the dough is easy to handle only after repeated flour additions. Accurate initial weighing is the beginning of control, not the end.
Correct quantity does not make different flours identical
Weighing two flour types equally does not guarantee identical absorption or structure. Bread flour, all-purpose flour, whole-grain flour and gluten-free blends have different properties. A substitution can require a recipe developed for that product.
See bread flour versus all-purpose flour before assuming a dough's change in feel must be a weighing mistake. Measurement and ingredient choice are separate variables.
For gluten-free recipes, a blend's included starches and binders can matter greatly. Do not replace a blend with one individual flour and expect the gram weight to make everything equivalent. Use the specified product or a tested alternative.
Record a method you can repeat
Working with an old family recipe
An old recipe may rely on a particular cup, spoon or familiar dough feel. Begin by preserving that method as closely as you can, then document the actual weights. A useful record can include the flour brand, cup size, filling technique and total grams.
After a successful batch, weigh the amounts again on a repeat to see how consistent the method is. These are your kitchen observations, not proof that the written recipe always meant one exact weight. They help turn a personal routine into something you can repeat.
If the recipe says “add flour until the dough feels right,” write down both the initial amount and later additions. The eventual total is more useful than recording only the first cup. Avoid turning a flexible instruction into a falsely precise published number without checking the result.
Build a useful measurement note
For a recipe without weights, record the flour product, cup convention, filling method and resulting total grams. Also note any flour added during kneading or rolling. That record explains what you actually used.
If the bake succeeds, repeat the same method and compare the total. If the amounts differ, you have identified a source of inconsistency. Switching to the recorded successful weight can then make sense as your own repeatable adaptation.
Do not publish that observation as proof that every cup of flour has the same mass. It belongs to a particular ingredient and method. Clearly stated weights and process notes are more honest than a falsely universal conversion.
Use texture cues after accurate measurement
Weighing does not remove the need to observe dough or batter. Flour absorption and ingredient choices still vary. Start with the correct formula, allow its specified rest, and make only the small, deliberate adjustments the method supports.
That sequence keeps intuition useful without letting it replace the recipe at every step. “The dough is slightly firmer after the specified rest” is a better basis for a measured adjustment than adding water immediately because freshly mixed flour looks rough.
Clues that measurement may be the problem
| Result | Measurement question | Other possibilities |
|---|---|---|
| Stiff, dry dough | Was flour packed or added repeatedly? | Flour type or missing liquid |
| Cookies that spread unexpectedly | Was too little flour measured? | Warm dough, hot tray or formulation changes |
| Dense or dry cake | Was flour overmeasured? | Mixing and overbaking |
| Inconsistent batches | Did the cup technique change? | Temperature, pan and ingredient differences |
For the cookie case, see why cookies spread too much. The table points toward checks; it does not diagnose a finished bake from one symptom.
Finish with clean tools and a clear measurement
Measure cleanly as well as accurately
Keep flour dry and protected from pests, and use clean tools. Raw flour should not be tasted or treated as ready-to-eat food. The FDA's flour-safety guidance explains why baking is important.
Avoid shaking flour into a cloud beside prepared food. Wipe the work surface and wash tools after use. Do not return flour that has contacted raw batter to the storage container.