Clean a baking sheet by identifying its material and finish first, letting it cool, loosening residue with warm water and mild dish soap where permitted, and using a nonabrasive tool. The same aggressive cleaner is not suitable for uncoated aluminum, stainless steel and nonstick surfaces.
A brown stain is not always damage, and a shiny appearance is not always evidence of good care. The goal is a clean, sound surface that performs predictably, without scratching a coating or corroding the metal to erase every cosmetic mark.
Identify the sheet and set out suitable tools
Identify the sheet before choosing a cleaning method
Look for the manufacturer's information or the original packaging. Natural aluminum is common in light-colored sheet pans. Stainless steel is a different material. Aluminized steel, coated aluminum and other constructions can look similar at a glance.
A dark surface may be a nonstick coating, a particular finish or accumulated residue. Do not assume it can tolerate scouring simply because it appears hard. Check the care instructions before using an abrasive pad or a chemical cleaner.
| Surface | Useful starting approach | Common risk |
|---|---|---|
| Uncoated aluminum | Manufacturer-approved handwashing and gentle tools | Strong alkaline products or dishwasher discoloration |
| Stainless steel | Mild washing; approved cleaners if needed | Unnecessary scratching or incompatible chemicals |
| Nonstick-coated sheet | Gentle washing and nonabrasive tools | Scratching, peeling or damaging the coating |
| Insulated or multi-layer sheet | Specific manufacturer instructions | Water entering places not intended for soaking |
Keep a small cleaning kit matched to your pans
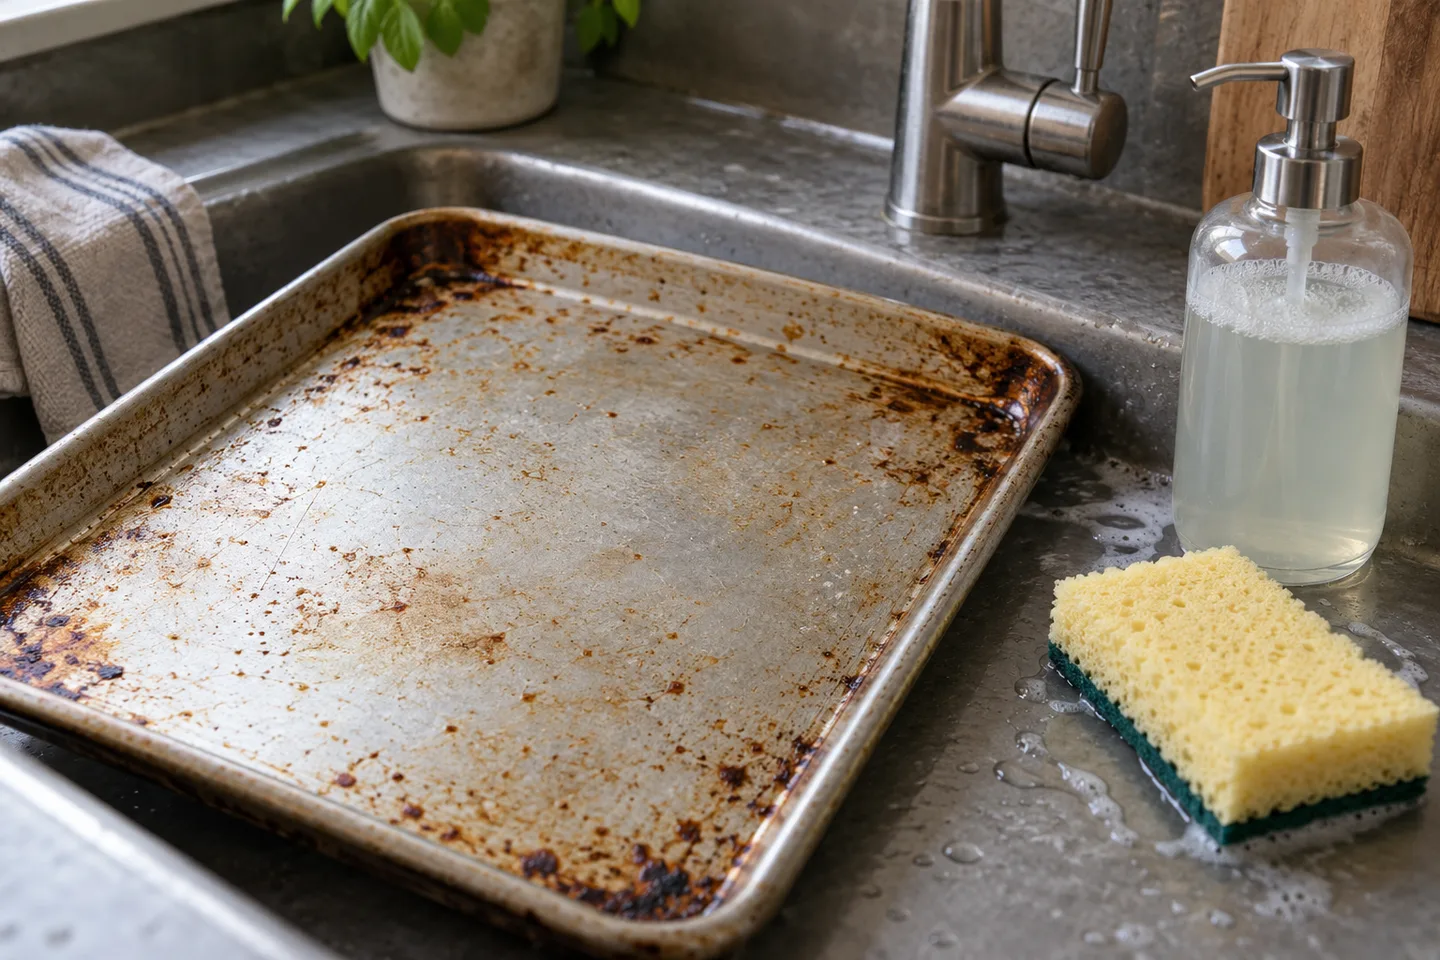
A mild dish soap, soft sponge, suitable brush and approved pan-safe scraper cover many routine tasks. Keep abrasive pads and stronger cleaners separate so they are not used automatically on a delicate coating. Label any transferred cleaner clearly and store it away from food ingredients.
Check the sponge itself. A worn pad can hide trapped gritty material, and a tool used on rough metal may scratch a coating later. Use clean, appropriate tools rather than assuming a soft-looking surface cannot damage anything.
Work from the least aggressive option
For ordinary residue, begin with the permitted warm-water and soap method. Give stuck food time to soften if soaking is allowed. Reassess after rinsing, because a wet surface can make residue and staining look different.
If the remaining mark is smooth and cosmetic, stop where the pan is clean and sound. If a raised or sticky deposit remains, consult the approved next step. This decision prevents a purely visual goal from driving unnecessary abrasion.
Cool, wash and reassess the surface
A gentle routine after ordinary baking
- Move the hot sheet to a safe support and let it cool.
- Remove loose crumbs with a soft tool.
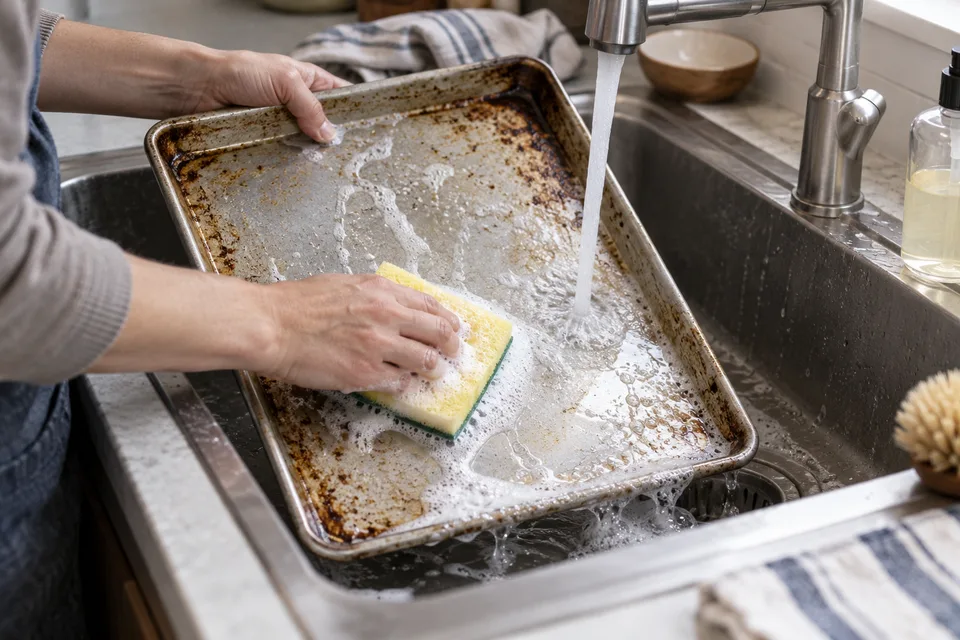
- Wash using warm water, mild dish soap and a nonabrasive sponge if the instructions permit.
- Let stuck food soften rather than immediately scraping hard.
- Rinse thoroughly and dry the sheet, including rims and seams.
Do not plunge a very hot sheet into cold water. Sudden cooling can contribute to warping, and handling hot metal in a sink is an avoidable burn risk. Cooling first is part of care, not wasted time.
Clean soon enough that sticky food does not become a stubborn layer, but not while the sheet is dangerously hot. The practical balance is a cooled, manageable pan and a cleaning method suited to its finish.
Separate food residue from staining
Food particles and greasy deposits should be removed. A change in color can remain after the surface is clean, especially on uncoated metal. Decide what you are trying to remove before escalating the method.
Run a clean, soft sponge over the cooled surface while washing. A tacky or raised layer suggests residue; a smooth discoloration may be mostly cosmetic. This is an observation, not a test that certifies a pan's condition.
Do not chase a mirror finish at the cost of damage. Deep scratching creates a rougher surface, and stripping a coating does not turn a damaged pan into a better uncoated one. Follow the product's replacement advice if the finish is compromised.
What causes the sticky brown film?
Repeated heating of oils or sprays can leave a stubborn film. Small amounts that are easy to wash after one bake may become harder to remove if left through repeated cycles. Use only the pan treatment the recipe and manufacturer allow.
A sheet used for both sugary cookies and oily roasting has more varied residue than one used only with parchment. Consider the previous use when choosing the gentlest effective cleaning step.
A sheet used for roasting needs a fuller inspection
Greasy roasted food can leave deposits under the rim or around corners that a cookie-only sheet may not collect. Clean those areas as well as the flat center. A liner reduces direct contact but does not guarantee that fat never reaches the metal.
If the sheet's construction contains seams or insulated layers, follow its soaking limits. Do not leave it submerged for hours merely because an uncoated single-layer sheet tolerates that method. Construction matters alongside material.
Separate food-safety cleaning from cosmetic restoration
Removing food residue and washing appropriately are necessary parts of care. Making every stain disappear is a different goal. Do not use a harsh chemical process simply to produce a photograph of a brighter pan.
After any approved cleaner, rinse as the label requires and let the sheet dry. A surface that looks clean can still carry unwanted cleaner residue if the final steps were skipped. The complete instructions matter, not just the visible result.
Escalate only with a material-safe method
Work on stubborn residue in stages
Start with warm soapy water and time, if soaking is allowed. Use a soft sponge or a pan-safe scraper to loosen softened material. Repeat a gentle wash before reaching for an aggressive product.
If residue remains, consult the maker's recommended cleaner for the material and finish. Read the cleaner label too, including rinsing, protective equipment and surfaces it excludes. A product suitable for stainless steel may not suit aluminum or a nonstick coating.
Nordic Ware's natural-aluminum care information advises against dishwasher use because heat and cleaning agents can discolor that line. Its recommendations apply to those products; check the instructions for your own sheet rather than assuming all brands are identical.
Why not begin with oven cleaner?
Strong cleaners can conflict with aluminum, coatings and other finishes. An internet before-and-after photograph does not tell you whether the treatment shortened the pan's life or was approved for food-contact equipment. Use a product only when both the sheet and cleaner instructions support it.
Never mix cleaning products. Combining chemicals can create hazards even when each product is familiar. Avoid an improvised sequence that leaves one cleaner on the pan while another is added.
Baking soda and vinegar are not a universal pan treatment
A mild household ingredient can still be inappropriate for a particular surface. Abrasive pastes can scratch coatings, and extended contact with acidic or alkaline materials can affect some metals. “Natural” is not a material-compatibility rating.
Mixing baking soda and vinegar creates fizz, but visible bubbles do not prove it is the best cleaning system for your sheet. The reaction consumes the acid and base. Do not confuse a dramatic appearance with demonstrated pan-safe cleaning performance.
If your manufacturer recommends a particular household method, follow its proportions, contact time and rinsing instructions. Otherwise, begin with mild soap and approved tools. Keep cleaning advice separate from the role of baking soda in food.
Can the sheet go in the dishwasher?
Check the exact product's directions. “Metal” does not mean dishwasher-safe, and “nonstick” does not mean dishwasher-safe either. Detergent, heat and repeated cycles can affect finishes differently.
A large sheet may also block spray or sit poorly in the machine. If it does not fit without obstructing moving parts, handwashing is more practical. Do not bend or force it into a rack.
Discoloration after a dishwasher cycle is not automatically evidence that the pan is unsafe, but it is a sign to revisit its care instructions. If there is corrosion, peeling or structural damage, follow the maker's advice rather than attempting to polish away the issue.
Protect the sheet between bakes
Use liners thoughtfully, not as a substitute for care
Parchment can reduce direct food contact for recipes that allow it. Silicone mats can also be useful, but they may change cookie behavior compared with another surface. Use the lining specified in the recipe before making a substitution.
Read the liner's temperature and appliance instructions. Do not put parchment under a broiler or allow loose edges near heating elements unless the product explicitly permits that application. Trim excess paper appropriately.
Remove the liner after baking and inspect underneath. Grease can still collect on a tray, and a mat can trap residue against it. Wash the sheet and liner as directed instead of assuming a covered surface never needs attention.
For baking behavior, read why cookies spread too much. A clean tray with the intended lining is easier to troubleshoot than one with unexplained residue and a changed surface.
Drying and storage protect the pan
Dry rims and seams rather than stacking the sheet while wet. Moisture trapped between pans can create problems and makes the next cleaning less pleasant. If the construction has special drying requirements, follow them.
Protect nonstick surfaces from scratches when stacking. A suitable separator can help, provided it is clean and dry. Do not store heavy, sharp equipment directly against a delicate coating.
A sheet should sit level and fit its intended rack. Severe warping can affect baking and handling. If the pan rocks dangerously or has sharp damage, replacement may be the sensible choice.
Make prevention part of the baking routine
Use the intended liner or coating, avoid excess oil where it is unnecessary, and clean the cooled sheet before another heat cycle bakes on the residue. This is easier than treating a heavily accumulated layer as a periodic restoration project.
Store the sheet where it will not be bent or scraped by heavier equipment. If stacking coated pans, use suitable dry separation. A tool dragged across a coating during storage can do damage even when washing was gentle.
Write down the approved method once
If you own several materials, keep a short care note for each. “Aluminum: handwash as directed” and “coated tray: nonabrasive only” are easier to follow than remembering which viral cleaning trick belongs to which pan.
When you replace a sheet, review the new instructions rather than applying the old pan's routine automatically. Similar shape and color do not establish identical construction. A clear, repeatable care method protects both the equipment and the baking results.
Recognize when replacement is the right next step
When cleaning is no longer the answer
Peeling nonstick material, deep structural corrosion, cracked construction or severe deformation deserves assessment under the manufacturer's instructions. Those are not just cosmetic stains. Avoid using a damaged pan simply because one more scrub makes it look cleaner.
For an ordinary smooth stain on a sound uncoated sheet, replacement may not be necessary. Focus on cleanliness and predictable baking. A well-used pan does not need to resemble a showroom product to serve its purpose.
If you are buying a replacement, choose a size that fits your oven and cleaning space, with clear care instructions. Read the beginner baking-tools guide for a restrained equipment plan.