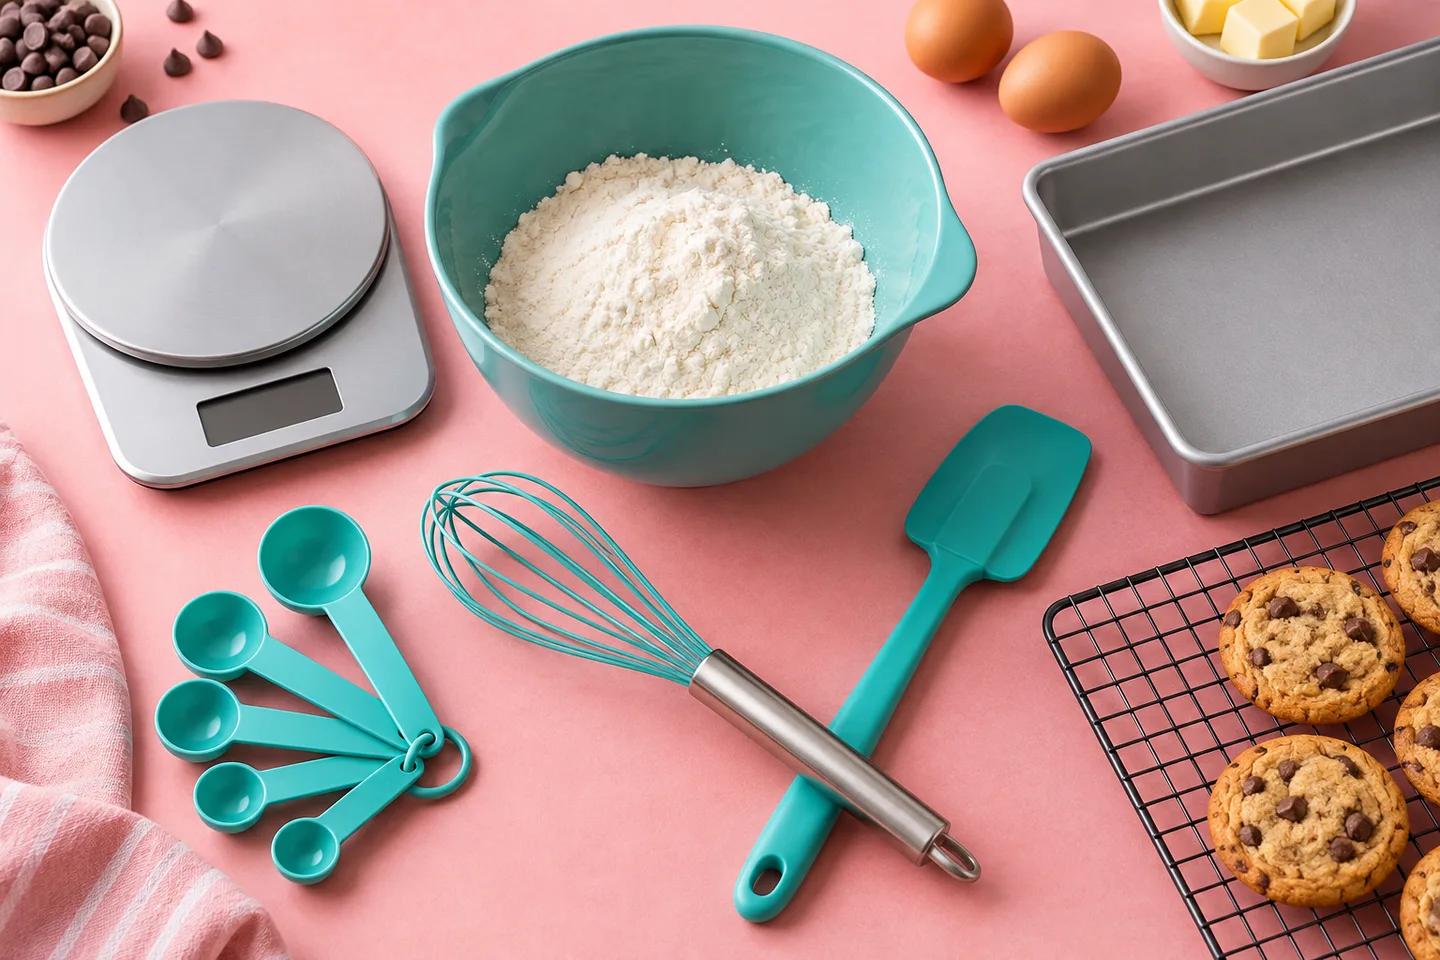
A beginner does not need a cupboard full of specialized bakeware. Start with tools that help you measure accurately, mix efficiently, bake in the right shape and cool the result. A kitchen scale, measuring spoons, mixing bowl, whisk, flexible spatula, suitable pan, cooling rack and oven mitts cover a useful foundation.
Add tools when a recipe or repeated task gives them a clear job. A stand mixer can be useful, but it is not an entry requirement for learning to bake.
Build around your first recipes, not a large shopping list
Build around the baking you will actually do
If you want to make cookies, begin with a tray that fits your oven, a way to portion dough and a cooling rack. If you want layer cakes, start with the pan size your chosen recipe uses. If bread is the priority, a scraper and an appropriate loaf pan may be more useful than decorative piping tips.
Choose a few reliable recipes first, then use their equipment lists to plan purchases. Buying a set of ten pans before choosing a cake can leave you with sizes you never need. Equipment should support a routine, not create one by itself.
| Tool | Why it earns a place | What to check |
|---|---|---|
| Kitchen scale | Repeatable ingredient weights | Readable grams, useful capacity and tare |
| Measuring spoons | Small ingredients | Clear sizes and level rims |
| Mixing bowl | Room to combine without spills | Stability, size and cleaning instructions |
| Whisk and spatula | Different mixing and scraping jobs | Comfortable handles and suitable materials |
| Recipe-matched pan | Predictable depth and baking time | Inside dimensions and oven fit |
| Cooling rack and mitts | Air circulation and safe handling | Stable construction and appropriate heat protection |
Build the kit in stages
For the first stage, choose one type of baking and a recipe with clear instructions. Gather the measuring tools, bowl, mixing utensils, pan, cooling space and heat protection needed for that recipe. Make it several times before adding specialized equipment.
For the second stage, identify the repeated inconvenience. If portions vary, a scoop or scale routine may help. If cake layers are uneven because the tins differ, a matching pan may help. If whipping is physically difficult, a suitable mixer may be the useful upgrade.
Use a task list instead of a shopping checklist
Write “measure flour,” “scrape thick batter,” “support a cooling cake” and “handle a hot tray.” Then match each job to an existing tool. You may already own a suitable bowl or spoon, while lacking a safe landing surface for hot bakeware.
This approach avoids duplicates. A second decorative whisk does not solve a missing pan size, and a stand mixer does not make an inaccurate cup measure more accurate. Buy the tool that addresses the actual task.
The kit that does the everyday work
Buy measurement tools before decorative gadgets
A scale helps you reproduce a recipe's ingredient balance. Look for an easy-to-read display, a tare function and a capacity suited to your mixing bowl and batch. Grams are useful because many baking recipes provide them directly.
A general kitchen scale is not necessarily accurate for tiny fractional-gram quantities. Measuring spoons still have a place, especially for leaveners and salt when the recipe specifies spoon measures. Use the tool suited to the amount.
King Arthur's recipe-success guidance recommends careful flour measurement and provides its own weight conventions. Read our flour-measuring guide before choosing a universal cup-to-gram conversion.
Do you still need measuring cups?
They are useful when your recipes use volume or when a method calls for them. Choose actual dry cups and a suitable liquid jug rather than relying on household mugs. Cup conventions can differ by region, so follow the recipe's stated weights where available.
A measuring spoon set should be clearly marked and easy to level. Avoid decorative spoons with hard-to-read sizes if accuracy is the main goal. Store the full set together so a missing teaspoon does not become an improvised cutlery measure.
A bowl, whisk and spatula do different jobs
A mixing bowl should provide room for the ingredients and your tool's movement. Too small creates spills; enormous can make a small batch awkward. A stable base and a shape that is easy to scrape matter more than a fashionable finish.
A balloon whisk is useful for combining dry ingredients and working with many light mixtures. A flexible spatula gathers batter from sides and folds ingredients more gently. A sturdy spoon can handle a mixture that is too thick for a delicate whisk.
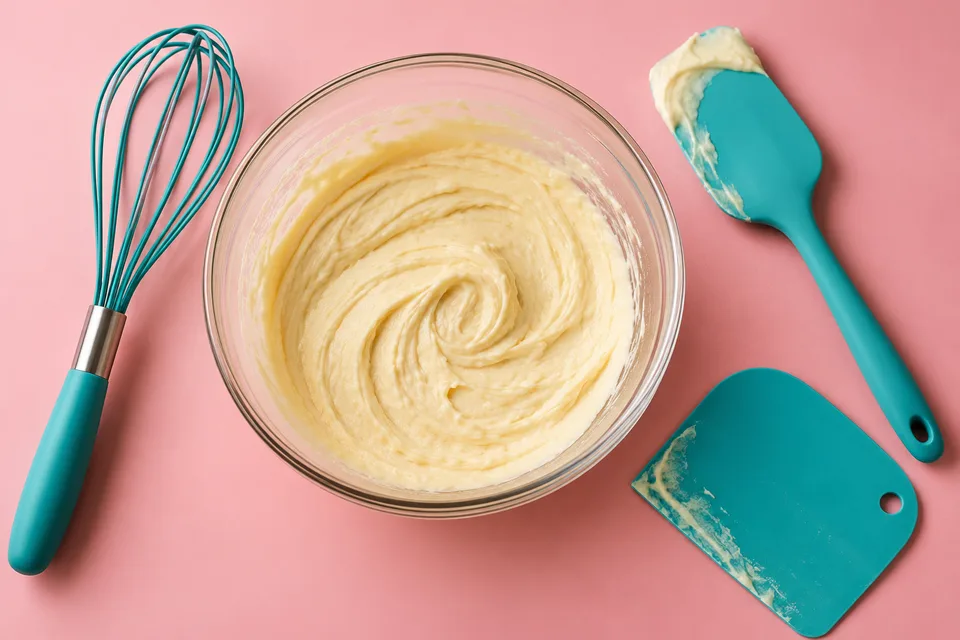
Check heat ratings if a spatula will be used in a warm saucepan. Do not assume every flexible tool tolerates hot sugar or direct pan heat. A mixing tool's food-contact suitability and care instructions should be clear.
A scraper is a small but useful addition
A flexible bowl scraper helps gather dough and clean the bowl. A bench scraper can divide dough and lift it from a work surface. They have overlapping uses but different shapes and stiffness.
For bread, a scraper can reduce the temptation to add excessive flour just to unstick dough. It does not replace developing the dough correctly. Use it as part of the method, not as a fix for a badly balanced formula.
Choose bakeware by recipe, not by the number of pieces
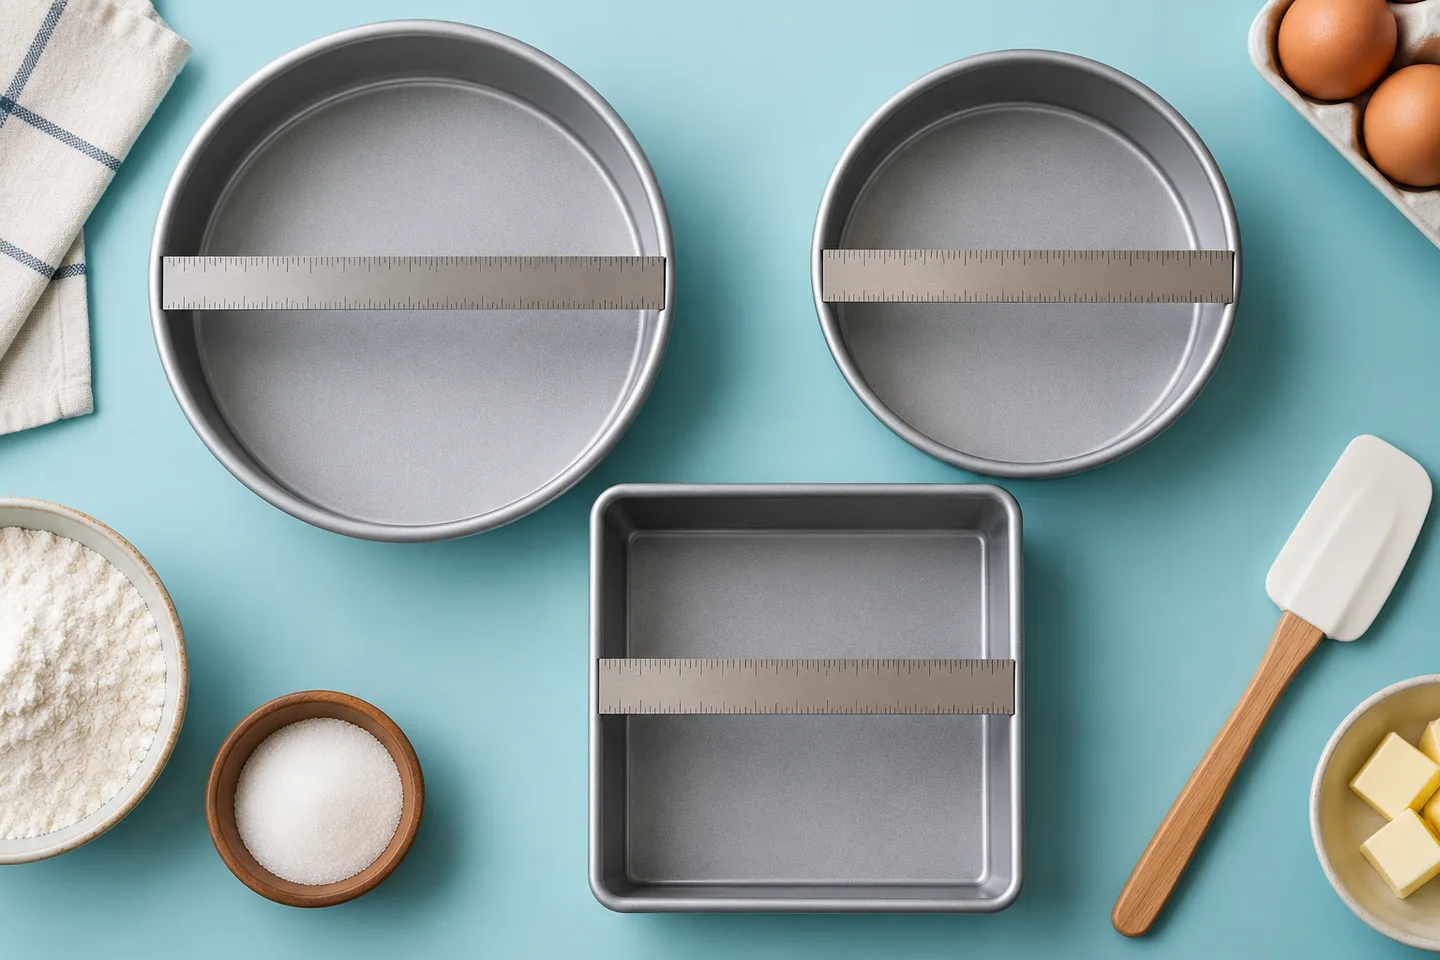
For general baking, a light-colored metal tray and one or two recipe-matched cake or loaf pans can be enough. Confirm the interior size and whether handles or rims still fit your oven. Leave the airflow space required by the appliance.
A 9-inch pan is not automatically interchangeable with an 8-inch pan. The same batter has a different depth, which changes baking behavior. Read how to choose cake pan size before using whichever tin is closest.
Material matters too. Glass can be useful but has different thermal behavior and safety instructions. See glass versus metal pans rather than treating every oven-rated dish as identical.
Buy parchment for a specific job
Baking parchment can help line suitable pans and simplify release. Follow its temperature and appliance instructions, and keep loose edges away from heating elements. Wax paper is a different product.
Silicone mats are optional. They can suit some tasks, but their effect on cookies may differ from parchment. Begin with the surface your recipe specifies rather than collecting several liners before you know which one you need.
Equipment for safe handling and useful feedback
Cooling and safe handling deserve real equipment
A stable cooling rack lets air reach the underside of suitable baked goods. Make sure it supports the weight and size of the food. A rack balanced awkwardly over a narrow pan is not a reliable cooling arrangement.
Use dry oven mitts or other heat protection intended for the task. Wet fabric can transfer heat quickly. Check for worn areas and position a dry heat-safe support before removing a pan from the oven.
Keep handles and hot trays away from counter edges. A small kitchen benefits from a planned landing space more than from another utensil. Before baking, clear the area where the hot pan will go.
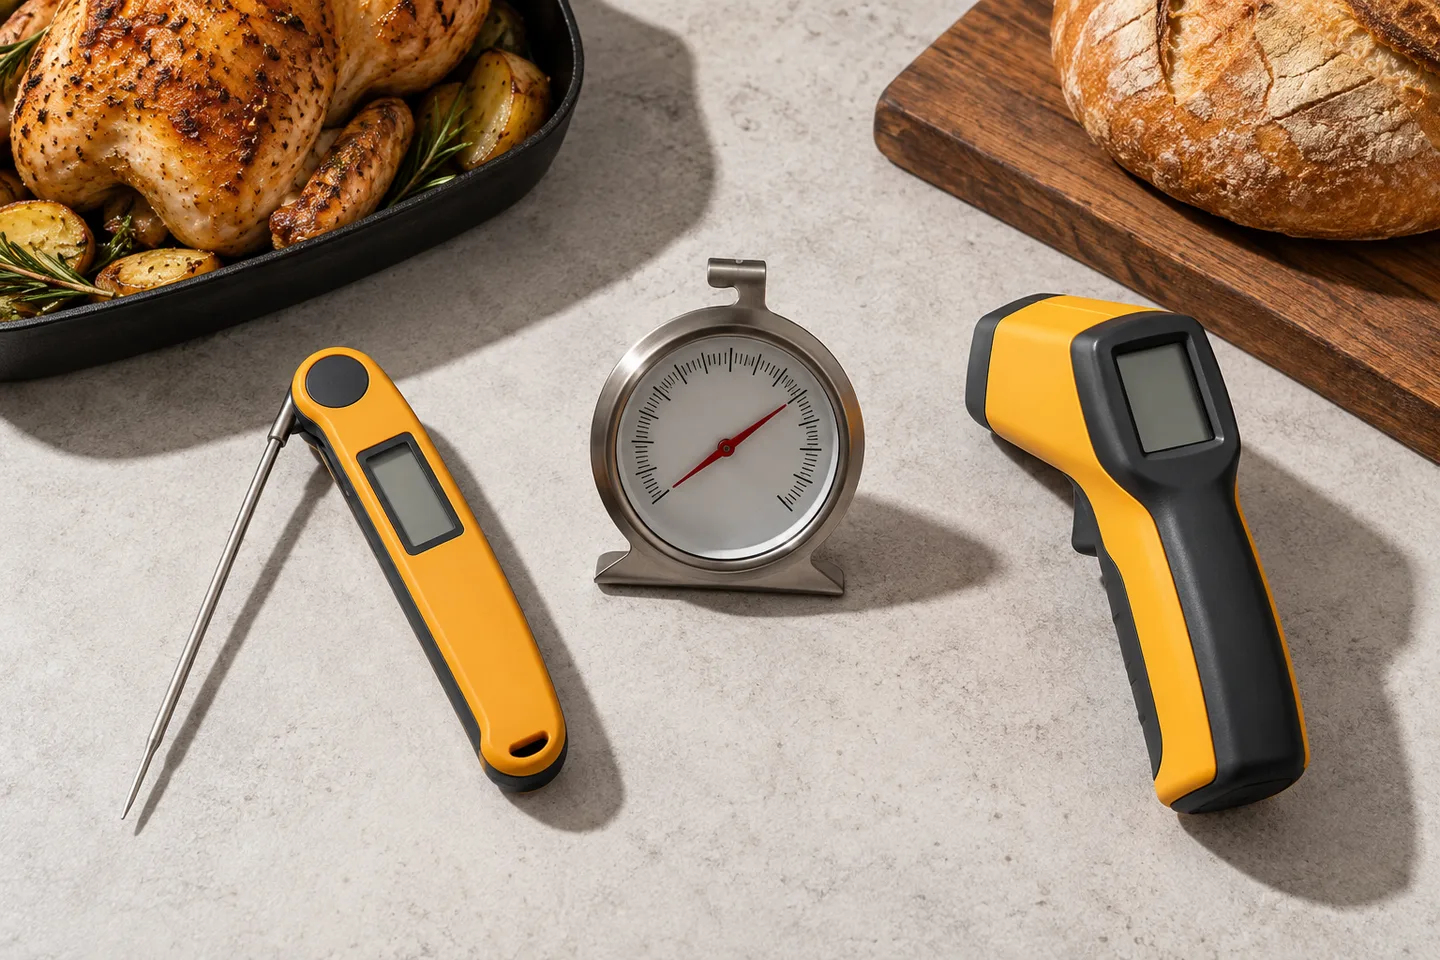
Which thermometer is useful first?
An oven thermometer can help investigate repeated timing or browning problems. It is not a magic calibration device: ovens cycle, and you need a consistent reading method. Use the appliance's instructions if adjustment is required.
An instant-read probe is useful when a bread recipe specifies internal-temperature cues, or when you need to measure dough or ingredient temperature. Choose one suitable for the task and follow its cleaning and use directions.
Do not use a thermometer to impose one finish temperature on every baked product. Cake, bread, cheesecake and custard have different methods. The recipe's combination of cues remains important.
Choose the upgrades—and the purchases to postpone
When an electric mixer becomes worthwhile
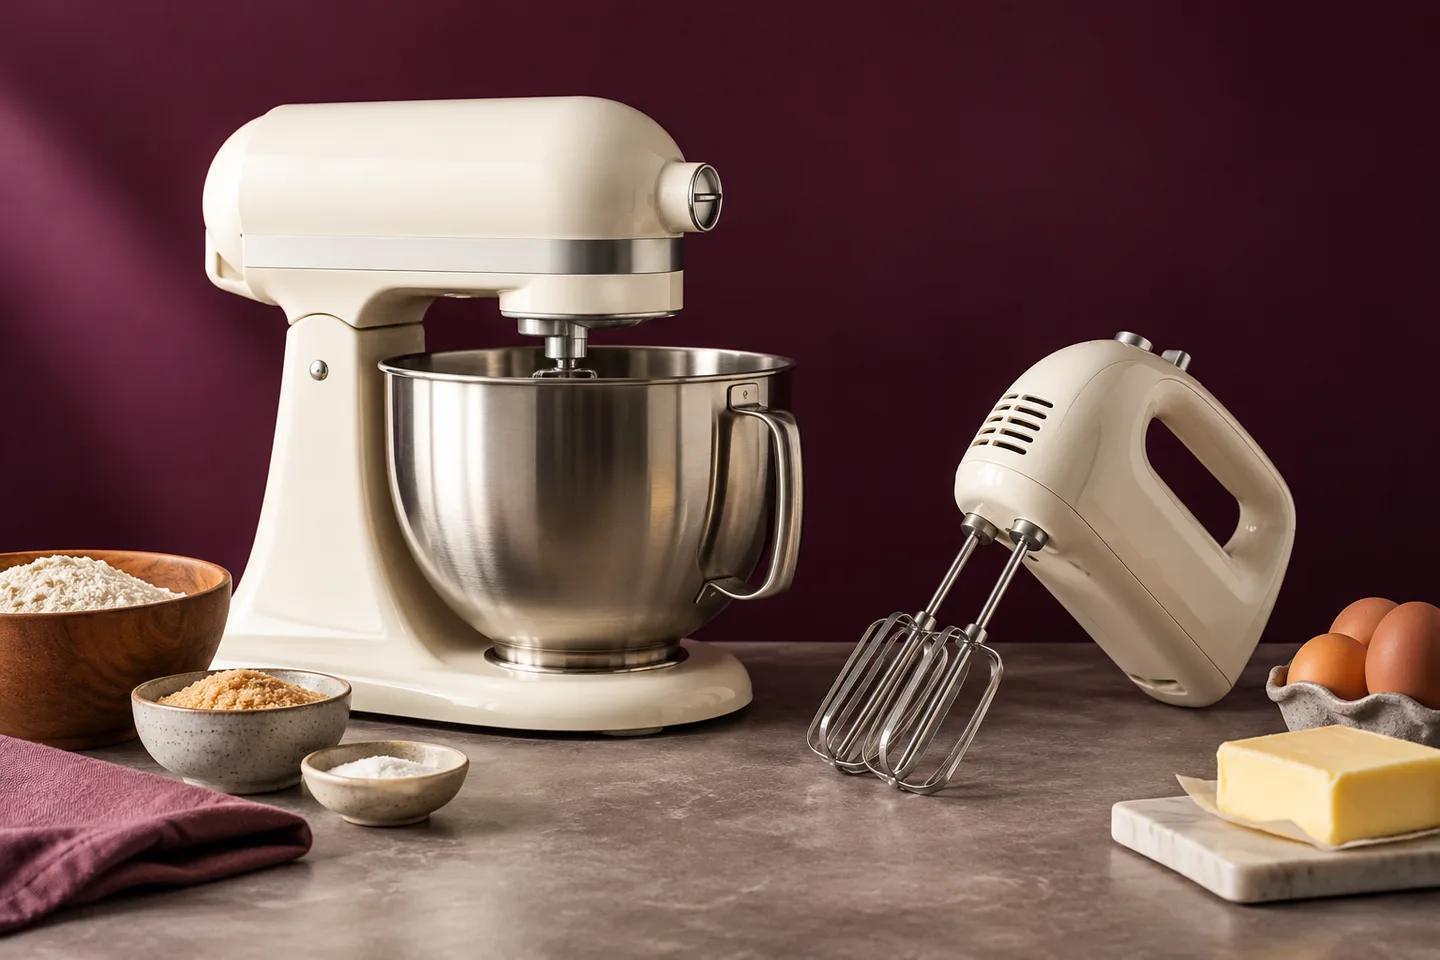
A hand mixer can make creaming, whipping and some cake batters easier. A stand mixer can help with repeated larger batches and appropriate dough work. Neither should be the first purchase just because a photograph of a baking kitchen includes one.
Many useful recipes are mixed by hand. Stir-together cakes, brownies and some breads give you a chance to learn measuring, texture and doneness without powered equipment. Choose a method you can execute comfortably.
If physical effort is a concern, an electric tool may be valuable earlier. Match it to the tasks and check weight, controls, bowl access, capacity and manual restrictions. Read stand mixer versus hand mixer for a task-based comparison.
Tools you can usually postpone
Specialty cutters, decorative molds, large piping sets, multiple scoops and elaborate turntables can wait until you use recipes that need them. A basic kit is easier to store, clean and understand.
A single cookie scoop can become useful if you bake drop cookies often, because consistent portions help with even baking. A turntable can help frequent cake decorating. The difference is a repeated job, not a blanket list of “must-haves.”
Do not buy a cheap bundle simply because its piece count is high. Ten low-use tools can cost more in storage and frustration than one well-chosen pan. Compare the item with the task it will perform.
Fit the kit to your space and keep learning
Plan for a small kitchen
Choose pans that fit both the oven and your storage. Check whether a mixing bowl can be washed comfortably in the sink. A large kit that must be unpacked from several cupboards before every bake can discourage the routine you wanted to start.
Keep frequently used measuring tools together and within easy reach. Store fragile or coated bakeware so it is not scratched by other equipment. A compact, organized kit makes it easier to follow a recipe without interruptions.
Budget for care and replacement
A cheap tool that cannot be cleaned as you need may be less useful than a simple one with clear instructions. Check replaceable parts, material ratings and whether the handle or finish suits its intended work. Avoid paying for features you will not use.
Spend deliberately rather than treating price as a quality certificate. The best tool for your kitchen fits the task, is comfortable to handle and remains practical after washing. A familiar basic tool can be more useful than a premium accessory with no regular job.
Plan cleaning and storage before purchase
Check whether tools can be washed as you intend. A large sheet that does not fit your sink or a delicate finish that needs special care may be inconvenient in your routine. Read the instructions before assuming dishwasher suitability.
Store sharp or stiff tools so they do not scratch nonstick pans. Dry equipment before stacking, and keep measuring tools easy to find. An organized small kit supports accuracy better than a crowded drawer of duplicates.
Buy a replacement when a frequently used tool is damaged, not just when a new color appears. A clear care routine keeps the original purchase useful and makes future choices easier.
Learn what your tools can tell you
A scale helps you see ingredient balance, a scraper helps you handle dough without excess flour, and a cooling rack helps you observe the finished texture. These tools support learning rather than replacing it.
After each bake, note what was awkward and what worked. If the recipe was easy to mix by hand, there may be no immediate need for powered equipment. If a pan repeatedly causes a mismatch, verify its size before blaming the recipe.
Keep the first successes repeatable
Once you have a dependable result, use the same core equipment for another batch. Changing several tools at once makes it harder to learn which feature matters. Add one useful item when the task justifies it.
A beginner kit is complete when it supports the baking you want to do safely and consistently. Its size can grow with your interests, but it does not need to imitate a professional bakery on the first day.