Dense homemade bread usually means the dough did not produce enough gas, could not hold that gas, or was baked before its structure and crumb were ready. More yeast is not an automatic cure. The useful question is where the loaf lost its chance to become light: during measuring, mixing, fermentation, shaping, baking, or cooling.
A tight sandwich-bread crumb is also different from a failed loaf. Bagels, rye breads and enriched breads can be pleasantly substantial. Judge your bread against the style you intended, then use the clues below to change one thing at a time.
What the crumb is telling you
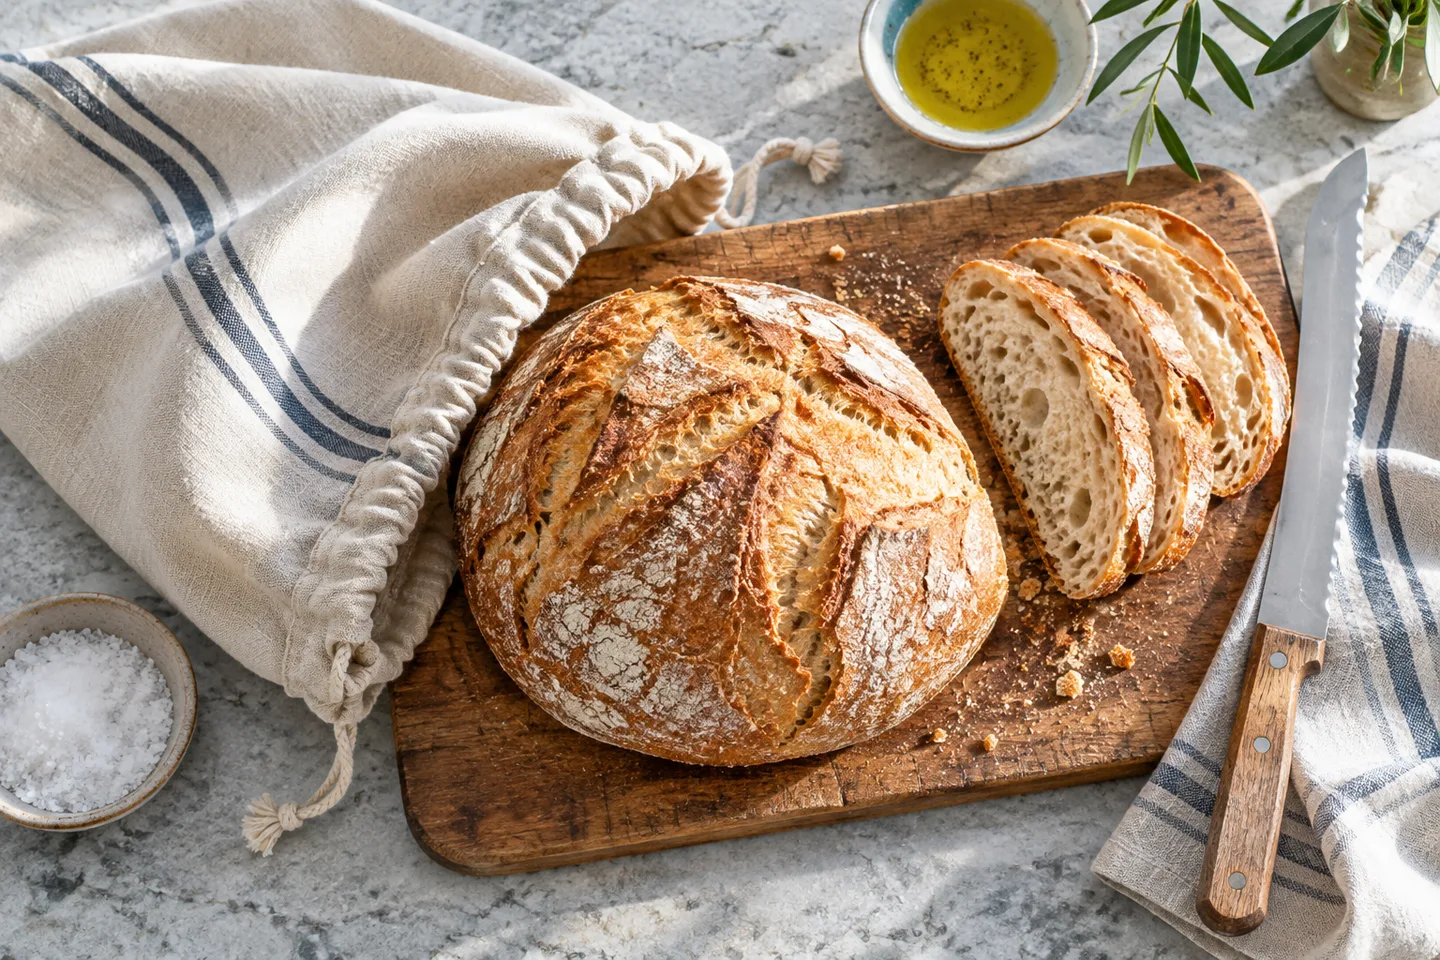
Let the loaf cool before cutting. A knife driven through steaming bread can compress the interior and leave a gummy surface, making a good loaf look underbaked. Thick loaves need longer than small rolls; the center should no longer feel warm when you want a fair assessment.
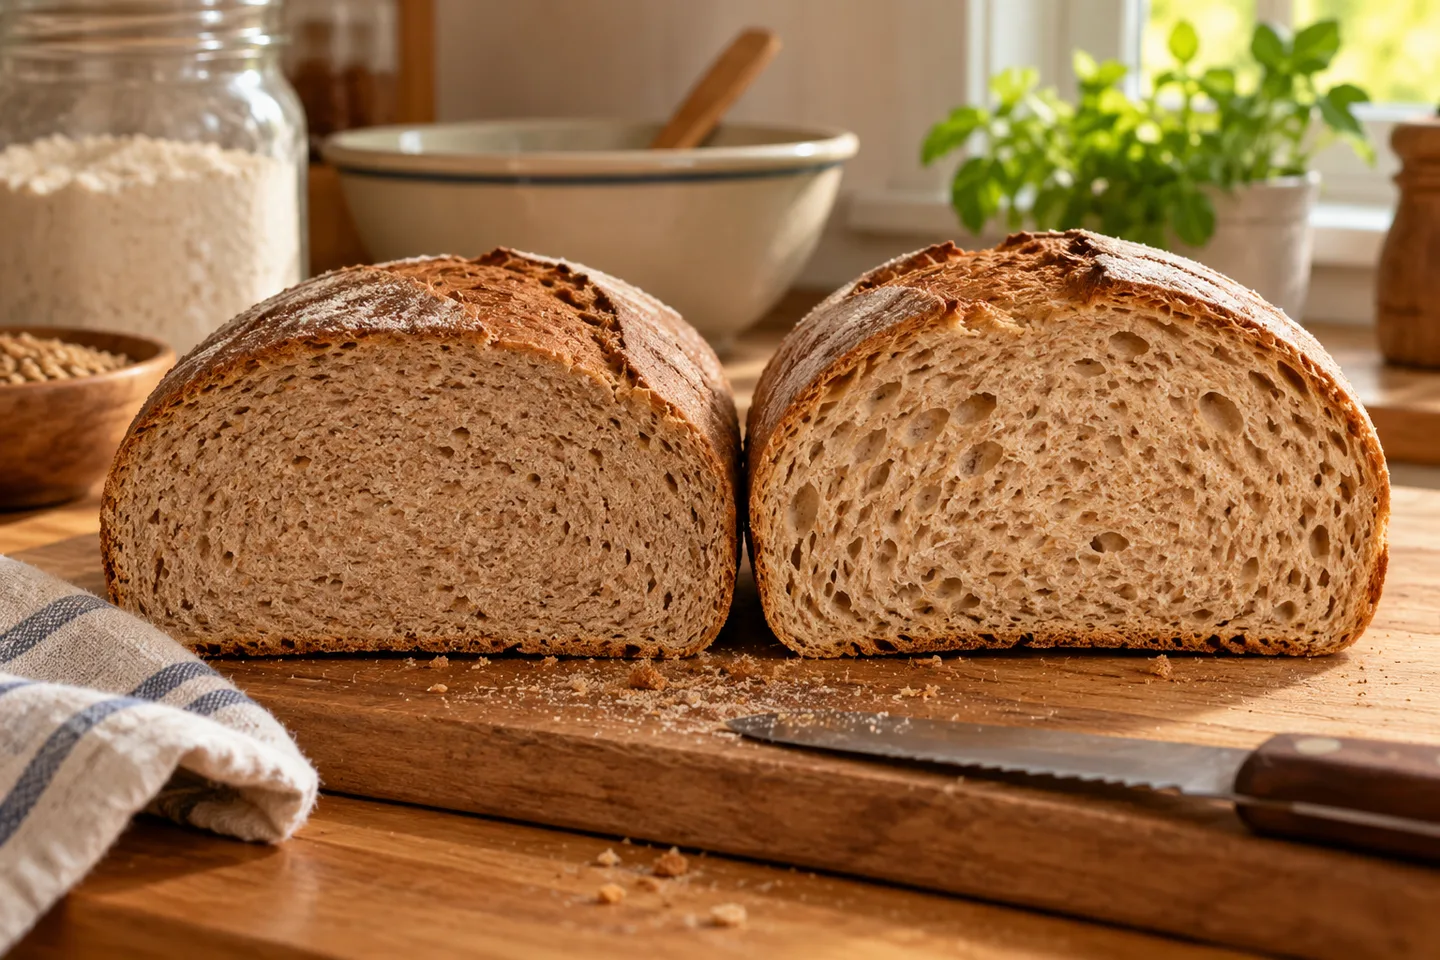
Cut through the middle and look at the pattern. Small, evenly distributed holes suggest a different problem from a large tunnel above a heavy bottom. Note whether the crumb is dry and crumbly, moist and sticky, or rubbery. Photograph the cut face and keep the recipe beside it. These observations cannot prove a cause by themselves, but they narrow the next check.
| What you notice | What to investigate first |
|---|---|
| A dry, tight crumb throughout | Excess flour, stiff dough, short fermentation |
| A gummy band near the bottom | Incomplete baking, early slicing, poor fermentation |
| A large tunnel above dense crumb | Uneven shaping or insufficient final proof |
| A loaf that rose, then collapsed | Overproofing or inadequate dough strength |
| A low but otherwise even loaf | Pan size and the intended bread style |
Trace the failure back through the dough
Too much flour is often the easiest problem to fix
When dough sticks to your fingers, adding flour feels helpful. Each handful changes the recipe, however. The dough becomes easier to handle while losing the softness it needs to expand. This is especially common when flour was already packed into a measuring cup.
Use the recipe's gram weights when available. Keep any flour used for the bench separate from the weighed dough flour, so you can see how much extra went in. If you must measure by volume, use the author's method rather than pressing flour into the cup. Our guide to measuring flour correctly explains the difference.
Hydration is the water weight divided by flour weight, multiplied by 100. A dough with 500g flour and 325g water has 65% hydration. If you add 50g flour while kneading, that same water now represents about 59% of the flour weight. That is a substantial change, not a harmless dusting. This arithmetic example illustrates the effect; it is not a universal hydration target.
Let the flour absorb water before judging the dough
A short rest after the initial mix can make wheat dough easier to work without adding flour. Follow the recipe if it includes a rest or autolyse. A bowl scraper helps gather sticky dough, and lightly damp hands can help with folds when the method allows them. Avoid pouring extra water into a shaped, nearly proofed loaf as a last-minute correction.
Flour type matters too. Bread flour can give a wheat dough more structural support, but it cannot compensate for every mixing or fermentation error. Whole-grain flour brings bran and different water needs. Replacing white flour entirely with whole wheat while leaving everything else unchanged is a recipe change. See bread flour versus all-purpose flour before making that substitution.
Check whether fermentation actually happened
Yeast produces the gas that expands dough. A recipe's rising time is a planning estimate, not a signal that the dough must be ready. Cool ingredients, a cool kitchen, a small amount of yeast, or an enriched formula can all slow the process. Baking because the timer rang can leave a loaf heavy even when the yeast is alive.
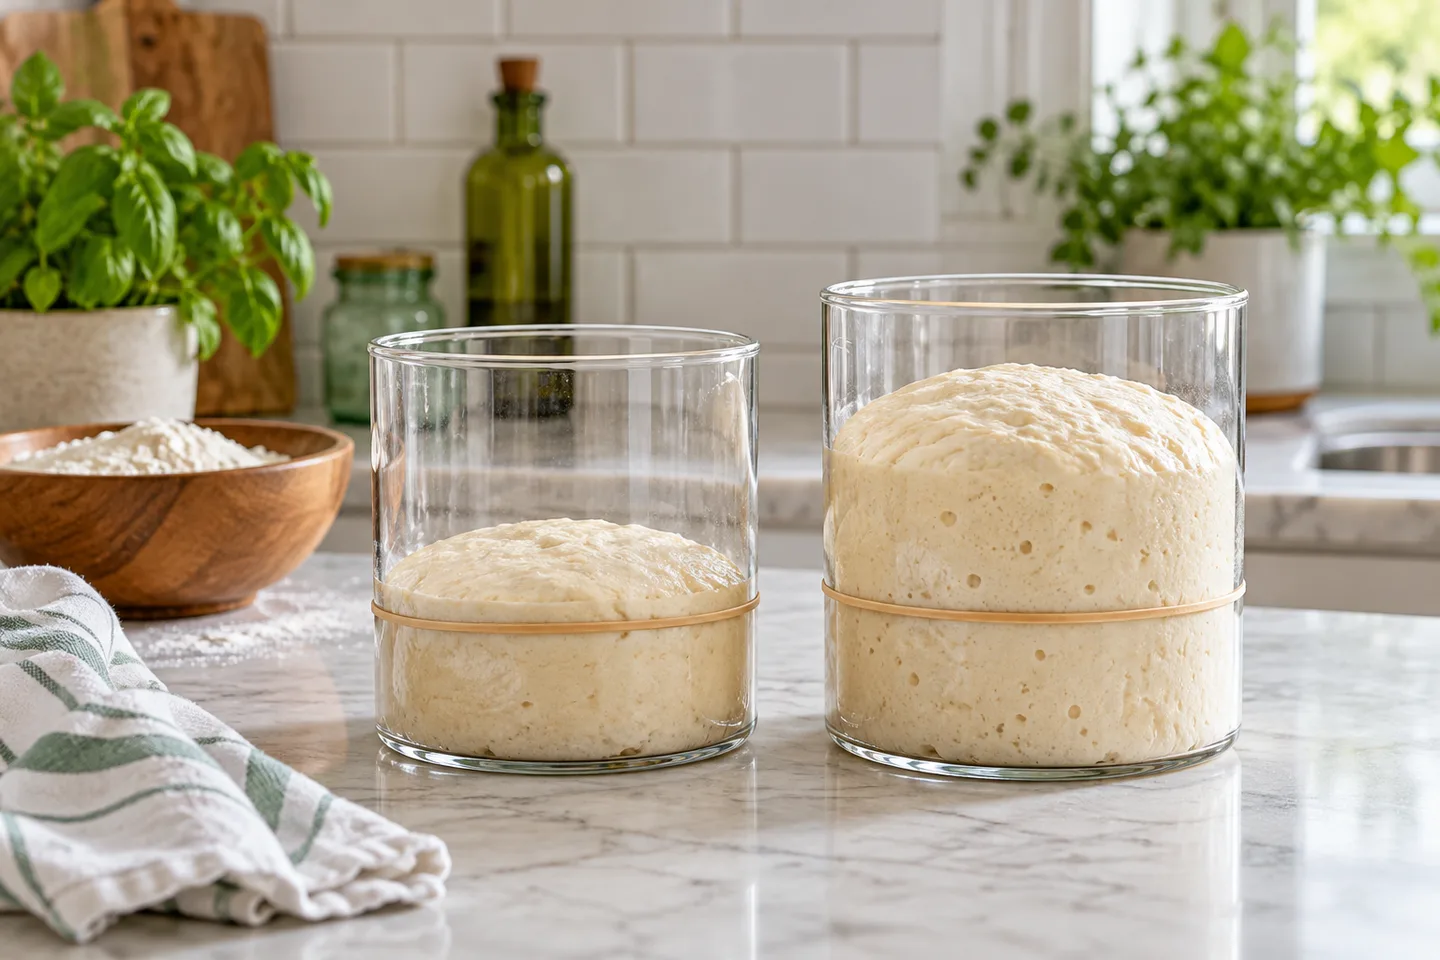
Use a clear, straight-sided container for the first rise and mark the starting level. Compare the dough with the recipe's visual target: perhaps a noticeable increase, perhaps doubling, but not automatically doubling for every bread. Look for bubbles, a slightly rounded surface and a lighter feel when the method describes them.
If nothing changes, check the yeast's storage history, its package directions and the liquid temperature used during mixing. A warm place should be comfortably warm, not an actively heated oven. An oven light can make some ovens surprisingly hot. Measure the environment rather than assuming it is suitable.
King Arthur's professional dough-temperature reference explains why temperature control supports consistent fermentation. The practical implication at home is to record dough temperature and observe progress rather than forcing every batch into the same timetable.
Do not confuse sourdough activity with a calendar
With sourdough, the starter must be capable of raising bread, not simply be a certain number of days old. Feeding schedule, temperature and flour influence activity. A starter that bubbles a little but does not reliably rise after feeding may need more development before it can leaven a full loaf. A float test alone is not a dependable diagnosis.
If your dough never rose, work through the troubleshooting guide for dough that is not rising. That issue deserves attention before you change the oven temperature or buy another pan.
A dough also needs enough strength to hold its gas
A bowl can contain active fermentation without producing a tall loaf. For most wheat breads, mixing and resting develop the network that supports expansion. Underdeveloped dough may tear during shaping or spread as soon as it leaves the bowl. Gas escapes instead of lifting the loaf.
Follow the recipe's kneading or folding method. A mixer time and a hand-kneading time are not interchangeable. Watch for the change from a rough mixture to a more cohesive, elastic dough, while remembering that high-hydration dough and whole-grain dough will not behave exactly like white sandwich dough.
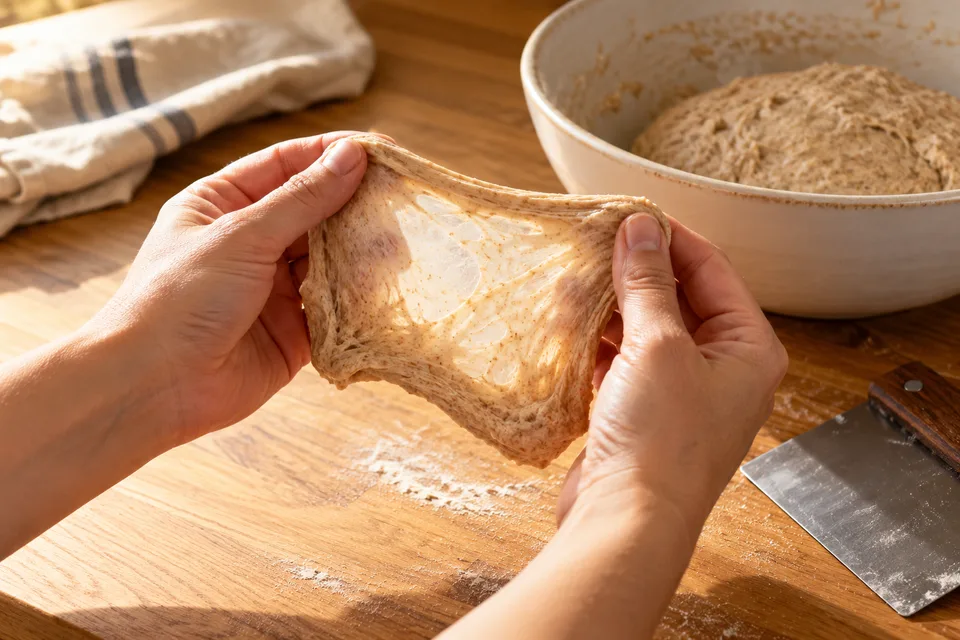
Use a windowpane as a clue, not an exam
Pinch off a small piece, let it relax briefly, and stretch it gently. Many developed white-wheat doughs can form a thin membrane before tearing. If it tears immediately, more development or a rest may help. Bran can interrupt the membrane in whole-wheat dough, so a perfect transparent sheet is not a reasonable requirement for every bread.
Do not keep kneading simply to meet an arbitrary number of minutes. If a mixer warms the dough excessively, or the dough becomes slack after prolonged mixing, stop and reassess. Use the machine's stated dough capacity and kneading speed. A stand mixer is a tool for following the dough's progress, not permission to ignore it.
Shaping and the final proof can change the whole loaf
After the first rise, shape with enough surface tension to support the intended form. For a sandwich loaf, an evenly shaped log should fit the pan without a giant flour-coated seam. For a free-standing loaf, gentle tension matters, but pulling until the surface tears weakens it.
Large pockets trapped during shaping can become tunnels. Use the degree of degassing the recipe calls for; sandwich bread and open-crumb artisan bread have different aims. Avoid burying dry flour inside a rolled loaf, where it can interrupt the bond between layers.
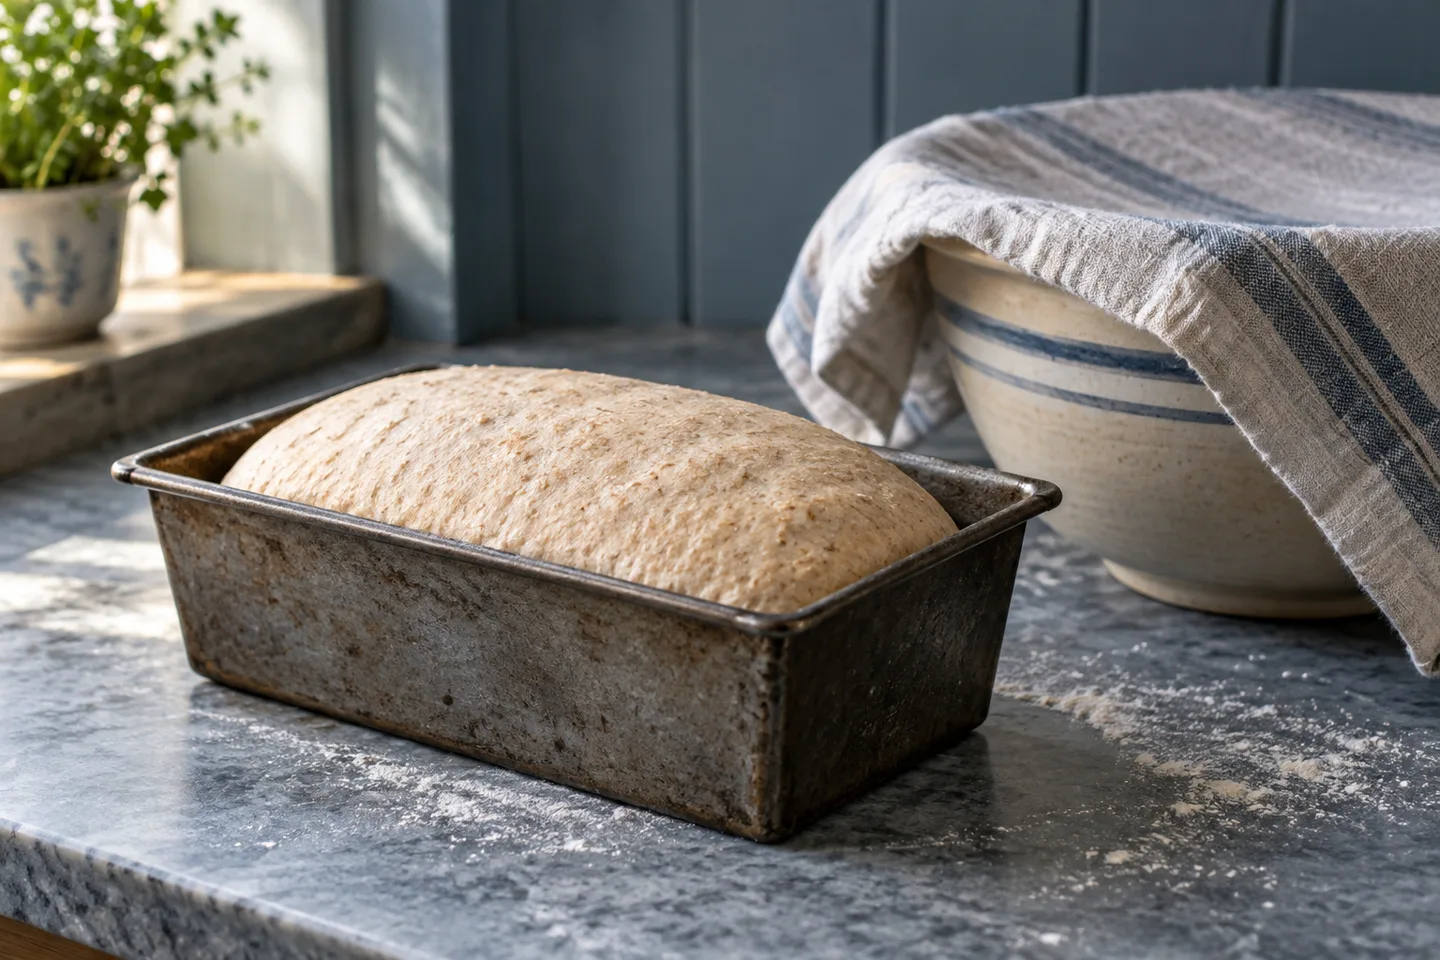
The second rise is not optional just because the first one went well. An underproofed loaf may expand unevenly, tear at the side and keep a heavy interior. An overproofed loaf can become fragile and lose height when moved or baked. The ideal point lies between those extremes.
Read the dough's response cautiously
A gentle fingertip indentation can provide a useful clue for some shaped wheat breads. An immediate strong spring-back suggests the dough may need longer; a slow partial recovery can indicate readiness. Dough that deflates or feels very weak may have gone too far. Cold dough, rye-rich dough and very wet dough make this check less straightforward, so combine it with the recipe's size and texture cues.
Pan size also affects appearance. A small amount of dough in a large pan will not form a tall loaf. Before blaming yeast, compare the pan's actual inside dimensions with the recipe. A low loaf with a pleasant crumb can simply be spread over a larger footprint.
Finish the bake, then change one variable
Give baking and cooling their own checks
A browned top is not proof that the interior is finished. Dark pans, strong top heat or sugar in the dough can color the crust early. Use the full combination of cues in the recipe, including an internal temperature where the author provides one. There is no single finish temperature that fits every lean, enriched, rye or gluten-free loaf.
Preheat properly and use an oven thermometer if baking times consistently disagree with the recipe. Place the pan where the recipe recommends. If the top is coloring too quickly, a loose foil shield may protect it while the interior finishes, but do not block the oven's airflow or heating elements.
Cool on a rack so moisture can escape around the loaf. Remove pan bread from its pan when the recipe instructs, because leaving it in a confined, damp environment can soften the sides. Resist cutting off a hot end to inspect the crumb; that makes the diagnostic loaf harder to assess.
A useful plan for your next batch
- Choose a tested recipe for the exact bread style you want, and use its specified pan.
- Weigh the ingredients and record flour type, yeast type and any substitutions.
- Note the dough temperature after mixing and the visual change during each rise.
- Follow the development and shaping cues, rather than adding flour until nothing sticks.
- Check doneness as the recipe describes, then cool before comparing the crumb.
If the loaf was dry and tight, make accurate flour measurement your first change. If it showed almost no rise, focus on fermentation. If it rose well and then fell, investigate final proof and strength. Changing hydration, yeast quantity, kneading and oven temperature together makes it difficult to learn which adjustment helped.
A simple notebook entry can be more useful than a new gadget: “same recipe, flour weighed, dough cool, final proof noticeably short” points toward a specific experiment. “Bad bread again” does not. Keep the goal modest: one repeatable improvement in the next loaf.
Compare two bakes without changing everything
Suppose your loaf had a dry, even crumb and the dough felt firm from the start. For the next bake, use the same recipe, yeast, pan and oven setting, but weigh the flour and limit bench dusting. That gives the flour hypothesis a fair check. Switching to a new high-hydration sourdough recipe at the same time would not tell you whether the original measurement was responsible.
If the weighed batch improves, repeat it before making another change. If it remains heavy, look at the recorded rise. Dough that barely expanded before shaping points toward fermentation; dough that expanded substantially and then became fragile points elsewhere. The order of these observations matters more than collecting every possible remedy.
Save a small written record of the finished loaf's height and crumb, but avoid treating a single comparison as a scientific conclusion. Your flour, kitchen and handling are part of the result. The purpose is a reliable personal method, not an unsupported claim that one adjustment fixes all bread.
For a loaf with a gummy center, prioritize complete baking and cooling in the comparison instead. Keep flour and fermentation consistent, check the prescribed doneness cues, and slice only when cool. A change that targets the observed failure is more informative than a generic attempt to make the dough “better.”