Bread dough is ready to bake when its final proof has produced the expansion, lightness and resilience expected by the recipe, while the shaped loaf still has enough strength to enter the oven. Look at the dough, then use a gentle touch if the method supports it. A timer alone cannot tell you, and the familiar finger-poke test is a clue rather than a universal verdict.
This guide focuses on the final rise of shaped wheat bread. It complements, rather than replaces, the instructions for your particular sandwich loaf, rolls or sourdough. Rye-rich breads, gluten-free formulas and unusually wet doughs can require different cues.
What stage and dough are you assessing?
First rise and final proof ask different questions
The first rise develops the dough before shaping. The final proof expands the shaped loaf before baking. Both involve fermentation, but they are not interchangeable stages. A dough that rose well in its bowl can still be baked too early after shaping.
Shaping changes the arrangement of the dough and its gas pockets. A sandwich loaf may be deliberately degassed and rolled into a neat log, while an artisan loaf may be handled more gently. The final rise gives the shaped dough time to become appropriately aerated again.
Read the recipe's target for that stage. It might describe how far the loaf rises relative to the pan, a particular increase in volume, or a lighter feel. Do not borrow a doubling instruction from the first rise and apply it automatically to the final proof.
A container mark cannot measure every shaped loaf
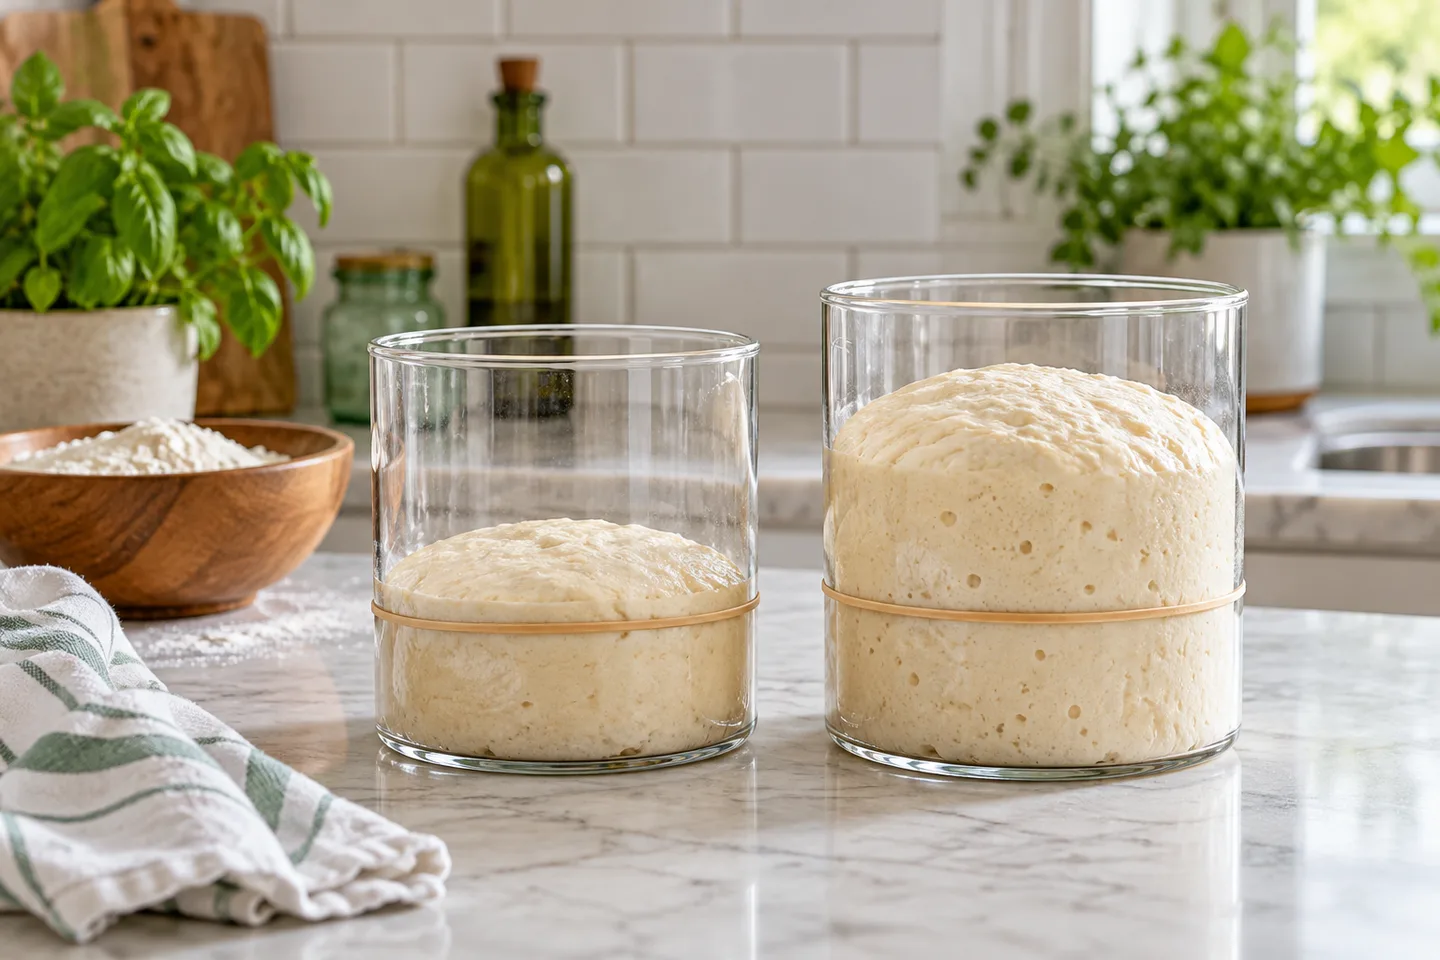
A straight-sided container can make the first rise easy to observe. A shaped loaf has a different geometry: it may rise upward, spread slightly, or fill the pan differently. The same percentage increase is harder to judge by eye.
Record the shape immediately after shaping, then compare it during proofing from the same angle. A photograph can help you see gradual change without repeatedly touching the surface. Use it as a personal observation, not a precise volume measurement.
Know when the same touch gives a different answer
Cold dough can feel firmer and respond differently from dough proofed at room temperature. A loaf coming from a refrigerated proof needs the cues for that method. Do not conclude it is underproofed only because it resists your fingertip.
A very wet dough, a rye-rich loaf or a gluten-free bread has different structure from a standard white-wheat sandwich loaf. The finger test may be less useful or inappropriate. Follow a recipe developed for that formula.
Surface tension also affects response. A tightly shaped exterior can spring differently from the interior, while excess dry flour can hide the surface's real feel. Interpret the check as part of the loaf's history, not a stand-alone measurement.
Sourdough needs a method-specific judgment
Sourdough recipes vary in how much fermentation occurs before shaping and how much occurs afterward. A long refrigerated final proof is not equivalent to a short warm rise. Starter activity, flour and temperature all influence the schedule.
Choose a method that gives observable cues at each stage. If the dough barely expanded throughout the process, read why bread dough is not rising before treating the final proof as the only missing step.
What do expansion and a gentle touch tell you?
Look for expansion without loss of support
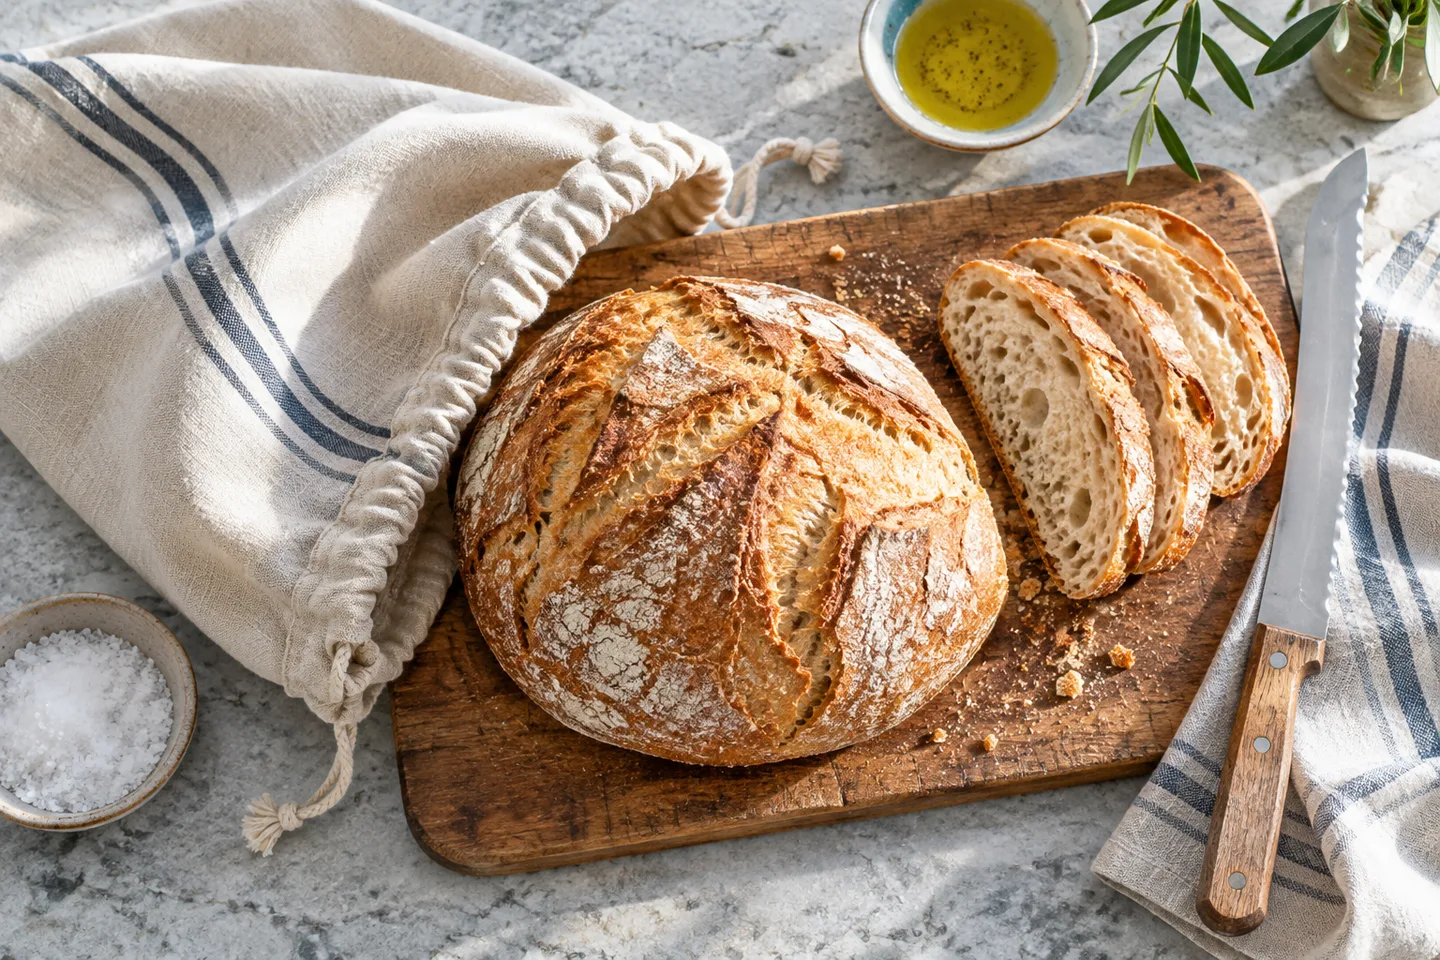
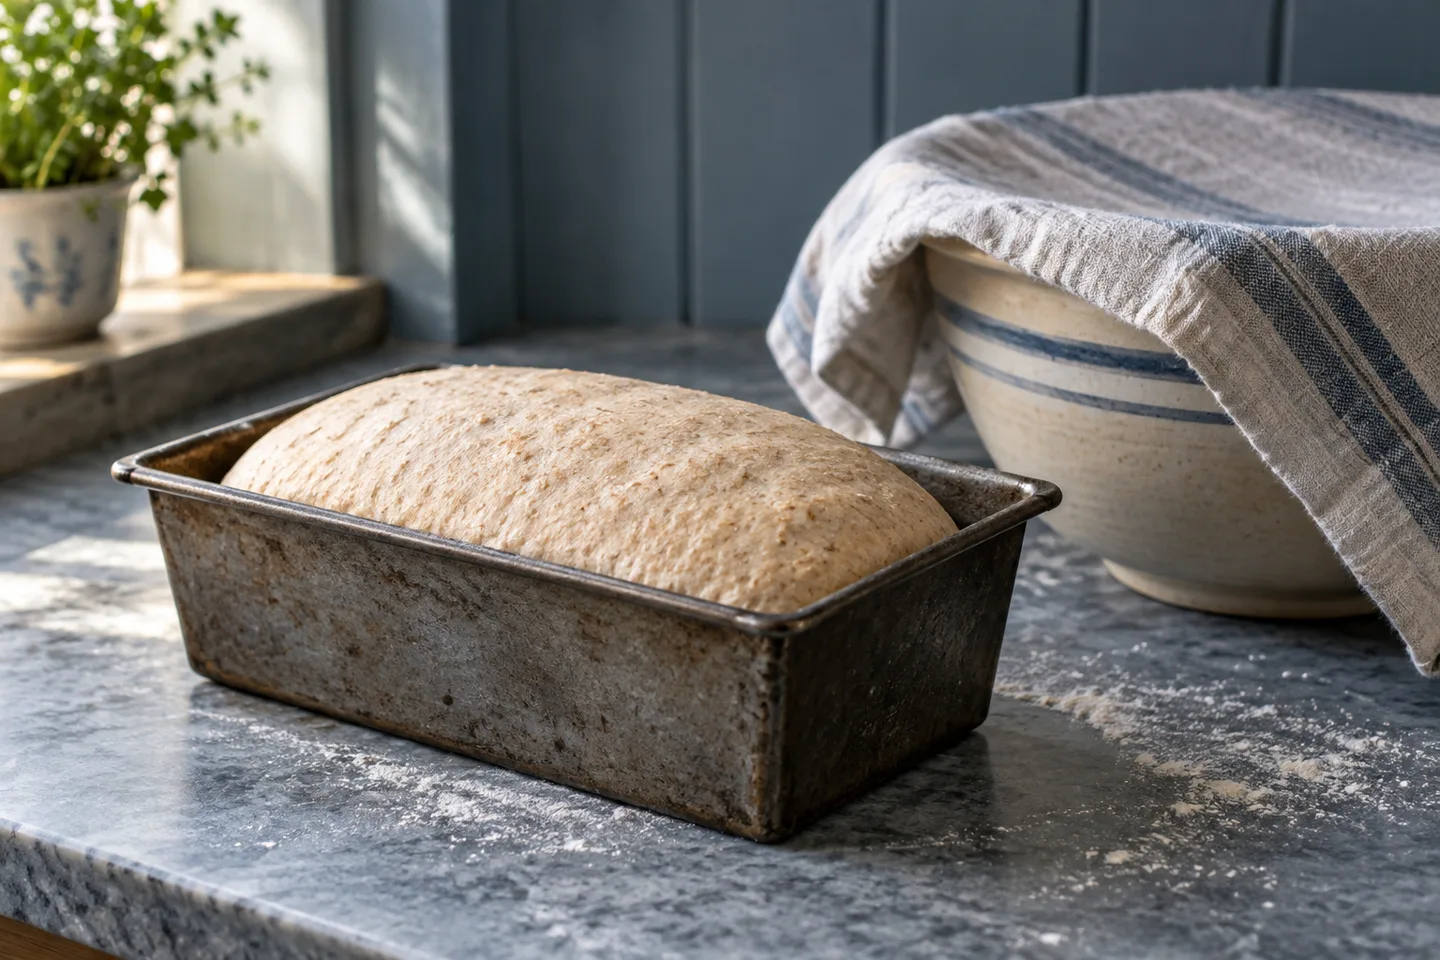
A properly progressing wheat loaf usually looks fuller and less tight than it did after shaping. Its surface may become gently rounded, and the dough can feel lighter when the recipe calls for that assessment. The exact appearance depends on hydration, shaping tension and whether it is in a pan or basket.
A loaf that still looks compact and firm may need more time. A loaf that has expanded greatly but now looks slack or begins to flatten deserves a different response. The goal is useful expansion, not the greatest possible height.
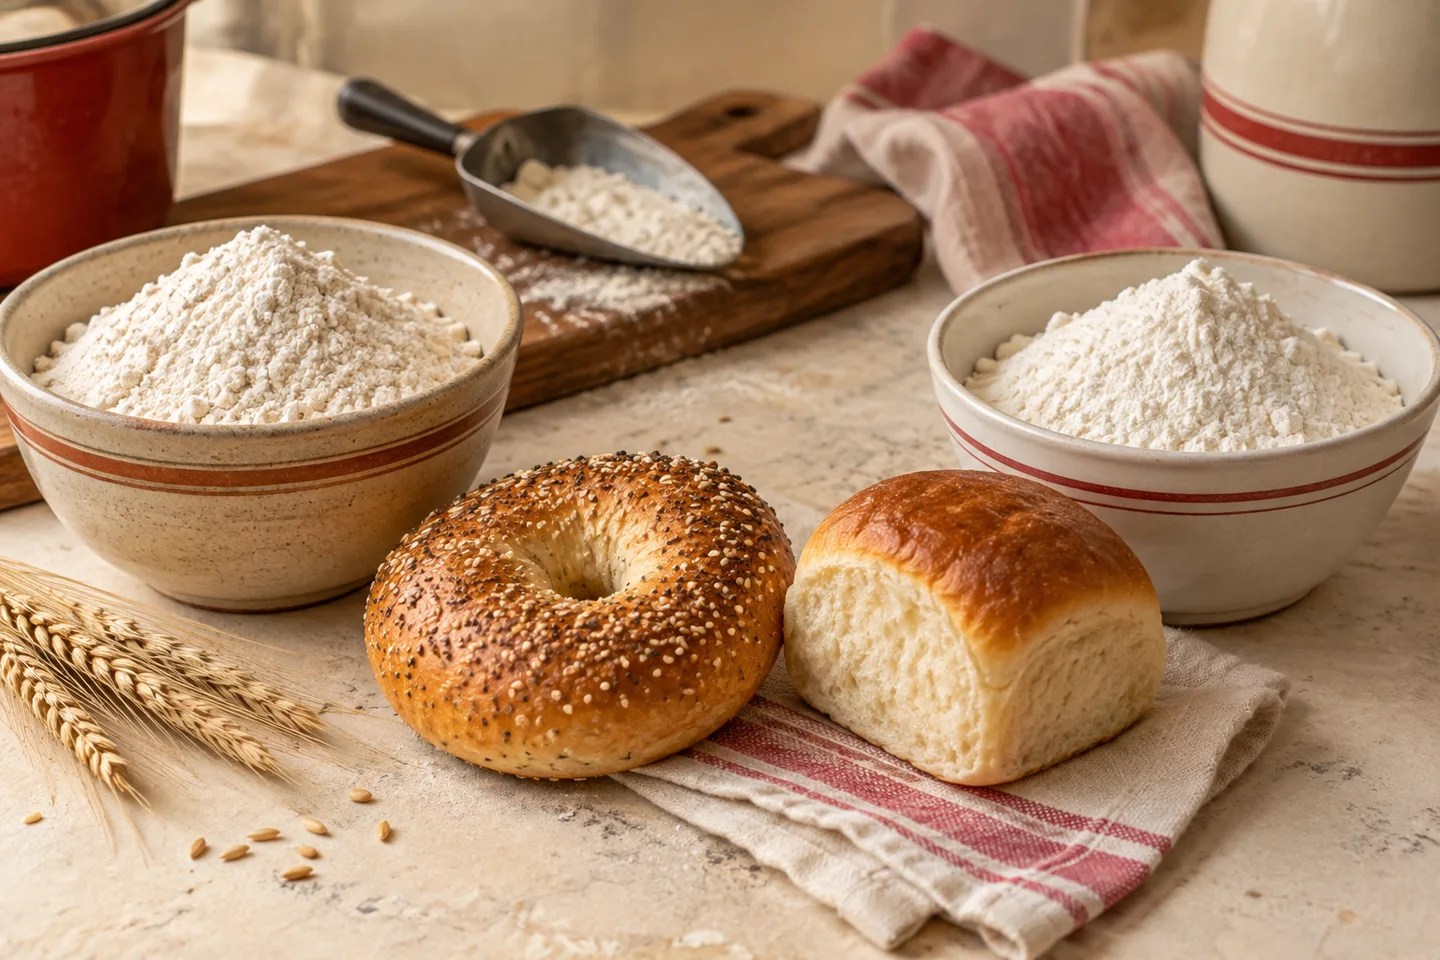
For rolls, compare several pieces, not just the largest. Unequal portion sizes and different positions can produce different progress. A crowded pan also changes what expansion looks like because rolls support one another as they grow.
Pan height is a recipe-specific reference
A recipe might ask for dough to rise a particular distance above the rim. That cue assumes the correct amount of dough and the intended pan. A larger pan can make the same dough look low even after adequate fermentation.
Check the pan dimensions before waiting for a height the dough cannot reasonably reach. A wrong pan is not repaired by extending the proof indefinitely. If the freshly baked loaf is consistently low and heavy, review the causes of dense homemade bread.
Use a gentle touch when the dough permits it
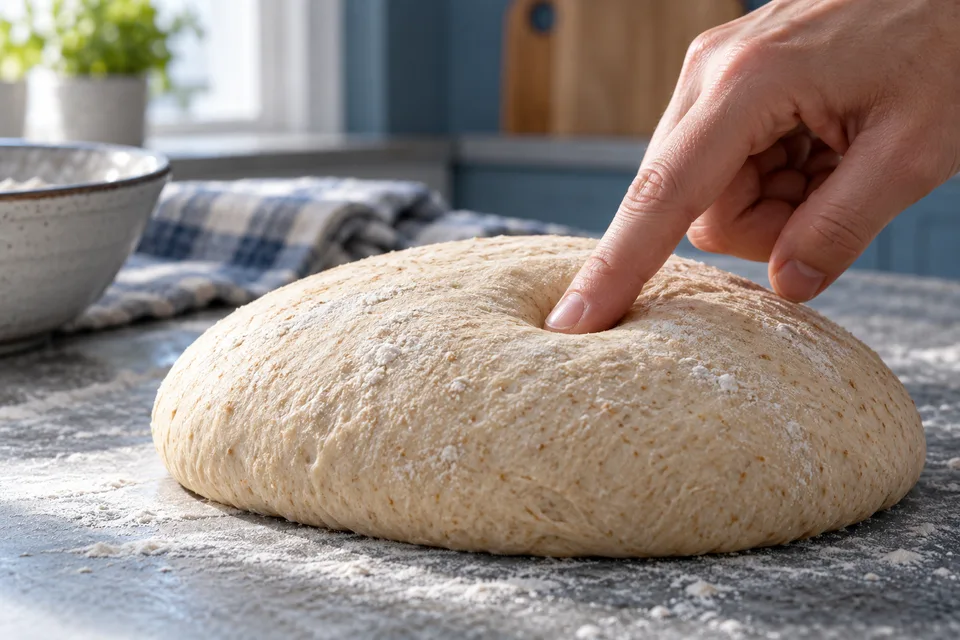
For many shaped wheat doughs, a light fingertip press can help assess resilience. Touch a small area gently rather than driving a finger deeply into the loaf. Use the flour or moisture approach your recipe recommends so the finger does not pull and tear the surface.
Watch how the shallow indentation responds. A quick, strong rebound can suggest the loaf still feels tight. A slower partial recovery can be consistent with readiness. A dent that remains alongside obvious weakness or deflation can suggest the dough has gone too far.
King Arthur's proofing guide describes this touch assessment in context. Combine it with the recipe and the loaf's expansion rather than interpreting one dent in isolation.
Do not turn the test into repeated damage
Pressing many spots repeatedly can distort a delicate surface and make the loaf harder to assess. One careful check, followed by observation, is more useful than continually proving that the dough can hold a finger mark.
If touching the loaf causes tearing, stop. A dry skin, sticky surface or fragile dough makes the result less meaningful. Review coverage and the method instead of forcing the test onto a dough that does not suit it.
Should you wait, bake or reassess?
Use temperature to interpret the timetable
The dough's temperature matters as well as the room's. Cool ingredients can leave dough slow even in a comfortable kitchen. A mixer or warm ingredients can produce the opposite situation. Record temperature when practical so the recipe's estimated time has context.
A colder dough may need a longer recipe-appropriate proof. A warmer dough may reach the target earlier. This does not mean you should heat the dough aggressively to match the printed minutes. Moderate, controlled conditions are easier to manage than an actively heating oven.
A suitable probe can help measure dough temperature. See choosing baking thermometers for the difference between a food probe and an oven-air thermometer.
Preheat before the loaf reaches its target
A ready loaf should not have to wait while you begin heating a cold oven. Plan the preheat and any required baking vessel preparation into the proofing schedule. Heavy equipment may need the recipe's specified preheat, not just the oven's first signal.
Keep the proofing area separate from anything that is heating unexpectedly. A switched-off oven used as a proofing box must be cleared before preheating. Make that transition explicit so a covered dough container is not left inside by mistake.
Decide whether to wait, bake or reassess
| Combined observations | Useful next step | Limit |
|---|---|---|
| Little expansion, firm dough and quick rebound | Allow more recipe-appropriate proofing and check conditions | First confirm the formula and dough type |
| Expected expansion, lighter feel and appropriate resilience | Prepare to bake according to the method | No single cue guarantees the result |
| Large expansion followed by slackness or collapse | Assess overproofing and remaining strength | Waiting longer is not automatically helpful |
This table is a qualitative guide for suitable wheat doughs, not a calibration chart. If your recipe describes a different readiness cue, use that context. A dough's appearance alone cannot reveal every earlier mixing or measuring mistake.
When you suspect overproofing, a recipe-specific reshaping method may be possible for some doughs. It is not a universal rescue. Repeated deflation and extra fermentation can change quality, and enriched dough still needs appropriate handling.
How will you handle the loaf and improve the next bake?
The final minutes include handling, not only waiting
Before the dough reaches its target, arrange the loading equipment the method requires. A pan loaf might need only an accessible rack and safe oven gloves. A free-standing loaf may also need parchment, a peel or a prepared baking vessel. Remove avoidable delays from this stage.
If scoring is part of the recipe, have the tool ready and use the specified approach. Different bread styles need different cuts, and some need none. Scoring is not a replacement for an appropriate proof; it cannot restore strength to a dough that is already collapsing.
Release a basket-proofed loaf gently onto the intended support. Extra sticking, dragging or squeezing can change its shape just before baking. Prepare the basket as directed at the beginning, rather than trying to correct the surface with a large amount of flour at the end.
When rolls are not ready at the same time
Look for a reason: unequal portions, different starting temperatures or position in the proofing area can create uneven progress. On the next batch, weigh comparable portions and keep their handling sequence reasonably consistent. The final minutes are easier to manage when the pieces begin from similar conditions.
If you divide the batch between pans, observe each pan independently. The second tray does not inherit the first tray's readiness just because both were mixed together. An oven that holds only one tray also introduces waiting time; account for that in the recipe's proofing plan instead of leaving the reserve indefinitely in a warm spot.
Build a proofing record you can repeat
Write down the recipe, flour, yeast or starter, dough temperature and shaping time. Note when the loaf begins to look lighter, when you checked it, and why you chose to bake. Include the pan or basket so the appearance has a reference.
After the loaf cools, compare the crumb with those notes. A side tear, a tight lower crumb or a collapsed shape can inform the next attempt, but none proves a cause by itself. Combine the finished result with what you actually observed during proofing.
A small adjustment is easier to learn from
If the loaf was compact at loading and heavy after cooling, keep the formula and pan the same and allow a more clearly developed final proof next time. If it was visibly fragile before baking, shorten that stage under comparable conditions. Do not change flour, hydration and yeast at the same time.
Accurate flour measurement supports that comparison. A dough made much stiffer by extra bench flour may respond differently even with the same schedule. Review measuring flour correctly before assuming that proof time is the only variable.
Keep the record modest and useful
You do not need to assign a numerical score to every indentation. Notes such as “still tight at the first check” or “expanded well, slow recovery, baked promptly” are enough to connect a decision with a result.
Repeat a successful process before making another change. Your own kitchen observations help you understand the recipe, but they do not establish a universal proofing time for every loaf or a test result performed by this journal.