Bread dough that is not rising may be too cold, contain weak or damaged yeast, be unusually stiff, or need more time than the recipe suggests. Before adding anything, establish whether the dough is completely inactive or simply progressing slowly. A small increase and scattered bubbles tell a different story from a bowl that has not changed at all.
The best rescue starts with observation. Repeatedly adding flour, sugar or yeast can create a different dough without resolving the original problem. Use the recipe, the yeast package and the dough's temperature to decide what to do next.
Has the dough stopped, or is it moving slowly?
First, make the rise visible
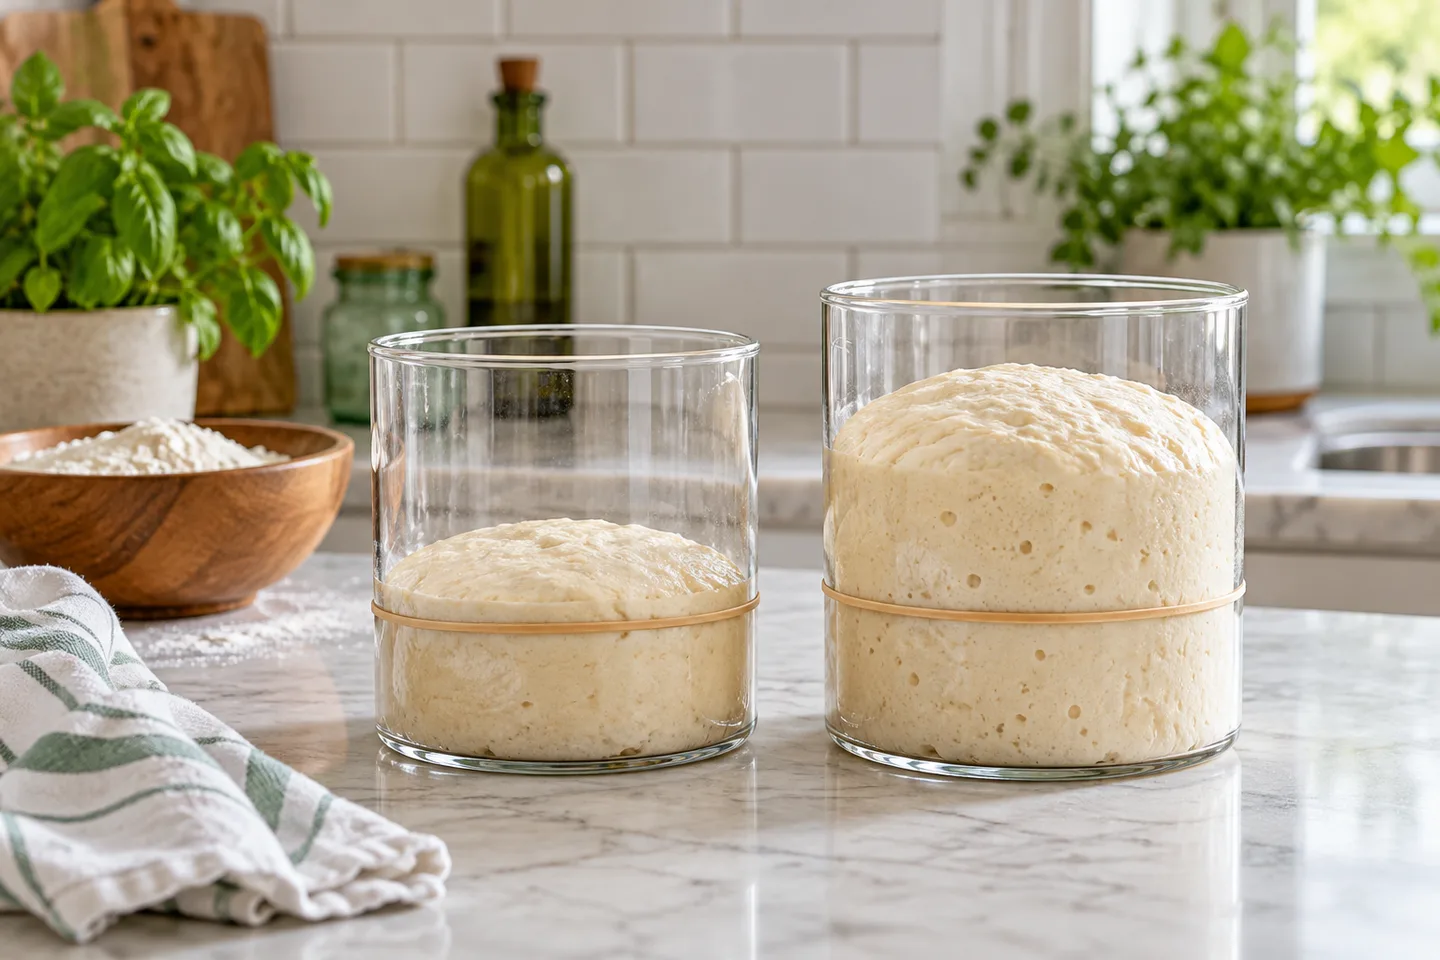
A wide bowl can hide a modest increase because dough expands sideways as well as upward. Transfer the dough only if the recipe permits it, or mark its current height and take a photograph from the side. A clear, straight-sided container is useful for future batches.
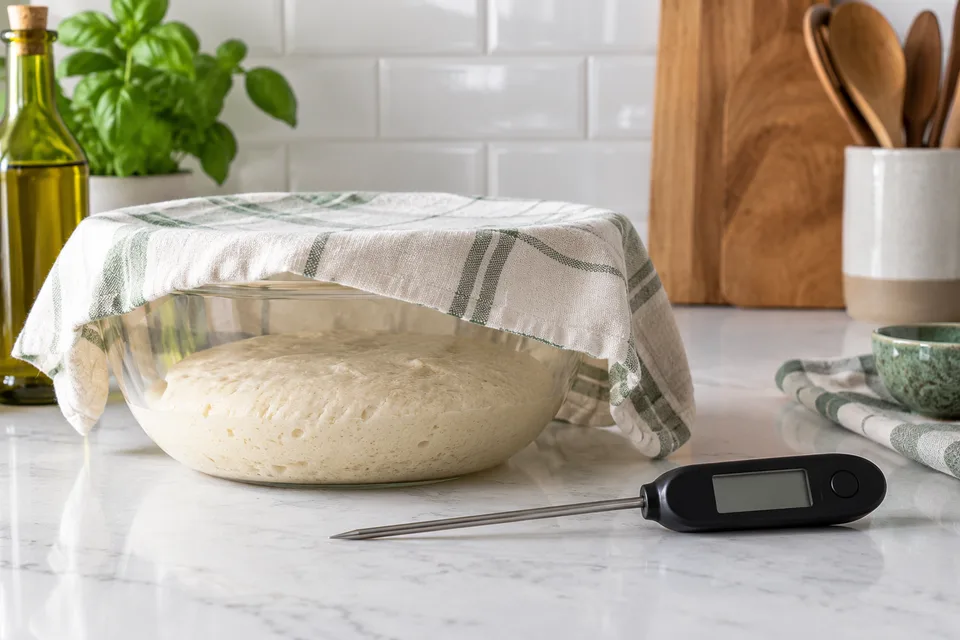
Keep the surface covered so it does not dry into a skin. A dry skin resists expansion and makes the outside look firmer than the interior. Use a cover that gives the dough room to rise rather than pressing a tight lid against the surface.
Check the dough's temperature with a clean probe if you have one. Room temperature and dough temperature are not the same: chilled flour, milk or eggs can leave the mixed dough cool in a warm kitchen. Conversely, a long mixer session may warm dough more than you expect.
Ask which stage you are in
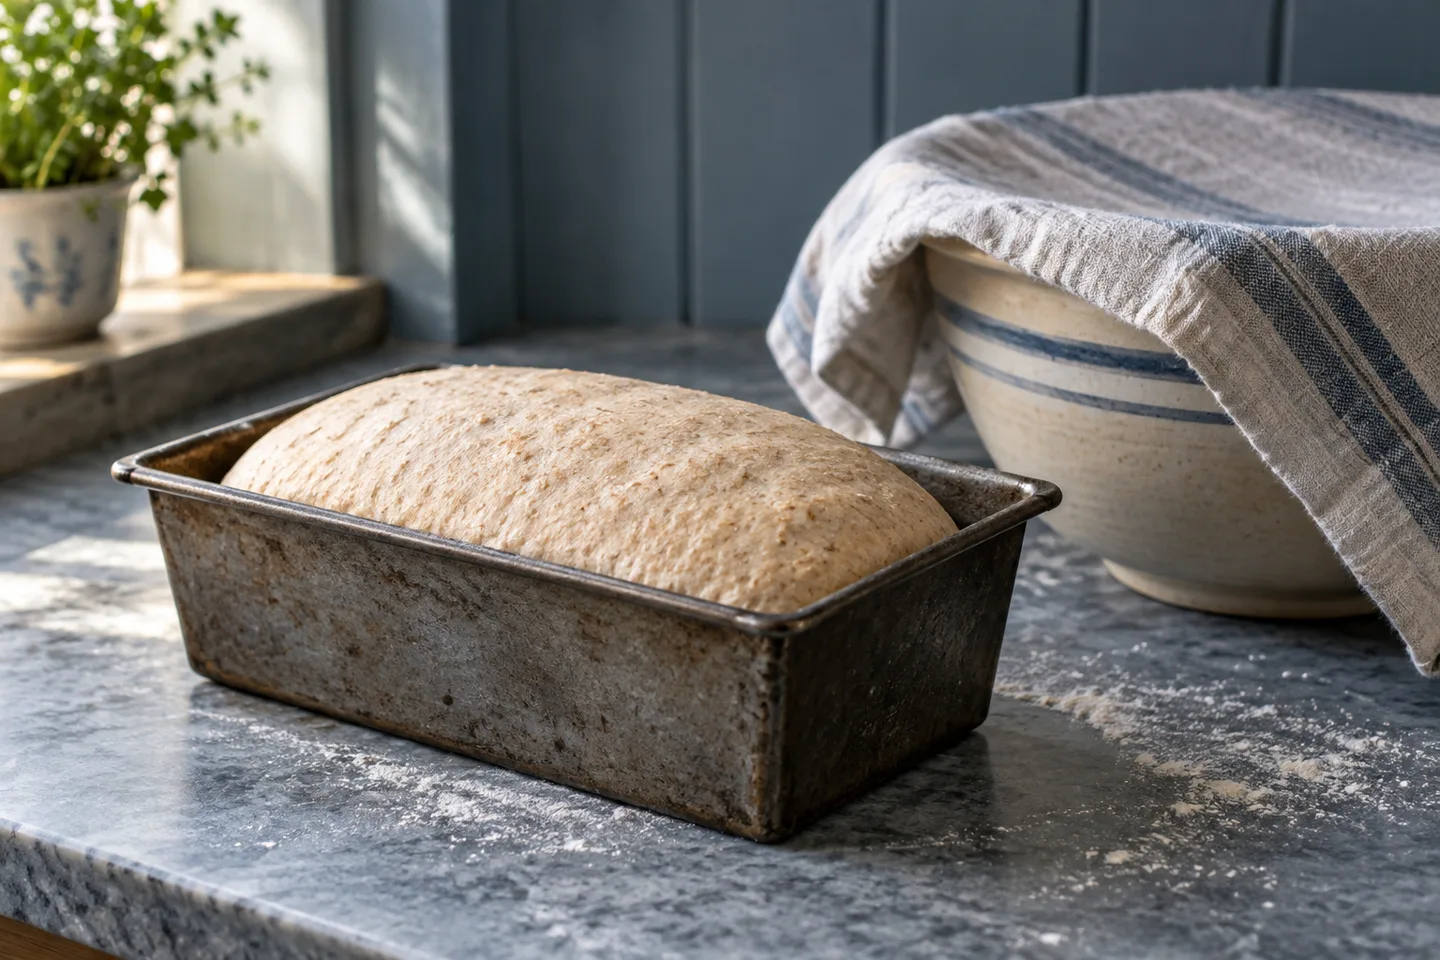
During the first rise, you are looking for the recipe's specified expansion and signs of fermentation. During the final proof, you are judging a shaped loaf that also depends on good structure and shaping. A loaf that barely rises in a pan after a vigorous first rise has a different history from dough that has never shown activity.
Do not assume every bread must double twice. A large percentage rise may be inappropriate for some sourdough methods, while a sandwich dough may call for a clearly expanded first rise. Read the target, not just the number of minutes beside it.
Two stalled-dough scenarios with different answers
In the first scenario, a plain wheat dough is cool, its level has increased slightly, and small bubbles appear along the container wall. The recipe expected a warmer dough. Here, moderate warmth and a longer recipe-appropriate wait are reasonable first steps. There is evidence of activity, so replacing the yeast immediately may be unnecessary.
In the second scenario, the dough rose strongly, was shaped, and then sat so long that it became slack and deflated when touched. That is not the same kind of “not rising.” Waiting longer in a warmer place may worsen weakness. Review the final-proof schedule and assess whether the dough can still be handled under a suitable method.
These examples show why the word “stalled” needs a history. A photograph of a low loaf cannot tell you whether it never expanded or expanded and then lost its structure. Record the sequence while it is happening rather than trying to reconstruct it after baking.
A simple observation log
Write down the mixing time, dough temperature, container level and the recipe's expected cues. At each check, note a change rather than a verdict: “small side bubbles,” “about halfway to target rise,” or “surface beginning to flatten” gives useful information.
Keep the formula beside those notes, including any flour or yeast substitution. A different flour can make the dough feel stiffer, while a different yeast format may require a handling change. Without that record, it is easy to blame the room for an ingredient difference.
Set a boundary before attempting a rescue
Decide whether the recipe's ingredients and schedule still permit continued handling. A plain dough and an enriched dough may have different practical limits. Do not turn “allow more time” into permission for an indefinite warm hold.
When the recipe, history or condition is unclear, a fresh controlled batch can be the best learning step. It avoids accumulating unmeasured yeast and liquid additions that make both safety and baking behavior harder to assess.
Is the temperature or yeast holding it back?
Give cold dough a suitable environment
Cold slows fermentation without automatically killing yeast. If the dough is cool but showing bubbles or a gradual increase, a moderately warm environment and more time may be enough. Use a thermometer to check the place you select.
A turned-off oven can be a protected spot, but its light may heat the space more than expected. An oven that was recently used can remain too hot. Never put dough into an actively heating oven to hurry the rise. A radiator, heating pad or direct sun can also create uneven, excessive heat.
King Arthur's guide to rising locations explains the importance of the environment. Use that guidance as a reason to check conditions, not as a guarantee that every oven-light setup is safe for yeast.
How long should you wait?
There is no universal extra hour that fixes every dough. A low-yeast formula can be deliberately slow. A cold, enriched dough can need substantially more time than a warm, lean one. Follow the recipe's boundaries and check whether the trend is moving in the right direction.
Food safety still matters for dough containing eggs, milk or other perishable ingredients. Do not improvise an all-day warm hold simply because fermentation seems slow. Choose a recipe with a clear schedule for that dough, or refrigerate as directed while you reassess.
Check the yeast you actually used
Read the package name, not just the word “yeast.” Instant yeast, active dry yeast and fresh yeast can be used differently and are not always interchangeable by volume. A recipe may specify a type and its own handling instructions.
Check the date and storage instructions. An opened packet left beside a warm stove is different from yeast stored as the manufacturer recommends. Also check whether the yeast was accidentally omitted. A small ingredient can disappear easily when several bowls are prepared at once.
Was the liquid too hot?
Excessively hot liquid can damage yeast. The recommended temperature depends on whether yeast is dissolved directly or mixed with flour first, so follow the yeast manufacturer's directions rather than using one number from memory. A thermometer is more reliable than a quick fingertip judgment.
If you suspect the yeast is inactive, test a separate small portion according to the package's proofing instructions. This can tell you something about the remaining yeast, but it does not prove what happened in the original bowl. Do not pour the test mixture into the dough unless you intentionally account for the extra liquid and ingredients.
Instant yeast does not normally need a preliminary foaming step when its directions say to mix it with dry ingredients. Lack of foam in the dough bowl is not proof it has failed. Look at expansion and bubbles over the actual fermentation period.
Does the formula or starter explain the delay?
The formula may be slowing the rise
A very stiff dough expands less readily than a softer one. Extra bench flour, packed measuring cups or a flour substitution can create that stiffness. Think back to mixing: did the dough become dry and hard before it ever had a chance to ferment?
Salt controls fermentation and contributes flavor and dough behavior. A major measuring error can slow the rise, but normal recipe salt is not something to remove blindly. Directly blaming a brief encounter between yeast and salt ignores the larger formula.
High sugar and rich ingredients can also change fermentation. A sweet holiday loaf may require a different yeast choice or schedule from a plain white loaf. Adding more sugar to “feed” yeast is not a general rescue; an already sugary dough may become harder for the yeast to handle.
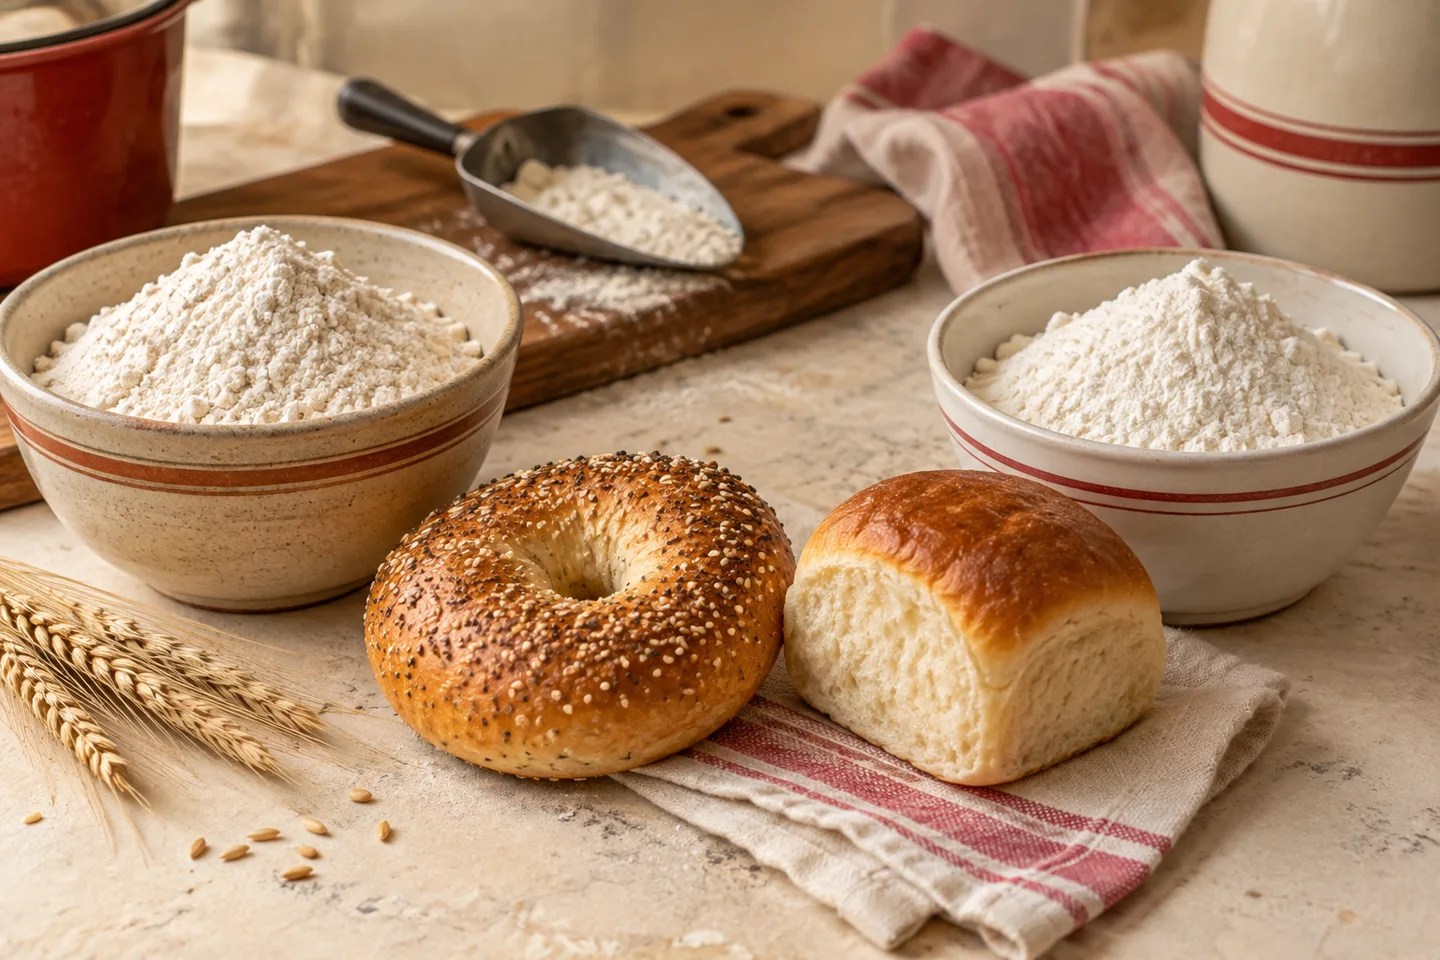
If measuring is the likely issue, review how to measure flour and compare the recipe's weights with what went into the bowl. For flour changes, see bread flour versus all-purpose flour.
Sourdough needs an active culture, not an arbitrary age
A starter that is newly established may show bubbles before it can reliably leaven bread. Its feeding pattern, temperature and flour affect activity. Use a recipe that describes a mature starter's behavior, and look for predictable rise after feeding.
A starter that has been refrigerated may need feeding and time to become active before mixing dough. Taking a spoonful from a neglected jar and expecting a full loaf to rise on a standard schedule is a different situation from using a vigorous, recently refreshed starter.
The float test has limits. Gas, flour type and handling can affect whether a small piece floats. A floating piece is not a substitute for observing the starter's consistent rise and the dough's actual fermentation. Keep notes on feeding and temperature instead of depending on one trick.
Could it be rising but unable to hold shape?
Bubbles combined with a dough that spreads flat may point toward weak structure rather than absent fermentation. That can result from flour choice, insufficient development or an overlong fermentation. More time is not always helpful if the dough is already fragile.
Our guide to dense bread separates gas production from gas retention. That distinction prevents you from adding yeast to a dough whose real problem is that it cannot hold the gas it already makes.
Should you wait, repair the dough or start again?
Decide whether to wait, repair or start again
| Situation | Reasonable next step | What to avoid |
|---|---|---|
| Cool dough with some activity | Moderate warmth and a recipe-appropriate longer rise | High heat or an unbounded warm hold |
| No activity and questionable yeast | Check the yeast separately and review the mix | Adding several ingredients without measuring |
| Yeast was omitted | For suitable dough, deliberately remix a measured yeast addition | Pretending the original timetable still applies |
| Dough rose and then collapsed | Assess overfermentation and remaining strength | Waiting indefinitely for it to recover |
| Unknown history or safety concern | Discard and make a controlled fresh batch | Trying to disguise the problem in another dish |
Adding yeast to an existing dough is possible in some circumstances, but it is not a guaranteed fix. Distribution can be uneven, extra liquid changes hydration, and the dough may need renewed mixing and fermentation. For a first attempt, starting again with measured ingredients can be more informative and less frustrating.
A safely handled plain dough that remains usable may suit a different, flatter bread style, but it will not necessarily behave like a tested flatbread formula. Do not turn that possibility into advice to eat raw dough or disregard the handling requirements of enriched ingredients.
How can the next batch be more predictable?
Build a more predictable next batch
Lay out the ingredients and check them off as they enter the bowl. Weigh flour and salt. Record yeast type, package date and the liquid-temperature method. If you make an intentional substitution, write it down before it becomes difficult to remember.
Use a container that makes progress visible, and begin checking before the recipe's estimated finish time. Compare the dough with the visual cues while also noting temperature. These records help distinguish a seasonal change in your kitchen from a problem with the ingredients.
For example, if the same formula works in summer but stalls in winter, start by measuring the temperature of the mixed dough. If that is consistently lower, adjust the environment or schedule appropriately before changing the yeast amount. This is a troubleshooting scenario, not a report of a conducted test.