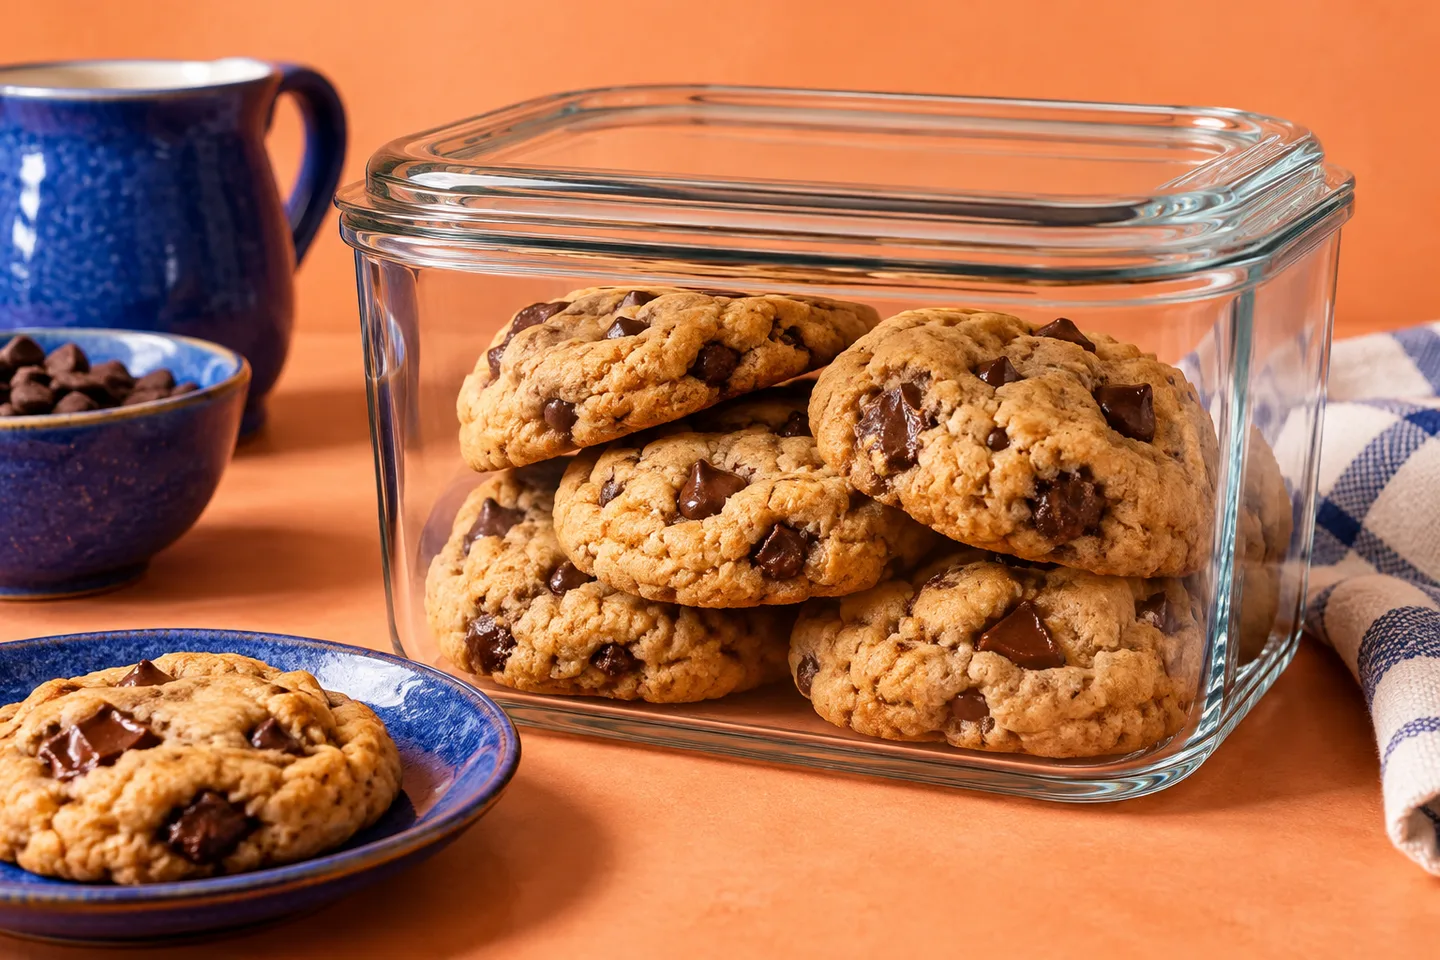
To keep homemade cookies soft, begin with a recipe designed for softness, avoid baking beyond its intended finish point, cool the cookies fully, and store them in a well-sealed container. Freeze the portion you will not eat soon. A decorative cookie jar with a loose lid is rarely the best choice for protecting a chewy texture.
Storage cannot transform a crisp cookie into the same thing as a naturally soft one. The useful goal is to preserve the texture your recipe produces and limit the moisture changes that happen afterward.
Begin with a cookie that is meant to be soft
Softness starts in the recipe
A cookie's balance of flour, fat, sugar, eggs and other liquid affects its final texture. Two recipes that look similar can be designed for different results: one thin and crisp, another thick and tender. Choose the texture you want before deciding how to store it.
Do not assume that reducing sugar is a harmless way to make a soft cookie less sweet. Sugar affects moisture and structure as well as flavor. Replacing butter, changing the flour or removing an egg can also change the result. If you want a modified formula, choose one developed for that purpose.
Flour measurement is a particularly useful check. Extra flour can make dough stiff and the baked cookie dry. Weigh the flour when the recipe gives grams, or follow its stated cup-measuring method. A storage trick will not fully correct an ingredient imbalance.
A soft center should still belong to a properly baked cookie
A soft cookie is not necessarily an undercooked cookie. Follow the recipe's cues for a set edge and the appropriate center appearance. A cookie may continue to firm as it cools, so judging only a hot cookie's texture can lead to overbaking the rest of the batch.
Do not eat raw dough to judge flavor or consistency. The CDC's raw-dough guidance explains that raw flour and eggs can carry harmful germs. Softness should come from formulation and an appropriate bake, not a raw interior.
Identify the part of the process that changed
| What happened | First check |
|---|---|
| Cookies were hard as soon as they cooled | Recipe style, flour amount and baking completion |
| Cookies softened too much in the box | Whether they were warm when packed or stored with moist items |
| Cookies gradually dried | Container seal, repeated opening and excess countertop batch size |
| Only one variety changed | Mixed storage, filling or decoration differences |
| Cookies became thin and crisp in the oven | Dough temperature, formulation and baking surface |
The last case may be a spread problem rather than a storage problem. Read why cookies spread too much if a thick dough portion becomes a thin, brittle cookie.
For the equipment side, gentle baking-sheet cleaning helps maintain a predictable baking surface, and accurate flour measurement helps keep the formula consistent.
After baking: let the batch cool
Follow the recipe's initial cooling instructions. Some cookies need a brief rest on the tray to become firm enough to move. Transfer them carefully to a rack when directed so air can circulate around them.
Putting warm cookies in an airtight box traps moisture and heat. Condensation may make their surfaces sticky, smear chocolate or soften an edge more than intended. Let the cookies reach room temperature before closing the container.
A large stack cools less evenly than a single layer. If you are packaging a big batch, give the cookies enough rack space. Avoid leaving them uncovered overnight simply because you are waiting for one crowded pile to cool.
During storage: control moisture and keep varieties apart
Choose a container for its seal
A clean food-storage box with a well-fitting lid is a good default. A freezer-safe bag can also work if the cookies will not be crushed. Check that crumbs are not preventing a seal and that the container is fully dry after washing.
King Arthur's soft-cookie storage guide recommends airtight storage and keeping different textures apart. Those are useful principles without a need to buy a specialized jar.
Use a container reasonably matched to the batch. The aim is not to eliminate every pocket of air, but to avoid leaving a few cookies in an enormous, frequently opened box. Split a large batch into a serving portion and a reserve portion.
Separate flavors and textures
Soft cookies and crisp cookies exchange moisture when stored together. A crisp cookie can soften while the soft one becomes less supple. Mint, spice or peanut-butter flavors can also transfer to more delicate cookies.
Separate varieties even if they look attractive in one mixed tin. For a gift, use individual packets or compartments that actually separate the cookies, not just a decorative paper divider with open airflow around it.
What a bread slice can and cannot do
A small piece of fresh, plain bread can provide moisture inside a sealed container of ordinary soft cookies. The cookies can absorb some of that moisture as the bread dries. Use a separate piece, not one pressed into the cookie surfaces.
This is a texture-management trick, not a food-safety preservative. It does not extend a cookie's safe life indefinitely, and it is not appropriate for every recipe. A delicate icing, a crisp edge or a moist filling may respond poorly to a more humid container.
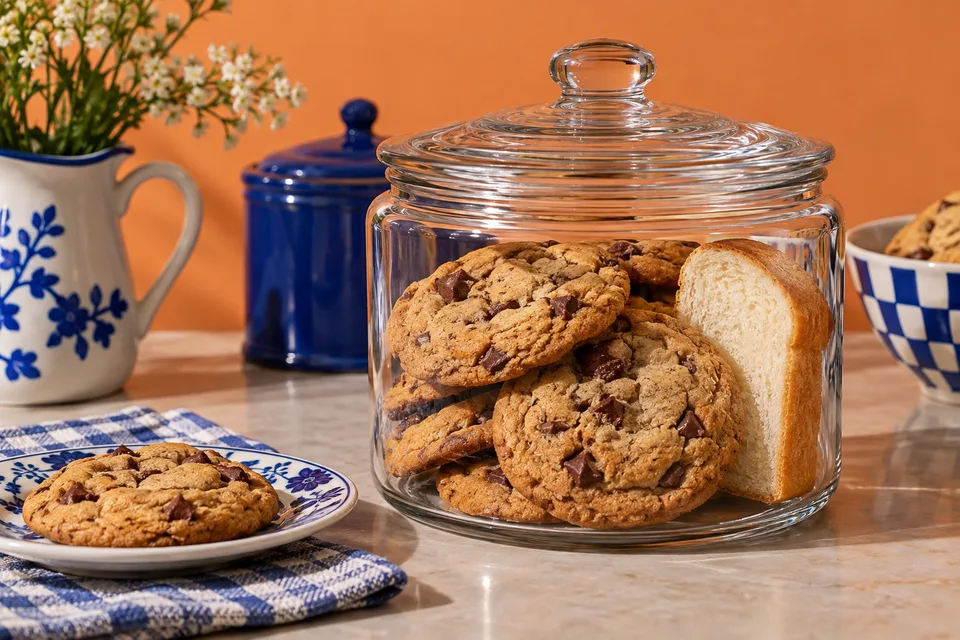
Keep it plain and keep checking
Flavored bread can lend an unwanted smell or taste. A plain piece is easier to manage. Inspect the container and remove the bread as it becomes dry or if any sign of spoilage appears. If mold appears on the bread or cookies, discard affected contents rather than trimming a spot and continuing storage.
Do not add cut fruit simply because it contains moisture. Fruit brings its own storage needs, juices and flavor transfer. The bread method is already optional; a humid container is not automatically an improvement.
If you regularly need a bread slice to rescue cookies immediately after baking, look back at the formula and baking time. The container should preserve a good batch, not conceal a repeated baking problem.
Fillings and decorations change the rules
A plain chocolate chip cookie and a cookie sandwich filled with cream cheese are different storage products. A dairy-rich filling, custard or other perishable addition may need refrigeration and a specific holding period. Protecting softness cannot take priority over that requirement.
Some icings are designed to dry firmly, while others remain soft. Moisture from a bread slice or a sealed container can affect their appearance. Store decorated cookies according to the recipe and the decoration's needs, not according to advice for plain drop cookies.
For gifts and parties, label any storage instructions clearly. A recipient should not have to guess whether a filled cookie belongs in the refrigerator. Include allergen information where you know it, without making unsupported “allergen-free” claims.
For another day or another household
Freeze the reserve while it is still good
Freezing gives you more control than keeping an oversized batch on the counter. Once the cookies are fully cool, arrange them so they can be separated later, then pack them in a freezer-safe container or bag. Parchment between layers can help protect delicate surfaces.
Label the type and date. Freeze a portion that you can thaw and serve at once, or separate individual cookies if you want one or two at a time. Packaging should limit air exposure and crushing.
Plain cookies can often thaw in their closed packaging at room temperature. Cookies with fillings or toppings that require refrigeration need an appropriate refrigerated thaw. Follow the recipe's instructions rather than treating every decorated cookie as shelf-stable.
Can you freeze dough instead?
Many drop-cookie recipes support portioning and freezing dough, but not all cookie styles behave alike. Follow a tested freezing method for that recipe, including whether to bake from frozen and how to judge doneness. A frozen dough ball is not permission to use the original timer blindly.
Baking smaller batches can be the easiest way to enjoy a just-baked texture. If the full batch repeatedly dries before you finish it, keeping a measured dough reserve may suit your routine better than continually trying to soften the last cookies.
Packing soft cookies for gifts and sharing
Let the cookies cool completely before arranging them. Choose a clean food-safe container with a real seal, then use parchment between layers where needed. Do not pack a warm batch just to meet a pickup time; heat and moisture trapped in transit can change the surfaces.
Keep strongly flavored varieties separate. A decorative mixed box can be organized with individually sealed portions so a mint cookie does not perfume every other item. Paper dividers alone may prevent rubbing but do not prevent moisture or aroma transfer.
Choose a travel-friendly texture
Very delicate or heavily filled cookies may need more support and a different storage plan. Choose a recipe suited to the trip rather than relying on a sturdy-looking tin to protect a fragile filling. Perishable fillings require a maintained cold chain.
Pack enough support to prevent movement without pressing the cookies flat. A thick soft cookie can still break if it carries the weight of a large stack. Test the fit with fully cooled cookies before closing the box.
Give the recipient useful instructions
State whether the cookies are ordinary plain cookies or contain a filling that requires refrigeration. Provide the preparation date and any actual recipe-specific instructions. Do not write a guaranteed shelf life that you have not established.
If the gift includes frozen cookies, explain whether to thaw in their packaging and whether the toppings need refrigeration. Clear handling information is more useful than the word “fresh” on a decorative label.
A small batch can be better than a large rescue plan
For a weekly routine, bake only the amount you expect to enjoy fresh and freeze a suitable dough or finished-cookie reserve according to the recipe. This avoids asking a container to preserve a large batch for longer than its best texture.
Compare the last cookie in the fresh portion with one thawed from the reserve at the same serving temperature. Treat that as a practical quality observation for your recipe. If the frozen portion suits you better, adjust the portion plan rather than continually adding moisture aids to an aging box.
Keep those comparisons honest: a cookie with a different filling, dough size or bake time is a different sample. Consistent portions and packaging help you learn which part of the routine actually matters.
The most useful storage habit is not an elaborate trick. It is matching batch size, cooling and packaging to how the cookies will be eaten. That keeps the process simple enough to repeat.
When cookies have already changed
What to do with cookies that have already hardened
If ordinary cookies are sound but have become firmer, a brief warming can make them more pleasant for immediate eating. Warm only the amount you need and watch carefully; chocolate and fillings may heat faster than the exterior.
They may firm again as they cool. That is why warming is a serving technique rather than a new storage plan. Avoid repeatedly microwaving the same batch, which can create uneven texture and additional drying.
A dry but suitable cookie can also become a crumb topping or crust ingredient. Check the recipe you plan to use, because a very sweet cookie may require a different balance from plain biscuit crumbs. Do not repurpose moldy or otherwise questionable cookies.